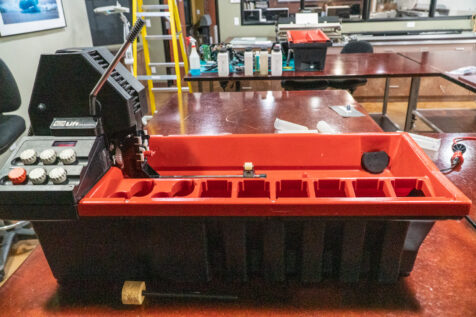
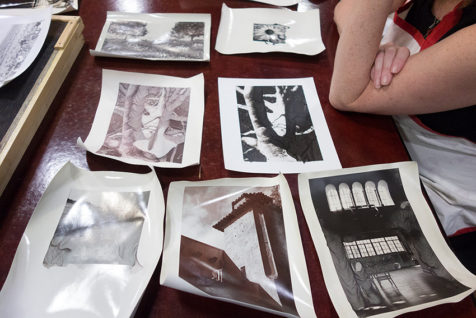
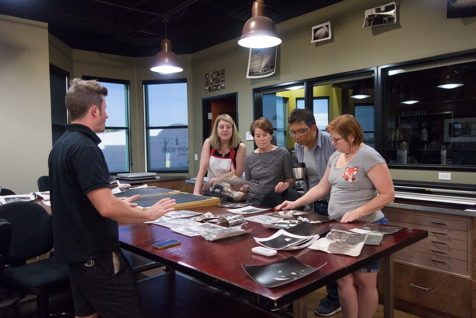
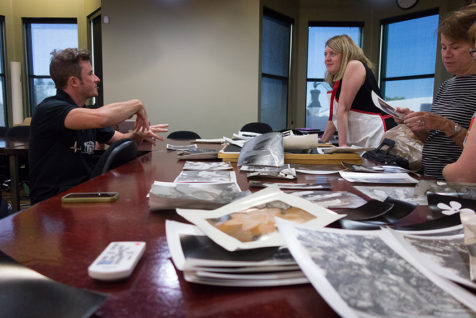
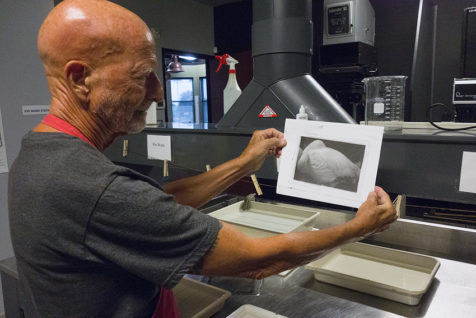
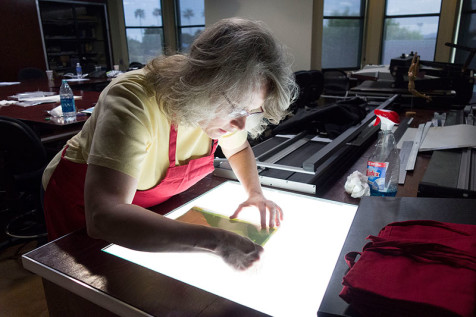
Developing 8×10 film can be done a few ways, in a tray, tank dipping, canister, or the easiest way with a German made Jobo processor. Art Intersection proudly owns two Jobos, one graciously donated by a member of Art Intersection and one purchased used about five years ago.
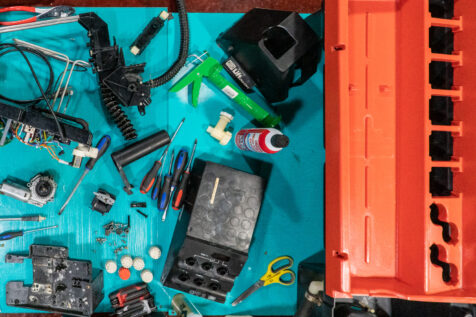
We mainly use the Jobo to develop 8×10 film and when setting up for a film developing session we found both, for different reasons, were non-functioning. So using the well known Frankenstein method of repair, both Jobos were disassembled, the best parts from both were cleaned, tested, and finally reassembled into one working unit. The working Jobo Processor also received the best “brain” labeled “Abby Normal” (unabashed reference to the movie Young Frankenstein).
Spares parts for repair of future failures were carefully packed away, and now we can get back to trouble free operations and again develop 8×10 film.
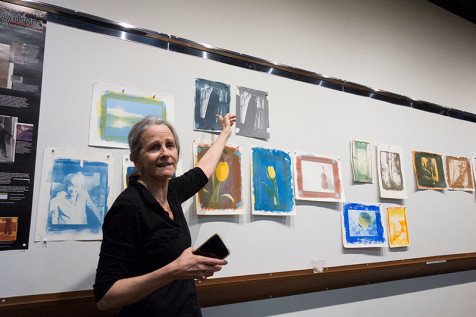
To celebrate the art of handcrafted prints, Art Intersection presents Light Sensitive, our eleventh-annual, international juried exhibition of images created using traditional darkroom, historical, and alternative photographic processes and methods.
In the current takeover of imagery presented on computer screens and the overwhelming volume of digitally printed pictures, the purpose of our Light Sensitive exhibition is to celebrate, promote, and reaffirm the art of handcrafted prints that uniquely belong to the tradition of light sensitive creative processes. Each year we search for work representing creativity, passion, and display of the beauty these light sensitive processes bring.
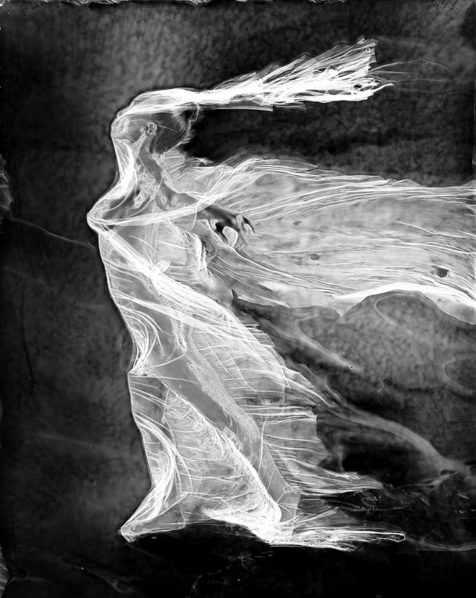
Banner image by Rebecca Zeiss
Awards Special thank you to Brian Taylor for his insightful vision as our juror. Choosing awards in an exhibition of highly amazing works proved to very challenging and much consideration (and pacing through the galleries) was given to all of the darkroom creative art in the galleries. Congratulations to the awardees and everyone juried into Light Sensitive.
First Place – Rebecca Zeiss Second Place – Richard Hricko Third Place – Sara Silks Award of Excellence – Diana Bloomfield Honorable Mentions – Allan Barnes – Matt Connors – Wendy Constantine – Susan Elizabeth de Witt – Elizabeth Davis – Anne Eder – Jeannie Hutchins – Jen Leahy – Maureen Mulhern-White – Emily Penrod – Gerado Stübing – Vaune Trachtman
Juror Art Intersection is honored to have Brian Taylor jury this year’s Light Sensitive exhibition. He is known for his innovative explorations of alternative photographic processes including historic 19th Century printing techniques, mixed media, and hand made books. His work has been exhibited nationally and abroad in numerous solo and group shows and is included in the permanent collections of the Bibliotheque Nationale, Paris; the Victoria and Albert Museum, London; the San Francisco Museum of Modern Art; and the International Museum of Photography at the George Eastman House, Rochester, NY.
Brian served as the Executive Director of the Center for Photographic Art in Carmel, CA for 4 1/2 years, retiring in 2019 to return to his art practice in the studio. He received his B.A. Degree in Visual Arts from the University of California at San Diego, an M.A. from Stanford University, and his M.F.A. from the University of New Mexico and served as a Professor of Photography for over 35 years, and Chair of the Department of Art and Art History at San Jose State University.
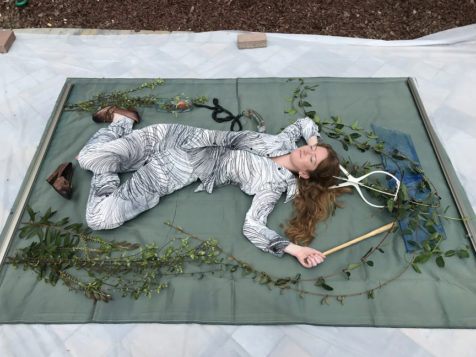
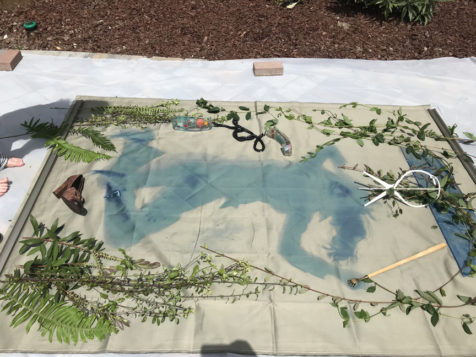
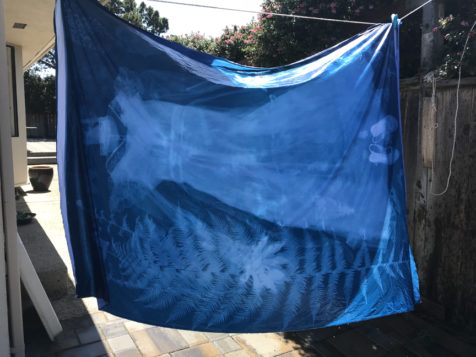
Here’s how Carol Henry made the large hanging cyanotypes in the Spellbinding Light exhibition. Be sure to see the installation to truly appreciate the beauty of these incredible life-size fabric, cyanotype photogram prints.
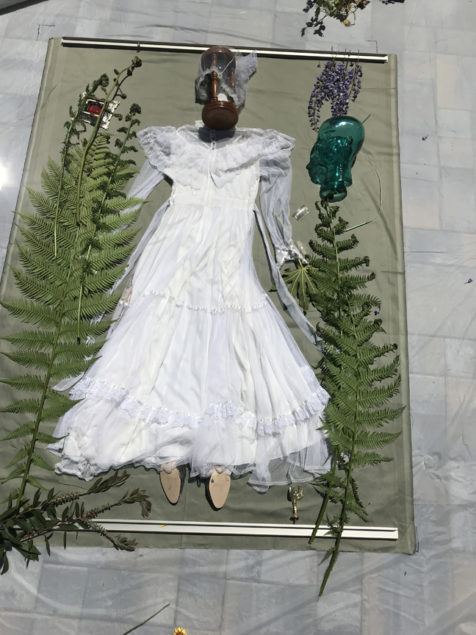
First the fabric was treated in a darkroom with cyanotype chemistry, and the photogram model and objects were artfully arrange on the fabric,
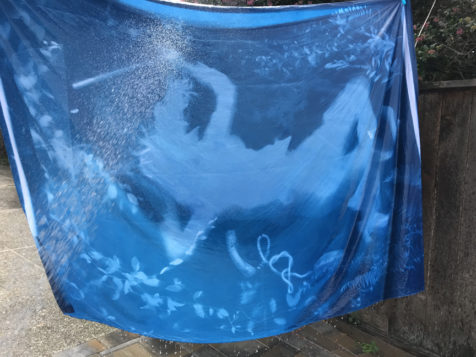
then after a long exposure in the sunshine on a sunny Carmel day,
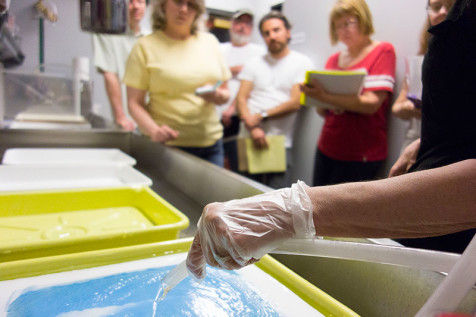
the fabric was developed to a stunning cyanotype blue with the garden hose,
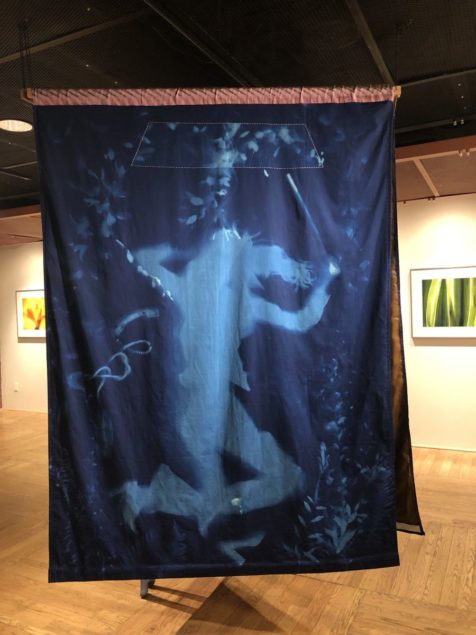
and the final fabric lined cyanotype hangs in Spellbinding Light.
Photogram objects carefully placed on cyanotype sensitized fabric,
after sunshine exposure and garden hose developing,
results in this beautiful fabric lined cyanotype hanging in Spellbinding Light.
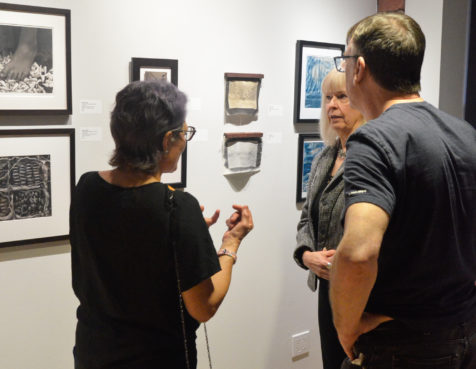
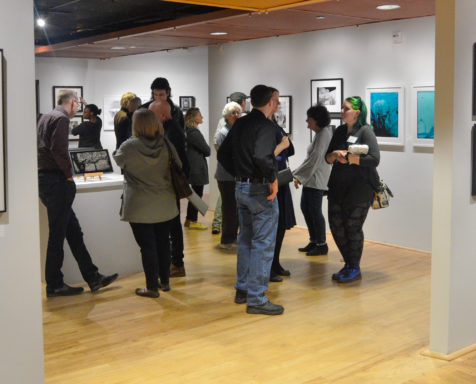
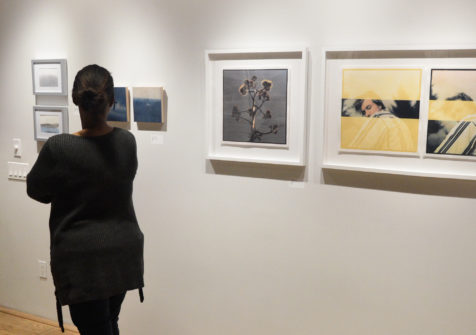
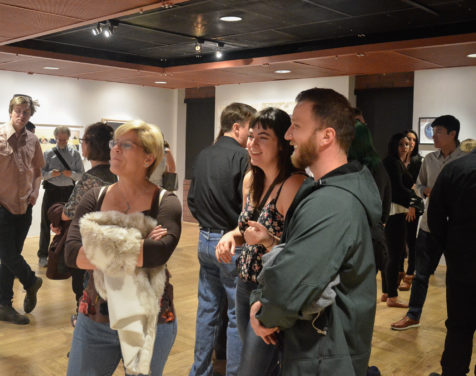
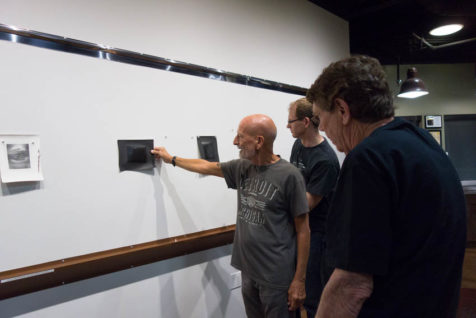
Thanks to everyone who joined us for the Opening Reception of Light Sensitive 2018! We loved seeing so many friendly faces, both familiar and fresh. Thanks for helping us celebrate this beautiful exhibition!
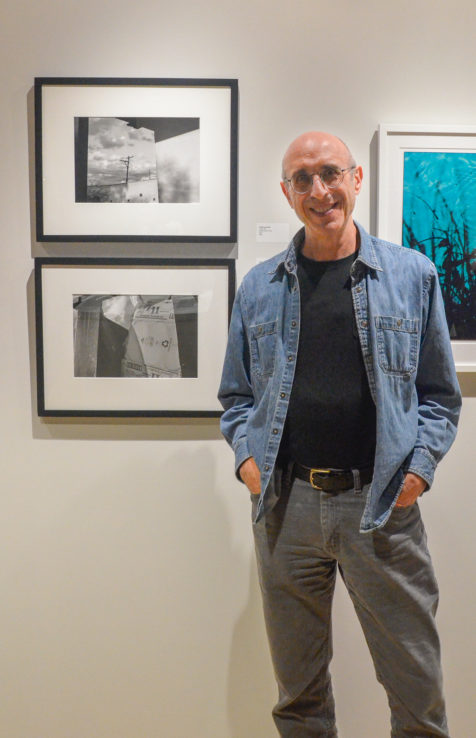
Luigi Luccarelli with his work
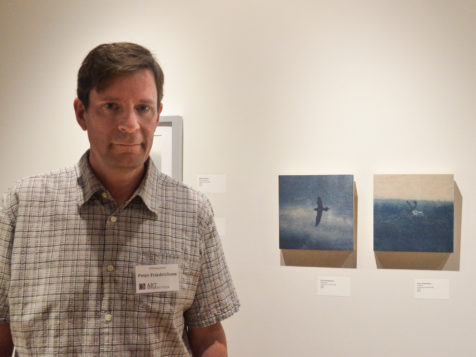
Peter Friedrichsen with his cyanotypes on birch ply
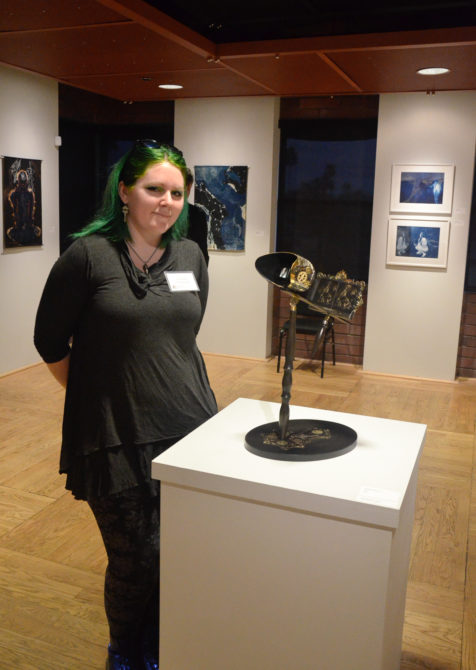
Amanda Scheutzow with one of her sculptural tintype pieces
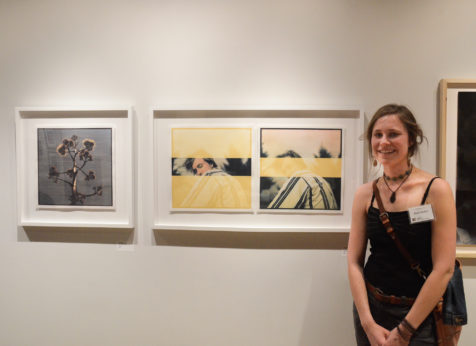
Kayla Bedey with her gum bichromate over cyanotype prints
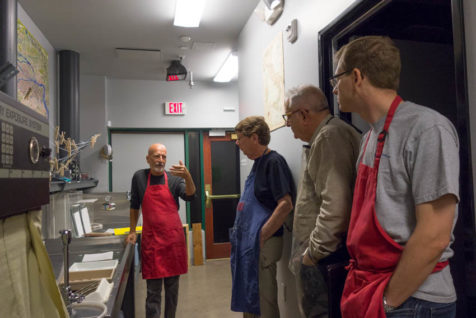
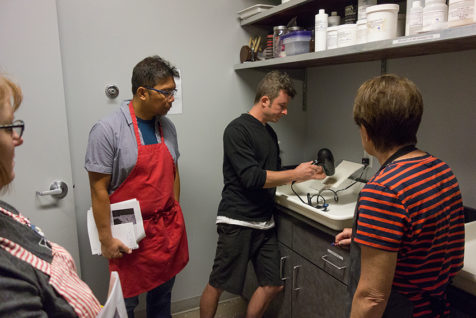
In October we hosted a Carbon Printing workshop led by Dennis L. Collins. Dennis was able to lead our participants through this tricky process from start to finish – sensitizing carbon tissues with potassium dichromate, exposing the tissue with a negative, transferring the exposed tissue to the support sheet, and developing the print. Our students got hands-on experience making prints, as well as lots of practice trouble-shooting, which will better prepare them for continuing this process on their own. Each student made beautiful prints, and all learned to find the beauty in mistakes!
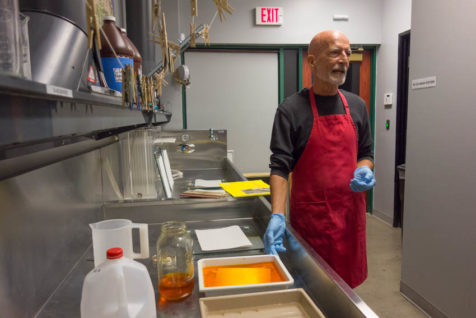
Dennis demonstrates the process of sensitizing carbon tissues to light using potassium dichromate
As the carbon print “develops,” un-hardened carbon pigment floats away – leaving the image remaining!
Several participants experimented with salvaging the used carbon tissue, to interesting effects
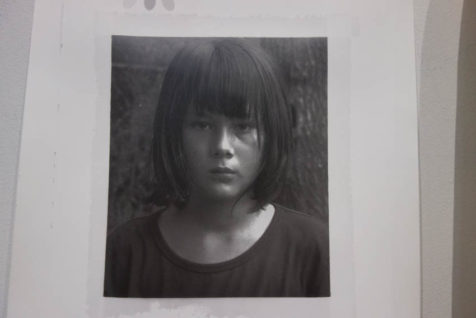
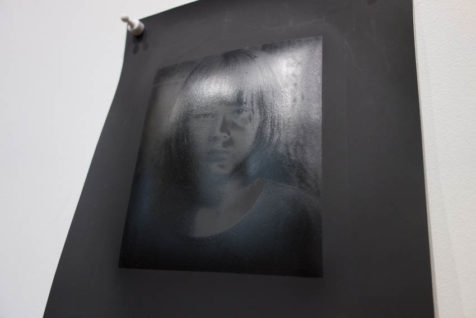
The same print is shown here printed on white and black paper, creating a cool contrast. The image on the black paper is viewable only when held against light
Dennis discusses the participants’ final prints after two days of hard work
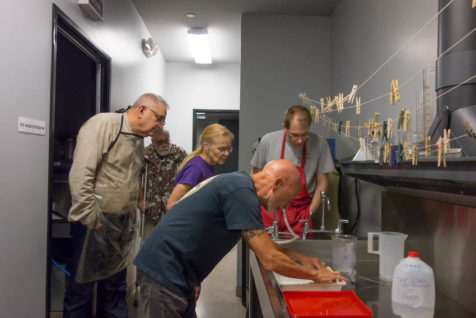
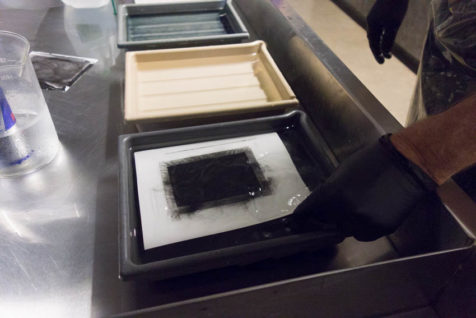
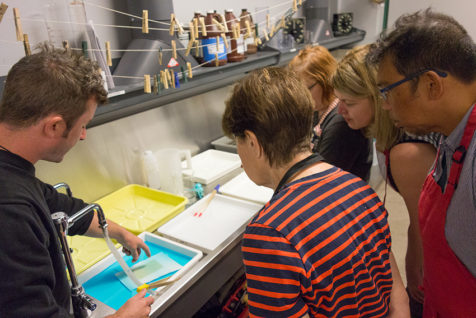
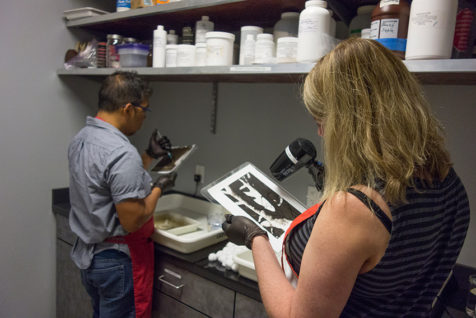
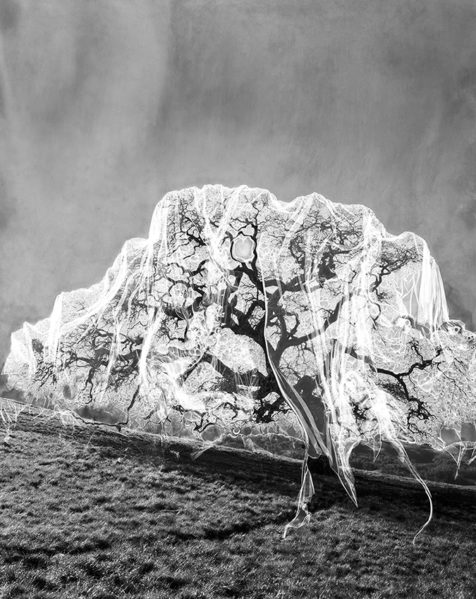
We got experimental in the lab this weekend during our Mordançage workshop with Jace Becker! This free-form, intuitive process process physically lifts the darkest parts of a silver gelatin emulsion, forming delicate veils. The veils can be manipulated or removed, allowing for endless creative opportunities. Our participants played around with a variety of techniques, achieving one-of-a-kind results with each print.
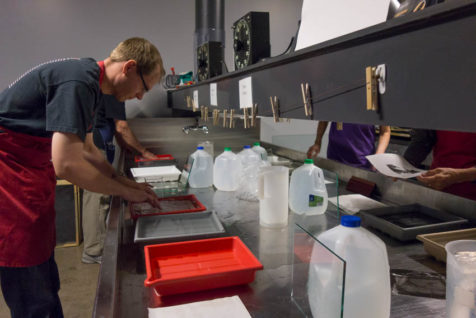
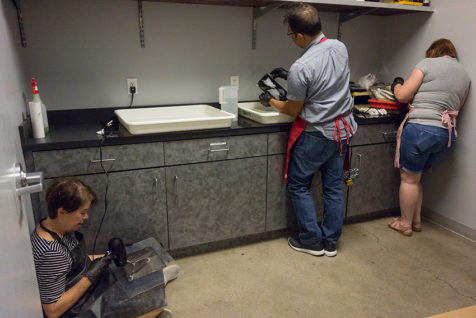
Jace demonstrated processing silver gelatin prints in mordançage solution, water rinsing baths, and developer. The mordançage chemistry bleaches the prints as it’s lifting the emulsion, requiring the print to be re-developed to bring back the image.
After the print has been washed, the lifted gelatin emulsion can be manipulated to add visual interest, motion, or abstract shapes to the image. We used cotton balls, hypodermic needles filled with water, compressed air, and hairdryers to place the veils exactly where we wanted them to go.
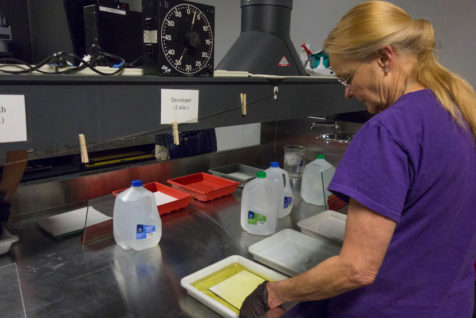
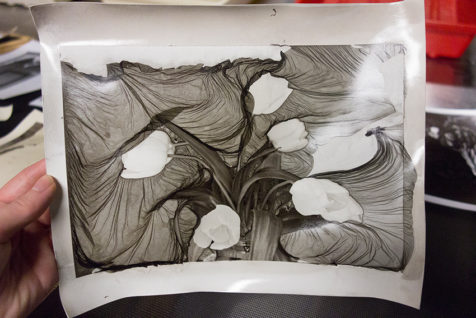
This print is slowly being re-developed – the tan parts of the print were originally black!
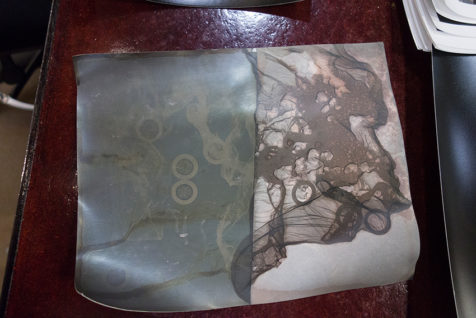
Cesar Laure had some interesting results with this half-mordançaged photogram – the altered portion of the print is on the right.
Beautiful print by Susan Berger
Prints by Suzanne Fallender displaying a range of different colors achieved by placing developing prints out in the sunlight.
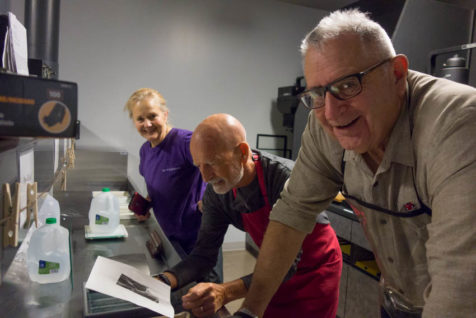
We can’t wait to see what our students make with this process!
Join us for a hands-on introduction to the rare carbon transfer process! In this alternative photographic process, finely ground pigment creates a unique image quality and tonal range. The prints beg to be held in your hands to appreciate their texture and reflection of light.
Though carbon printing is notoriously difficult, with this class you can learn from a contemporary practitioner who has ironed out all the kinks. Dennis Collins has spent years perfecting his process, and now would like to share his knowledge with you!
The skills acquired in this class will provide you with the knowledge necessary to explore the possibilities of your artwork in this medium. This class is open to photographers of all levels, though some darkroom practice is beneficial.
Prior to the workshop students will need to provide a digital image containing highlight, mid-tone and shadow detail from which a digital image will be made for contact printing the size of a 4×5 print. More details will be provided upon registration.
Students will take home a glass and squeegee set at the end of the workshop to continue their exploration of carbon printing at home.
About Dennis
With over 30 years of experience as a Corporate Photographer, Dennis Collins’ interests now lie in the timeless beauty of carbon printing. While earning a Bachelor of Fine Arts Degree from the Center for Creative Studies in Detroit, Michigan he focused on alternative processes.
Dennis has painstakingly embraced carbon printing, a particularly difficult and rare process, and he passionately wants to share this knowledge with others in the hope this art form will continue. When not in the darkroom, Dennis enjoys spending time with his family, volunteering at Art Intersection and Infinity Hospice, and car racing.
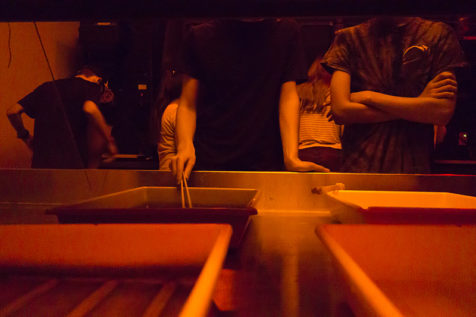
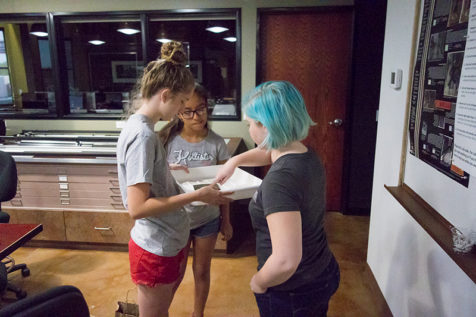
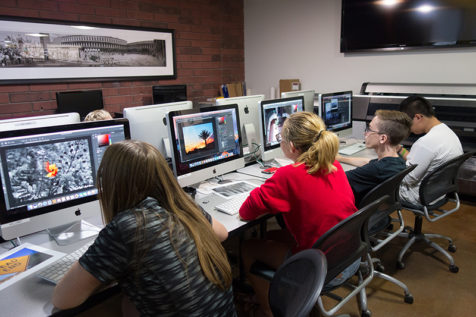
In our Exploring Photography and Darkroom Photography for Teens summer camps we experimented with all the possibilities of photography!
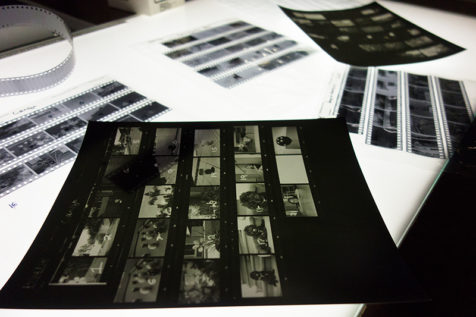
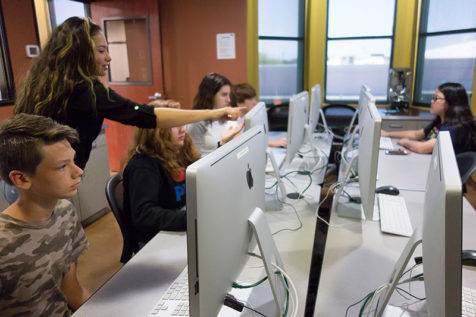
Our Exploring Photography students shot images on 35mm film, processed it themselves, and printed their images in the darkroom – many of them for the first time ever. They also took digital pictures, edited them in Adobe Photoshop, and made beautiful inkjet prints of their photos. They learned manual SLR camera functions like ISO, shutter speed, and aperture, which are used in both film and digital capture, and played around with composition, lighting, and varying perspectives. With these tools, our students are ready to dig deeper into their preferred photographic medium and really become pros!
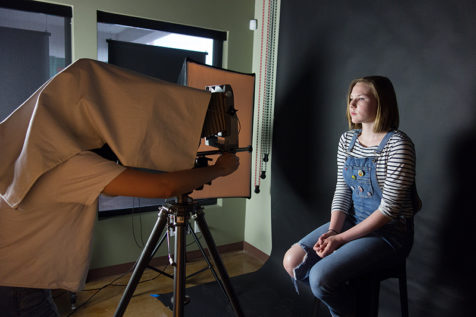
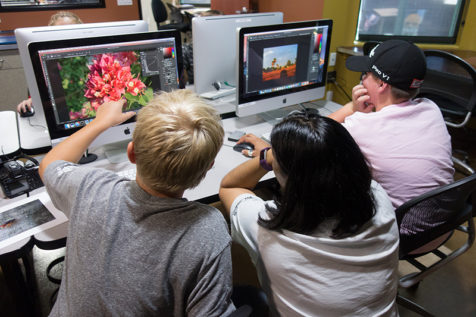
Our Darkroom Photography students shot 35mm, 120mm, and even 4×5″ film, spanning the range of film formats from casual to professional. They each captured photos relating to a project concept of their own choosing, allowing them to flex their artistic muscles in finding or creating images. Once they processed all that film, they put in some dedicated time in the darkroom printing their work, even learning advanced techniques like split-filter printing. In the end, each student left with 3-4 perfect prints for their portfolio.
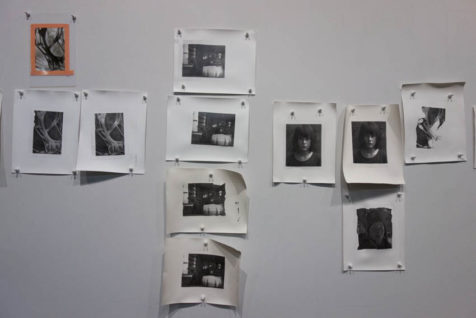
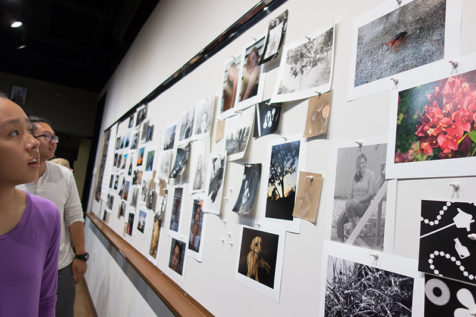
At the end of all our photography camps we pin up everyone’s work from the week and reflect on our successes and challenges. It’s at this time that the immense creative drive and talent our students posses really shines.
We had a blast this summer sharing our love of photography with young artists!
This course provides a hands-on introduction to the fascinating 19th century bleach/etch process of Mordançage. Each student will be instructed concerning the history, process, and various techniques in which to produce engaging imagery within the medium. Mordançage produces wonderfully evocative imagery, and the possibilities for experimentation are nearly endless. The knowledge and skills acquired in this class will equip you in the development of self-expression and provide an opportunity for intuitive applications in your own artistic practice. All students must be prepared to experiment, be creative, but most importantly to have fun!
The course is intended for intermediate to advanced photographers only, as each student must possess a foundation in the fundamentals of gelatin silver darkroom printing techniques prior to enrollment. If you are new to darkroom printing or would like a refresher course, check out our 1-on-1 Tutorials.
Though there will be time to make new prints during the workshop, students will benefit from bringing at least 20 finished gelatin silver prints and a large range of negatives to experiment with this process. More details will be provided upon registration.
About Mordançage
Mordançage is a mystifyingly beautiful method of altering gelatin silver prints or negatives with endless opportunities for experimentation and creative application. Mordançage chemistry physically lifts the darkest parts of the photographic emulsion from the rest of the image, allowing it to be manipulated into veils or removed completely. This rare 19th century process was largely forgotten, but fortunately was revived by 20th and 21st century practitioners Jean-Pierre Sudre and Elizabeth Opalenik. Try it yourself and prepare to be amazed at the possibilities this process will introduce to your artistic practice!
Jace Becker
About Jace
Jace Becker earned degrees in photography and anthropology from Montana State University, and is currently a 3rd year MFA candidate in Photography at Arizona State. His work focuses on the cultural landscape, specifically social and self-exploration, issues of identity, vulnerability, and the darker sides of introspection. His area of emphasis is in alternative processes. When he is not hiding from the Arizona sun in his darkroom, he is an avid rock climber, surfer, and lover of sailing.
Our first Tri-Color Gum Bichromate workshop with Diana Bloomfield last September was such a hit, we decided to do it all again! This past Saturday and Sunday Diana led nine students through this labor-intensive and difficult process. The workshop included many first-time gum printers, and despite the tricky nature of the process, all produced fantastic prints! As we gathered around to look at everyone’s completed work at the end of the two days, one thing was apparent: there is nothing like the magic of gum printing, and no one better to teach it than Diana Bloomfield!
We are grateful for all of our students, but we especially would like to extend a big THANK YOU to our four class participants who travelled from far, far away to take this workshop with us – Cary from Alaska, Timothy from Michigan, and Scott and Kelly from Pennsylvania. We’re so glad you could join us!
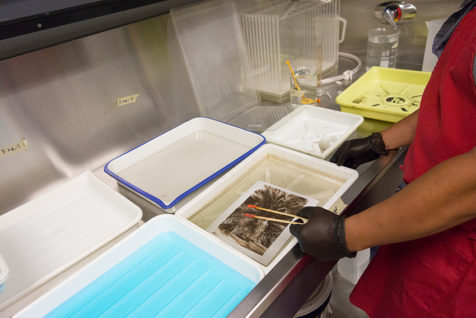
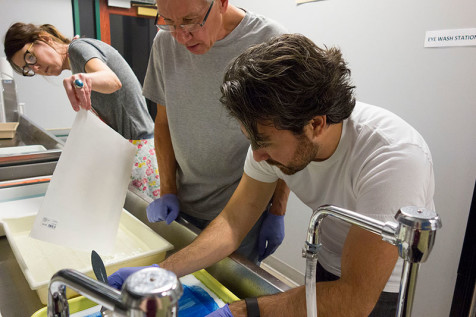
Diana discusses digital negatives during her demonstration at the beginning of the workshop
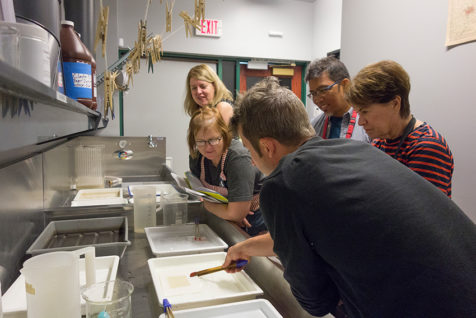
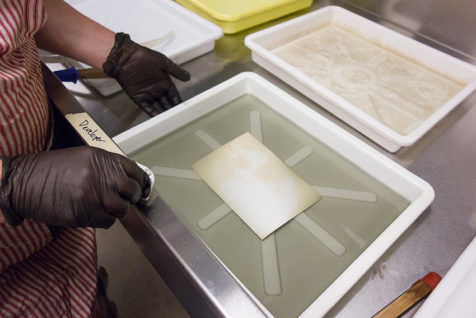
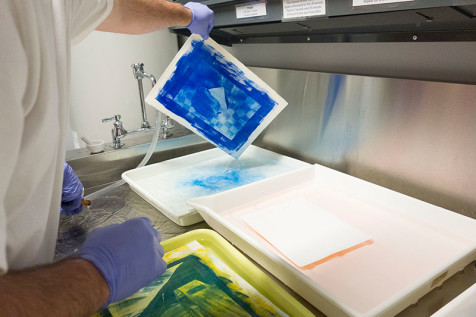
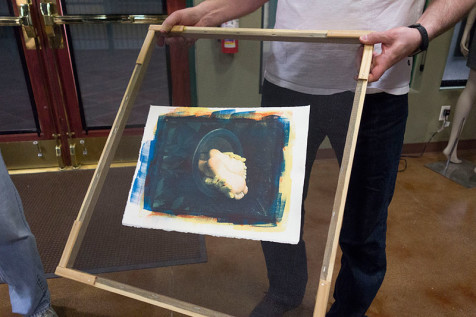
Diana “develops” an exposed print in water
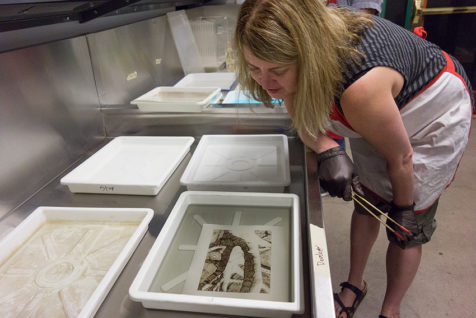
Diana discusses the cyan-layer exposure she demonstrated as it hangs to dry – Terry, the student who provided the negative for this print, will later add yellow and magenta layers
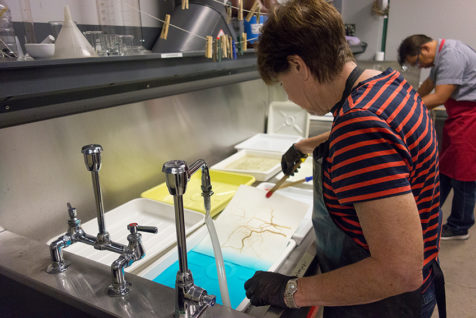
Janet washes out her print after exposing the yellow layer
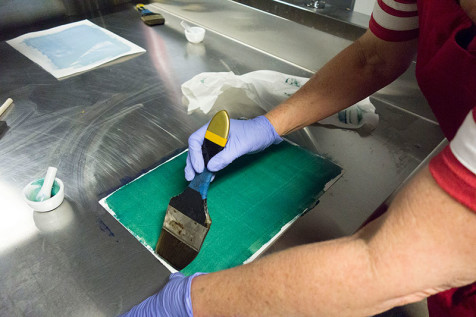
Karen coats her paper with a mixture of watercolor pigment suspended in potassium dichromate and gum arabic. The potassium dichromate hardens the gum arabic upon exposure to UV light; the parts of the coating blocked by the negative remain soft and wash away in water.
Tim washes out his print
Kelly very carefully registers the negative for her next layer
Janet, Tom, and Matthew attend to their prints
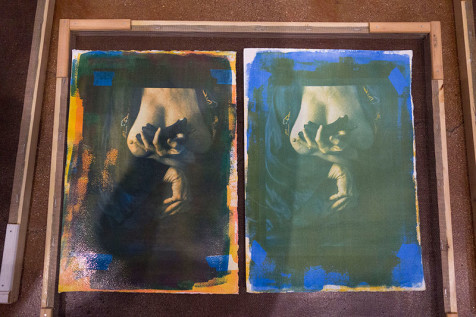
Each layer of pigment make a big impact when gum printing. The print on the left includes cyan, yellow, and magenta layers; the print on the right includes cyan and yellow. Both prints by Karen Hymer
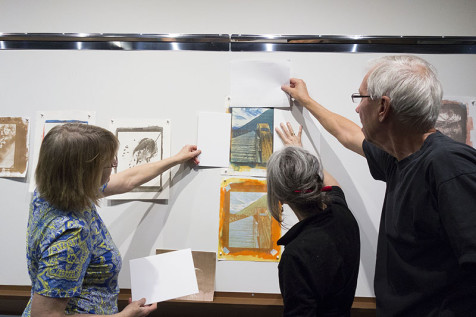
Diana discusses the finished prints one by one with the class
Karen, Diana, and Tom mask off the brush-marked border of Cary King’s image in order to look at the print without visual distractions
Scott Wrage shares his tri-color print, not yet dry enough to pin up, with the rest of the class
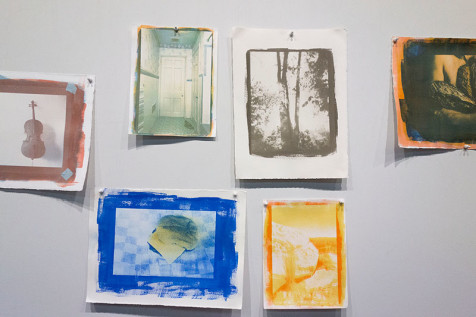
Prints clockwise from left by Matthew Covarrubius, Kelly Wrage, Karen Hymer, and Timothy Wells