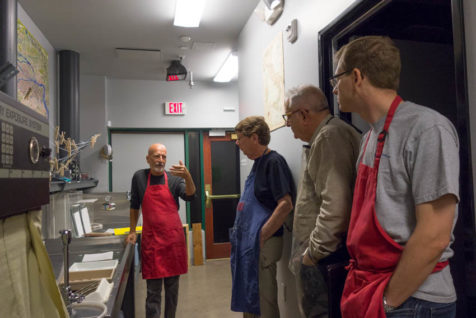
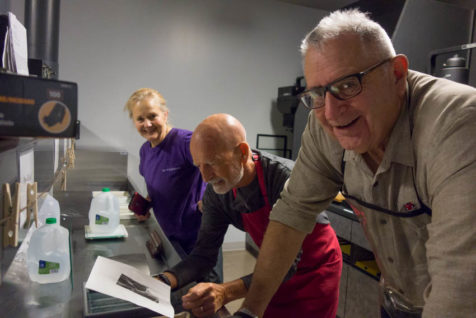
In October we hosted a Carbon Printing workshop led by Dennis L. Collins. Dennis was able to lead our participants through this tricky process from start to finish – sensitizing carbon tissues with potassium dichromate, exposing the tissue with a negative, transferring the exposed tissue to the support sheet, and developing the print. Our students got hands-on experience making prints, as well as lots of practice trouble-shooting, which will better prepare them for continuing this process on their own. Each student made beautiful prints, and all learned to find the beauty in mistakes!
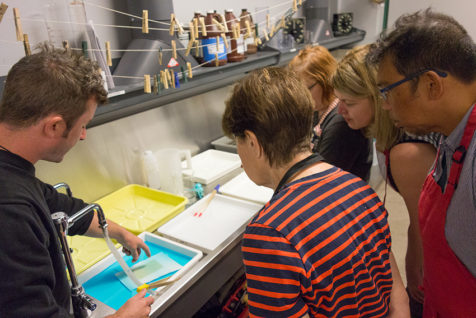
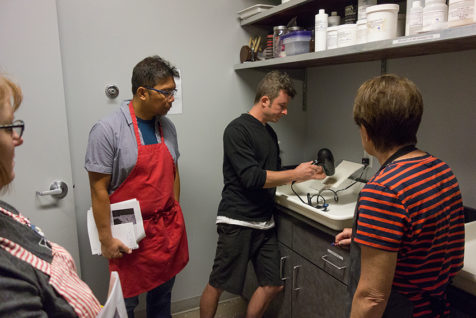
Dennis demonstrates the process of sensitizing carbon tissues to light using potassium dichromate
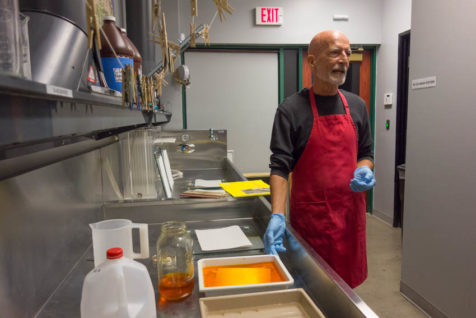
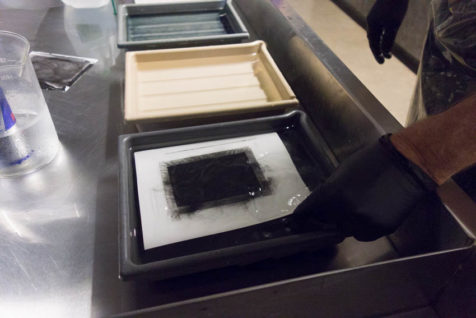
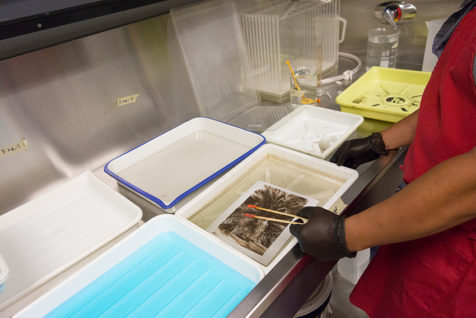
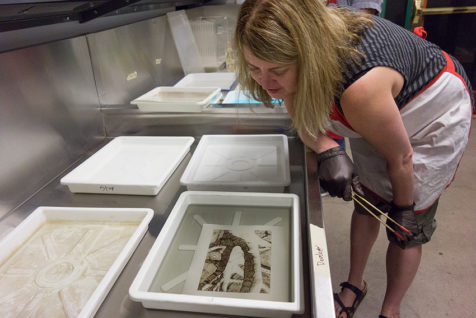
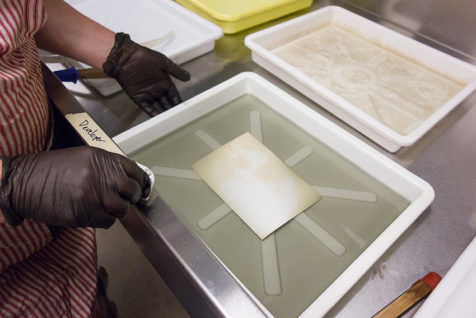
As the carbon print “develops,” un-hardened carbon pigment floats away – leaving the image remaining!
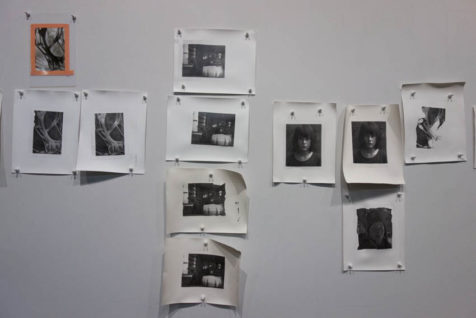
Several participants experimented with salvaging the used carbon tissue, to interesting effects
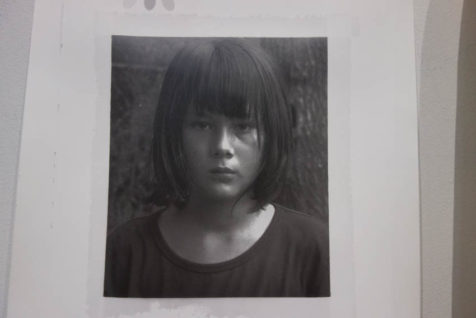
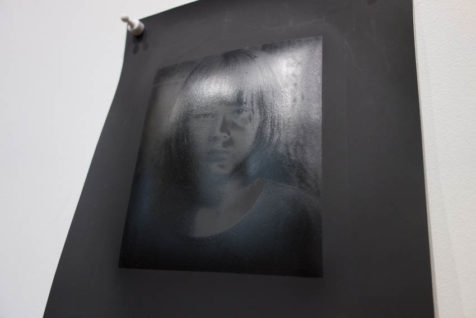
The same print is shown here printed on white and black paper, creating a cool contrast. The image on the black paper is viewable only when held against light
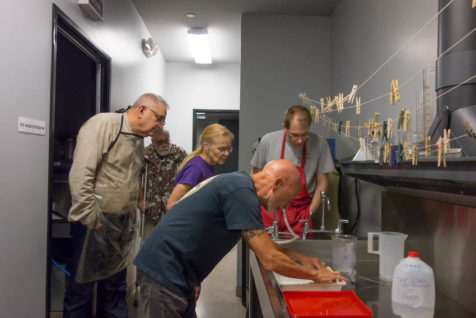
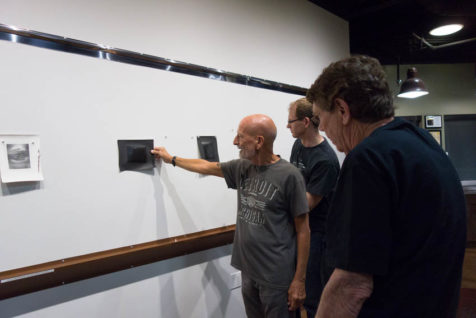
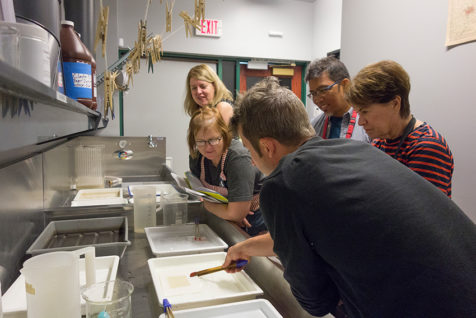
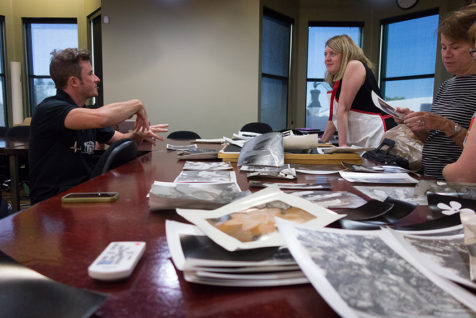
Dennis discusses the participants’ final prints after two days of hard work
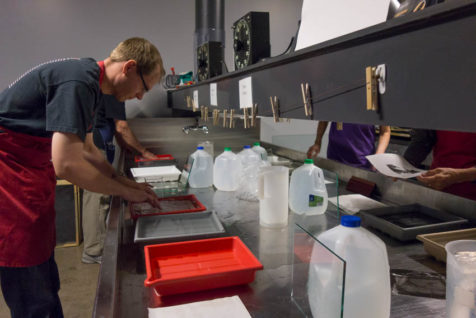
We got experimental in the lab this weekend during our Mordançage workshop with Jace Becker! This free-form, intuitive process process physically lifts the darkest parts of a silver gelatin emulsion, forming delicate veils. The veils can be manipulated or removed, allowing for endless creative opportunities. Our participants played around with a variety of techniques, achieving one-of-a-kind results with each print.
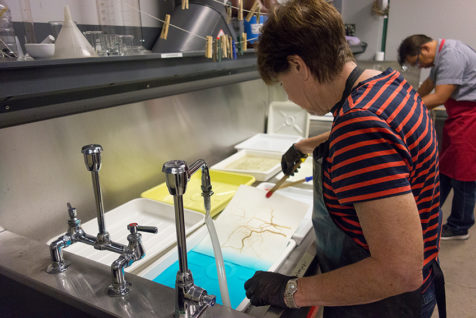
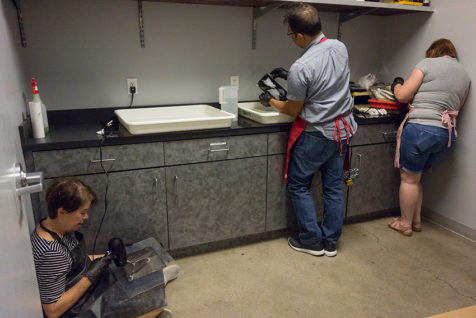
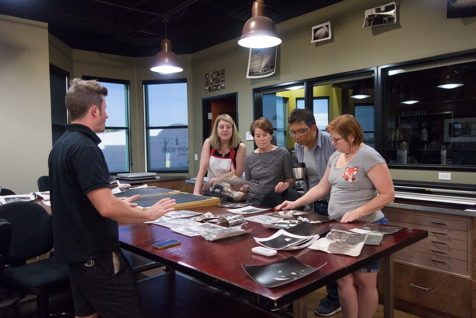
Jace demonstrated processing silver gelatin prints in mordançage solution, water rinsing baths, and developer. The mordançage chemistry bleaches the prints as it’s lifting the emulsion, requiring the print to be re-developed to bring back the image.
After the print has been washed, the lifted gelatin emulsion can be manipulated to add visual interest, motion, or abstract shapes to the image. We used cotton balls, hypodermic needles filled with water, compressed air, and hairdryers to place the veils exactly where we wanted them to go.
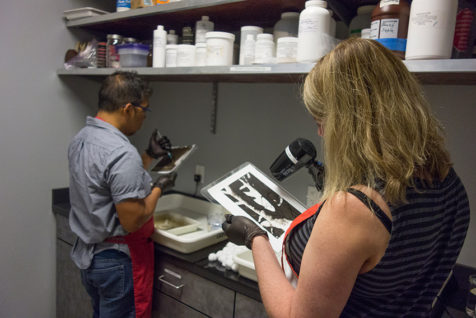
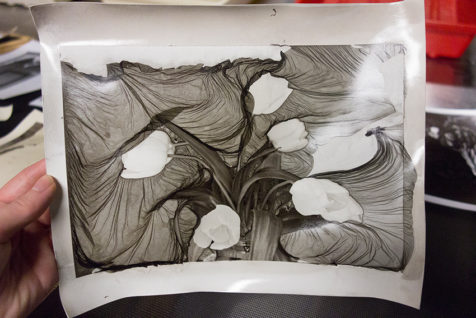
This print is slowly being re-developed – the tan parts of the print were originally black!
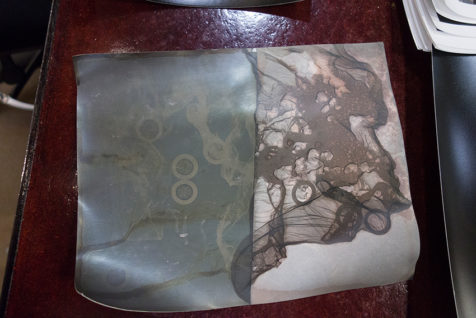
Cesar Laure had some interesting results with this half-mordançaged photogram – the altered portion of the print is on the right.
Beautiful print by Susan Berger
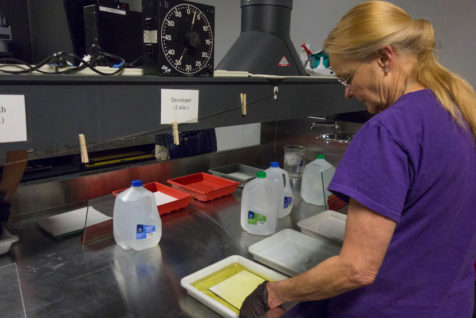
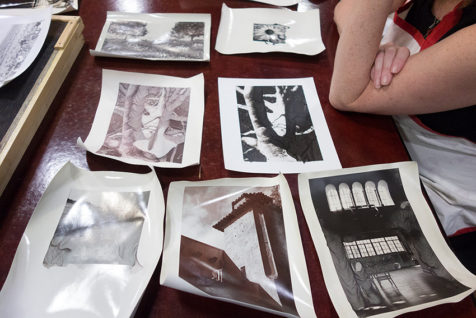
Prints by Suzanne Fallender displaying a range of different colors achieved by placing developing prints out in the sunlight.
We can’t wait to see what our students make with this process!