This past weekend of September 12 and 13 Art Intersection was bursting with color! Tri-color gum bichromate, that is. We had the great pleasure of hosting a two-day, immersive workshop in the process taught by Diana Bloomfield, a master gum printer especially known for her tri-color technique. Ten participants learned about this fascinating 19th-century process that includes mixing together gum arabic, potassium dichromate, and watercolor pigments, then hand-coating that mixture on paper, exposing their paper under a digital negative in UV light, and washing out the print in water to “develop” it.
Diana Bloomfield explains her technique for mixing the gum emulsion on Day 1.
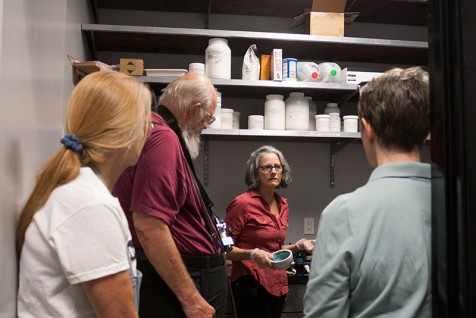
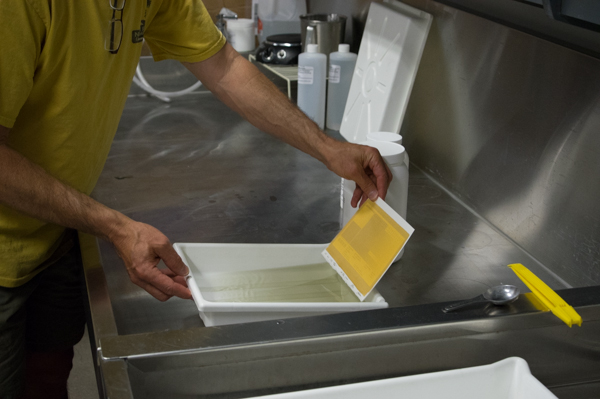
Workshop participants look on as Diana coats a sheet of paper with the light-sensitive gum mixture she’s made.
Any color watercolor pigment can be used, but this tri-color process involves making three separate coating and exposure runs with cyan, magenta, and yellow pigments individually to get a full-color final print.
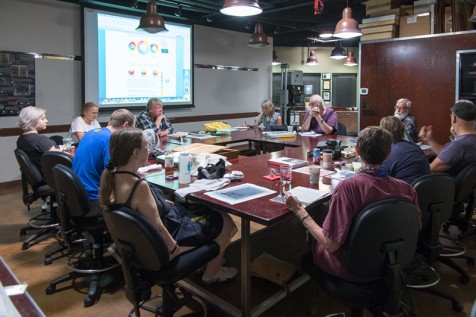
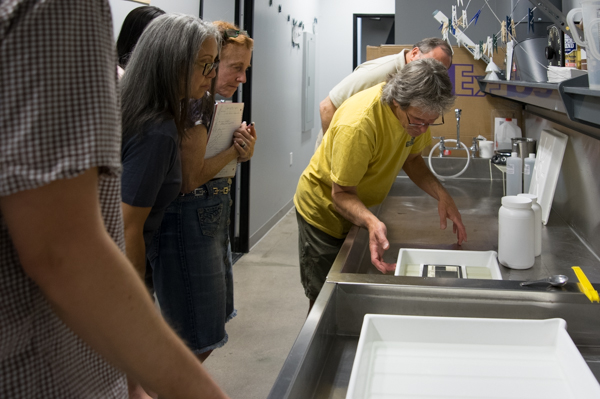
Armed with coffee, the participants listen as Diana explains the basics of color balancing for a natural-looking print at the start of Day 2. If a print does not initially look correct, more passes with various colors can be made to balance it.
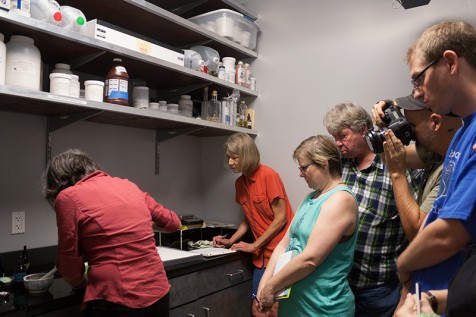
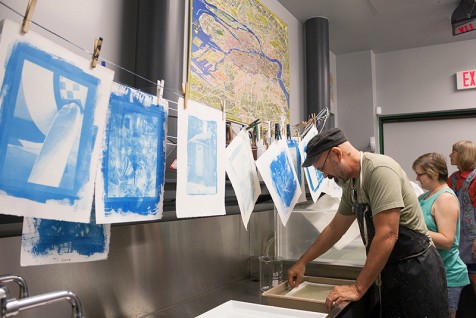
In order for the image to remain sharp, the negative being used must be placed in exactly the same spot for every layer. Michael Puff carefully registers his negative to exactly match the previous layers he’s created.
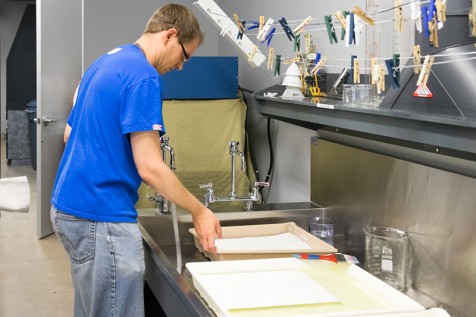
Chris Palmer rinses out his print after exposing it to UV light. During the exposure, the areas of the gum emulsion blocked by the dark areas of the negative wash away in the water, creating highlights. Those underneath the light areas of the negative solidify and adhere to the paper, creating shadows.
BK Skaggs, Shari Trennert, and Maylee Noah rinse their prints while others hang to dry. These prints show the first pass with the cyan layer.
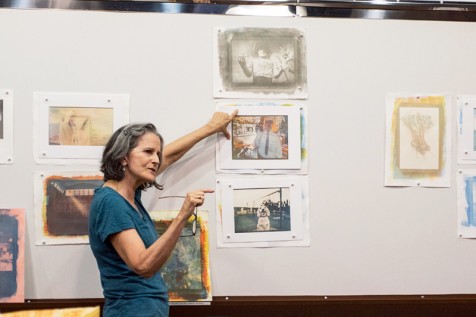
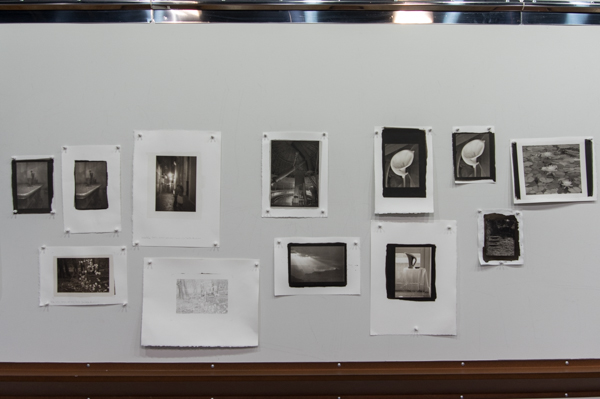
At the end of the workshop, all the participants show the results of their hard work by putting their favorite prints up on the critique board. Diana gives the class constructive feedback on their printing.
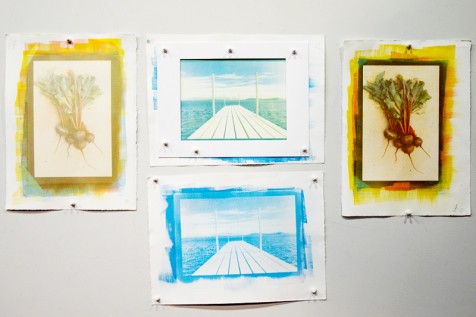
Finished prints by Maylee Noah showing one-color, two-color, and tri-color prints.
This is a follow-up lab for participants of the Ambrotye Workshop at Art Intersection wanting dedicated time to practice glass plate photography under the assistance of Claire Warden. Claire will be available to answer questions and help you create your own ambrotypes.
Glass plates for this open lab day must be purchased at Art Intersection, 4″x5″ plates for $5 each or 8″ x 10″ plates for $20 each. These plates fit the carrier for the Art Intersection 4×5 and 8×10 cameras, or you can bring your own camera. Collodion chemistry is included in the price of the glass plates.
The lab includes softbox continuous lighting in the studio.
Starting Friday evening and working through Sunday, the workshop students learned about creating digital negatives for platinum/palladium, chemistry, and then made prints in the alt process lab.
Keith shared his expertise with the class and showed the process he uses to make palladium and platinum prints. You may remember Keith’s work on exhibit in the North Gallery along with Dick Arentz this past January and February during the Art Intersection Platinum/Palladium exhibition.
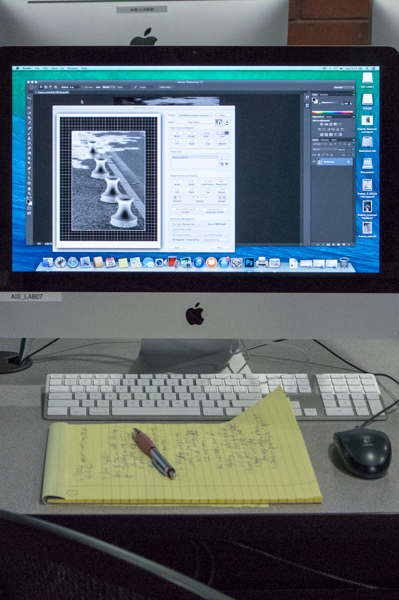
Checking the first digital negatives for densities and checking exposure times.
Keith concentrating on building and explaining digital negatives and Quad Tone RIP.
Discussing paper choices.
Ready to print.
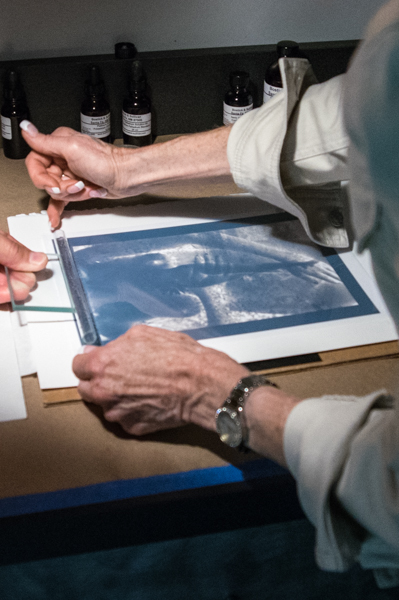
Coating Arches Platine with a glass rod.
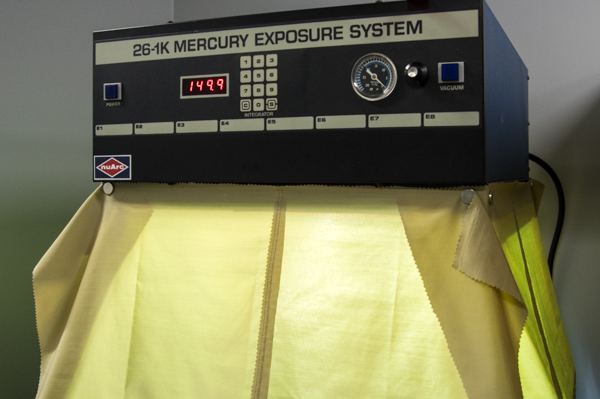
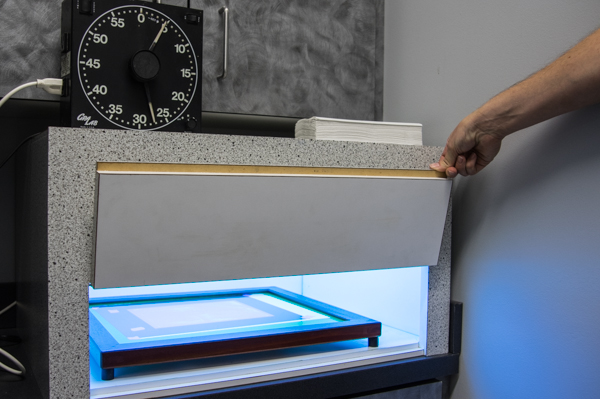
Time to expose.
High tech or low tech, it’s all about UV light.
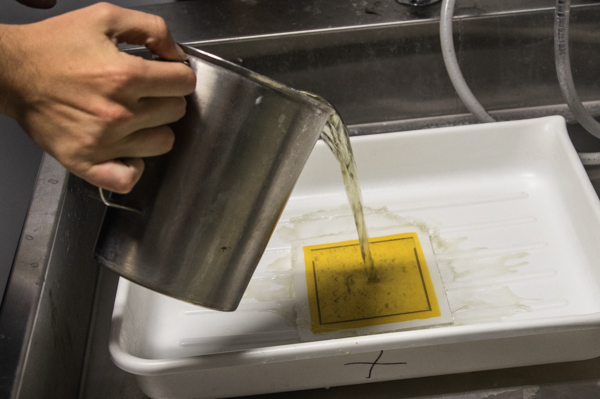
Pouring on the developer.
Trying the cold tone developer.
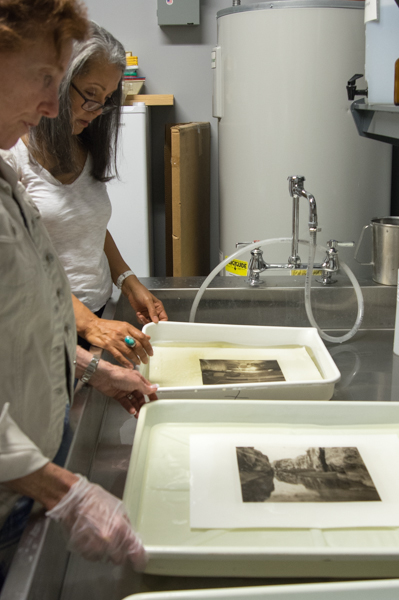
Clearing.
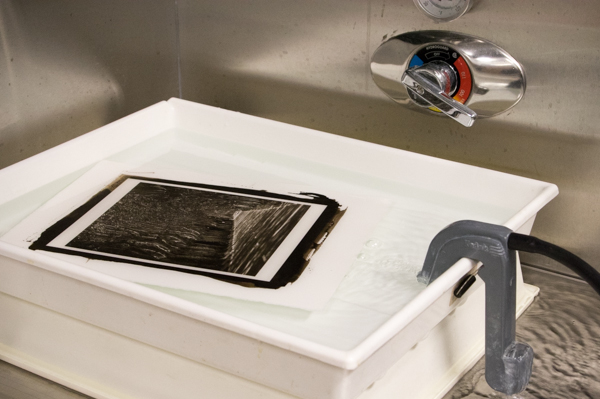
In the final wash.
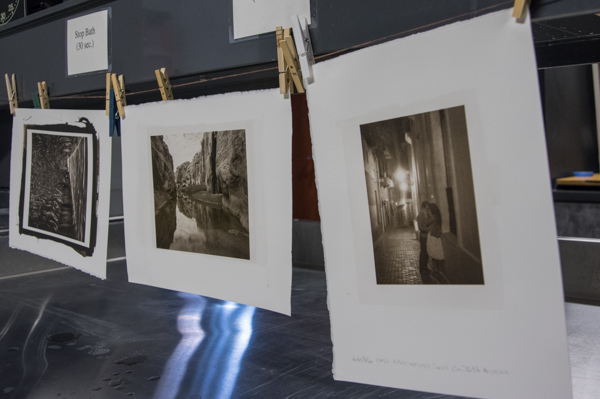
Final prints drying before going to the critique wall.
Some of the dry prints on the critique wall. Others were still too wet to show by the end of the workshop.
This past Saturday and Sunday were filled with mixing, coating, exposing, clearing, and toning.
Amazing results and sometimes surprises along the way of creating images with Colloide-Chloride Printing out Paper, PoP, in a workshop led by Siegfried Rempel. Once a popular commercial method to create images, today we hand coat paper to bring this process back to life and make beautiful, crisp, warm toned images.
We broke into a verse of Love Potion Number 9; “mix it up right here in sink, smells like turpentine, and looks like india ink.”
The use of Collodion in photography for the production of photographic prints an be found as early as the 1850s. The concept of an “emulsion” of silver salts in a collodion binder was introduced by Gaudin in 1853 and by 1861 he was actively producing the “Photogene” collodion emulsion. The collodio-chloride print-out-process represents one of the last PoP processes popular in North America and Europe with commercial photographers from the 1880s until WW II.
The Collodio-Chloride emulsion is coated on paper and the resulting image, contact printed under bright daylight, remains in the collodion layer. The process requires exposure under bright daylight and the image darkens or “prints out” during exposure.
Chris made a 4″ x 5″ glass plate negative using the PoP coating.
The over-exposed image is then processed to stabilize the image and provide the final print image, hence the term print-out-paper.
The collodion held together under processing to allow photo transfer.
A little dichromate for bleaching.
Final toning bath for a PoP image with a “platinum” look.
This workshop is another in the series of alternative process photography learn and create workshops at Art Intersection. In the past one-and-a-half years we have offered these alt-process workshops and demonstrations.
Cyanotype
VanDyke
Gum over Platinum
Albumen
Daguerreotype
Salt Prints
Stay tuned on our website and emails for more learn and create in the darkroom workshops.