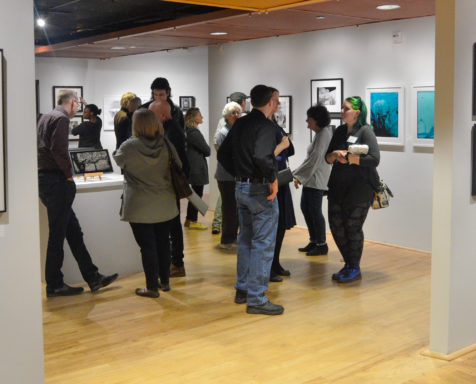
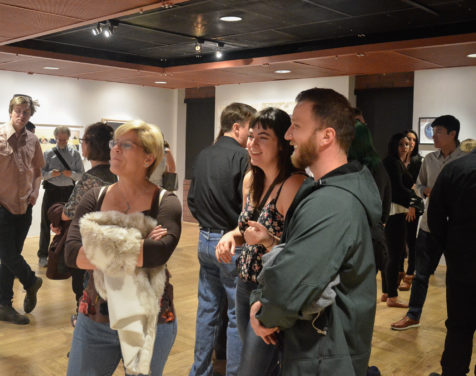
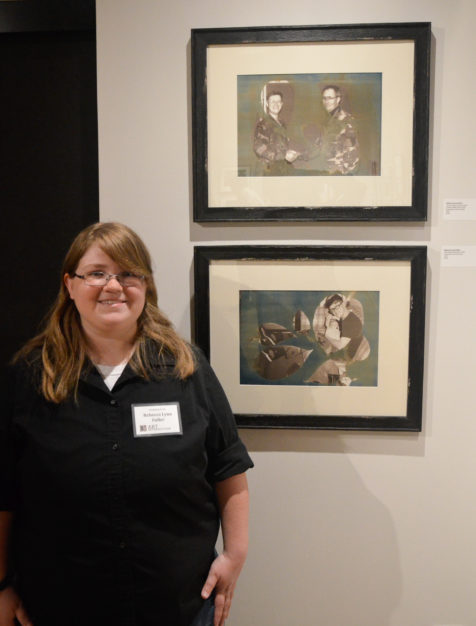
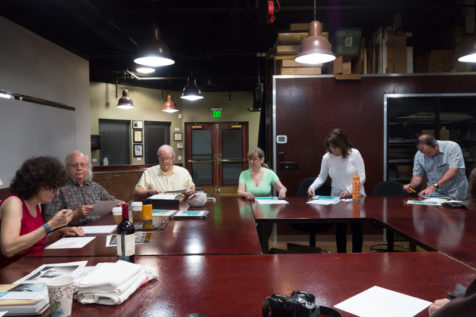
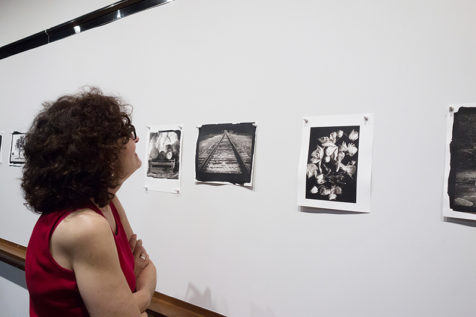
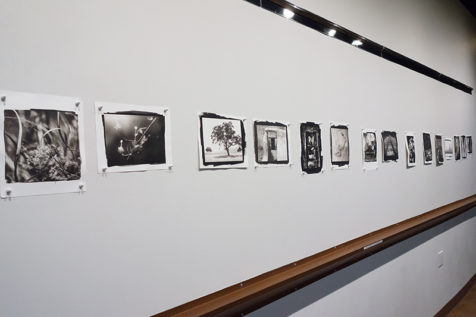
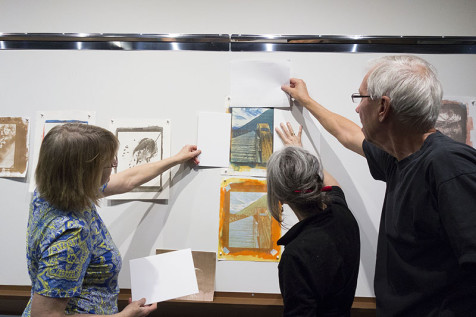
Thanks to everyone who joined us for the Opening Reception of Light Sensitive 2018! We loved seeing so many friendly faces, both familiar and fresh. Thanks for helping us celebrate this beautiful exhibition!
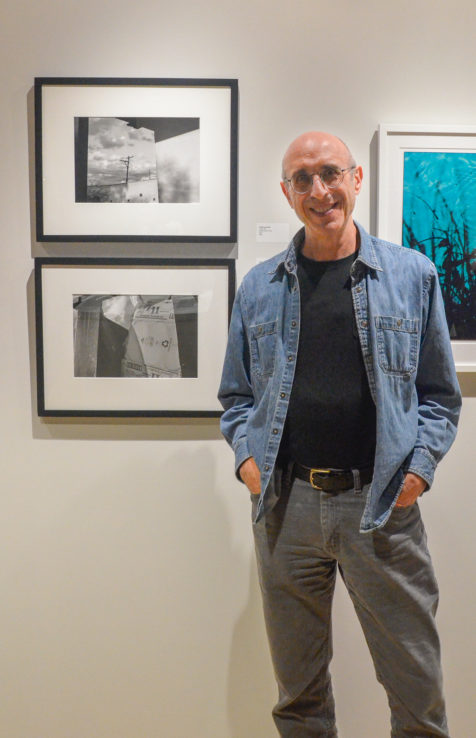
Luigi Luccarelli with his work
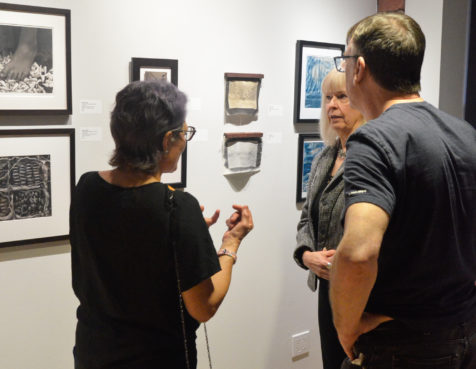
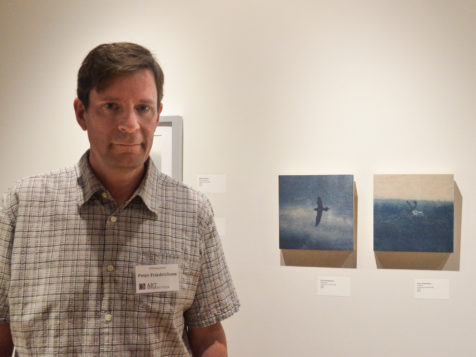
Peter Friedrichsen with his cyanotypes on birch ply
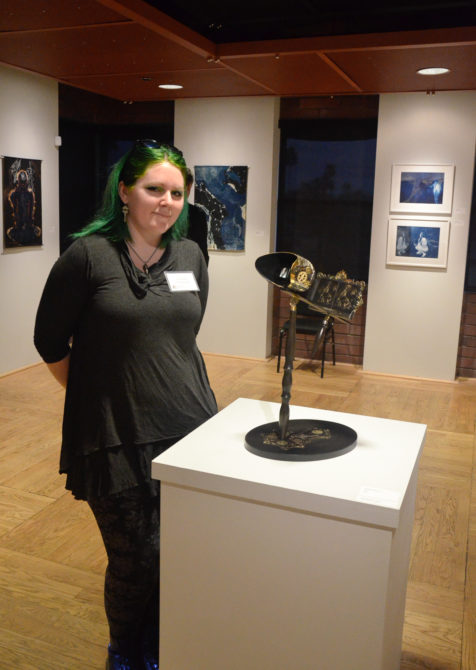
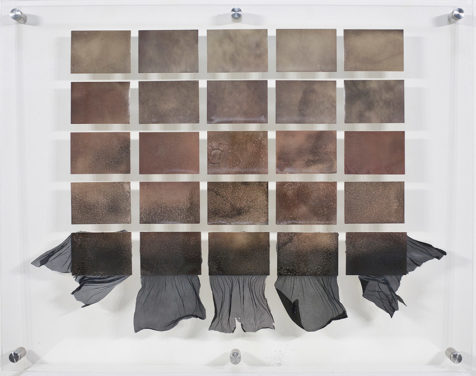
Amanda Scheutzow with one of her sculptural tintype pieces
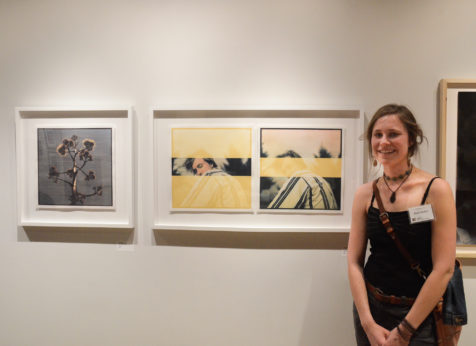
Kayla Bedey with her gum bichromate over cyanotype prints
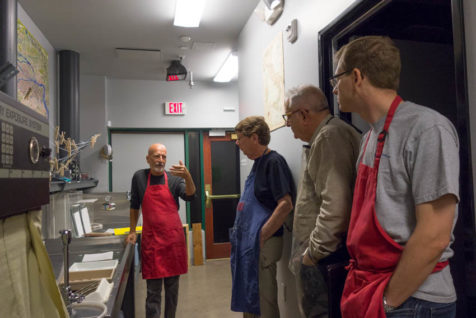
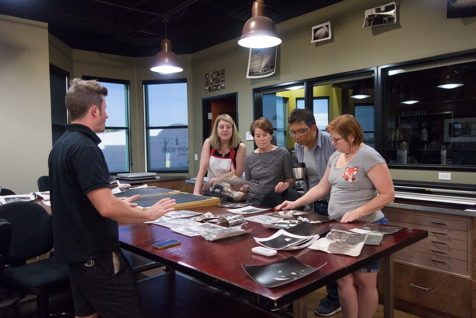
In October we hosted a Carbon Printing workshop led by Dennis L. Collins. Dennis was able to lead our participants through this tricky process from start to finish – sensitizing carbon tissues with potassium dichromate, exposing the tissue with a negative, transferring the exposed tissue to the support sheet, and developing the print. Our students got hands-on experience making prints, as well as lots of practice trouble-shooting, which will better prepare them for continuing this process on their own. Each student made beautiful prints, and all learned to find the beauty in mistakes!
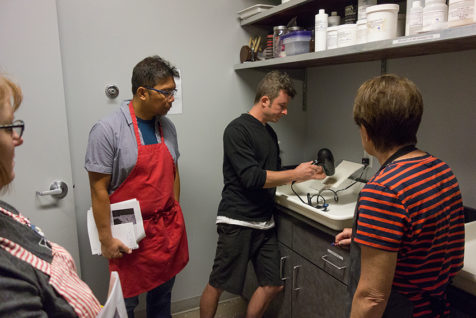
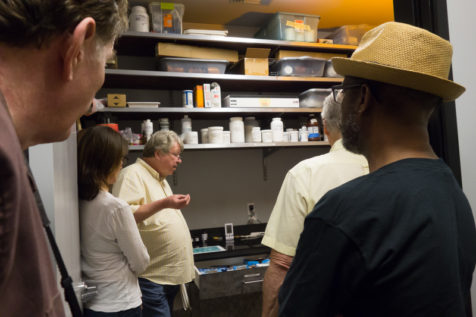
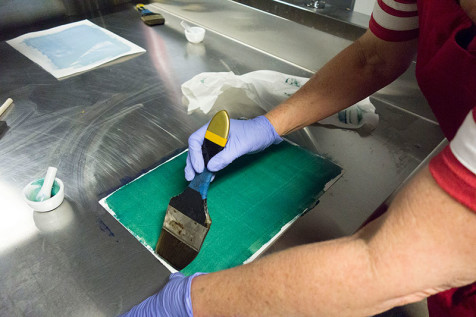
Dennis demonstrates the process of sensitizing carbon tissues to light using potassium dichromate
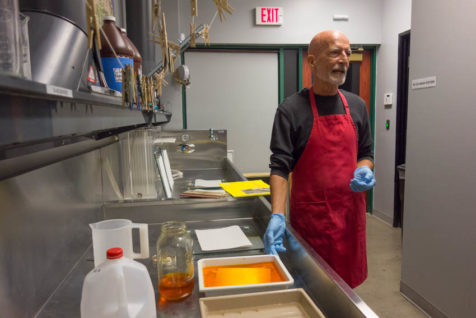
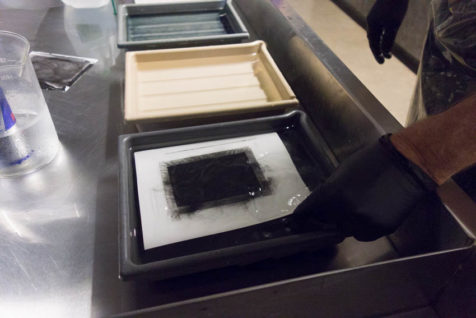
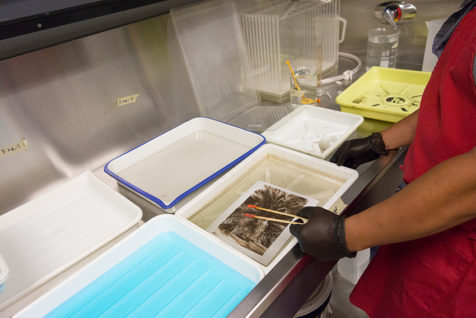
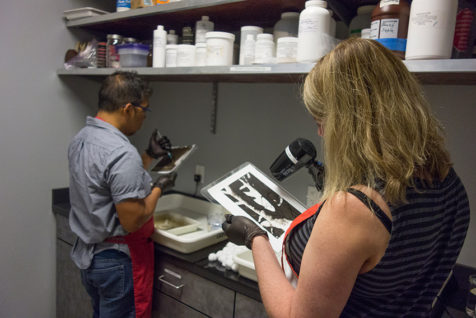
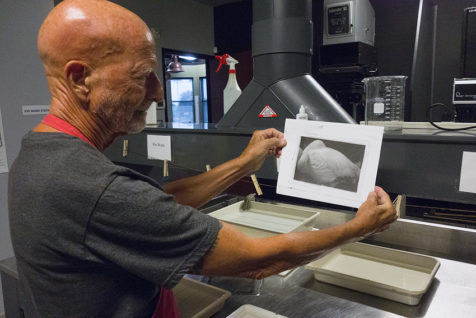
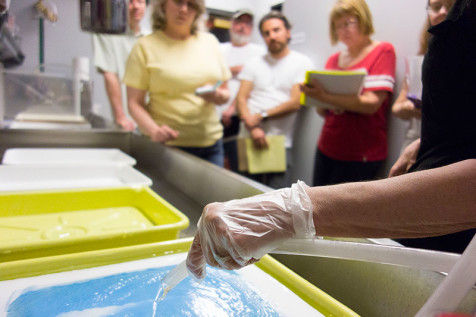
As the carbon print “develops,” un-hardened carbon pigment floats away – leaving the image remaining!
Several participants experimented with salvaging the used carbon tissue, to interesting effects
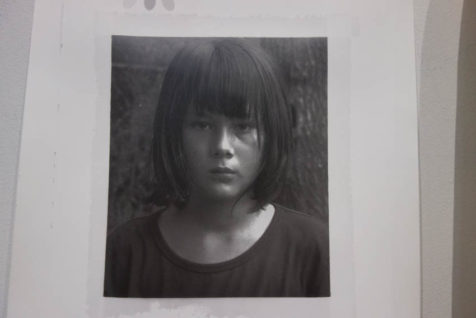
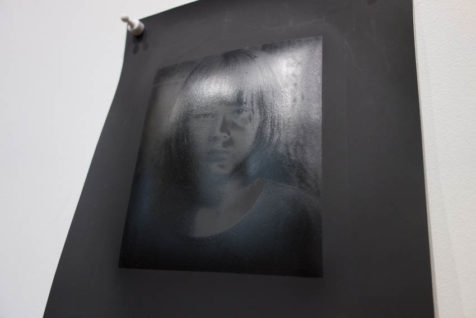
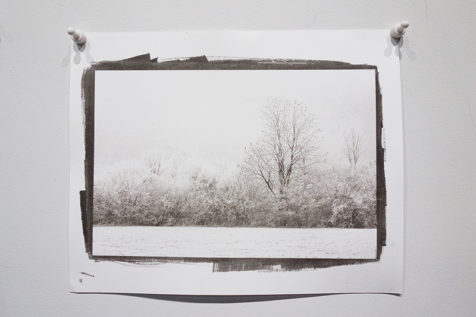
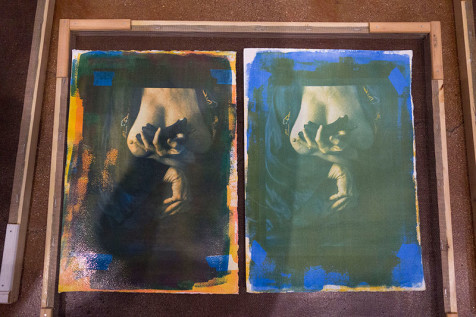
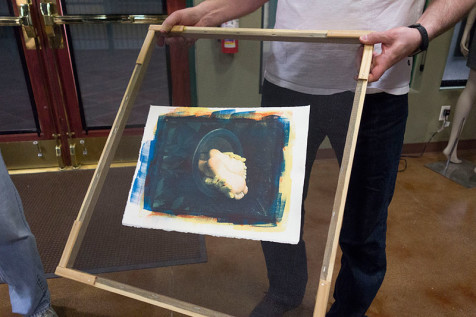
The same print is shown here printed on white and black paper, creating a cool contrast. The image on the black paper is viewable only when held against light
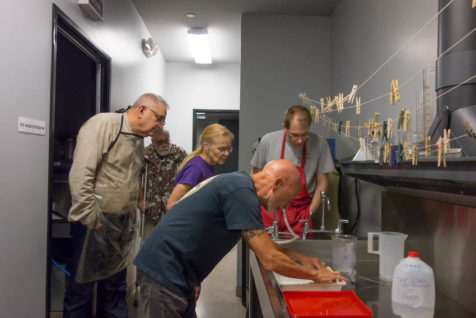
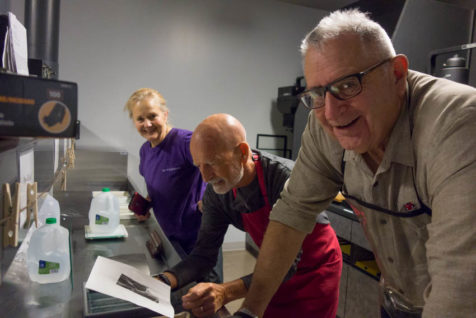
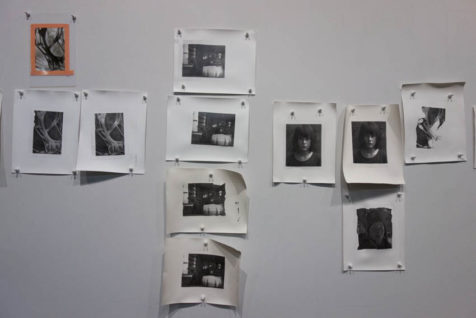
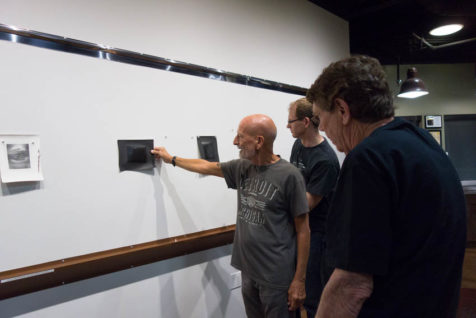
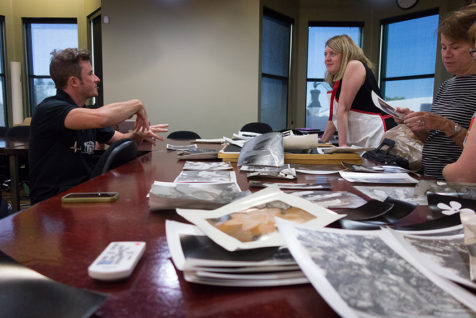
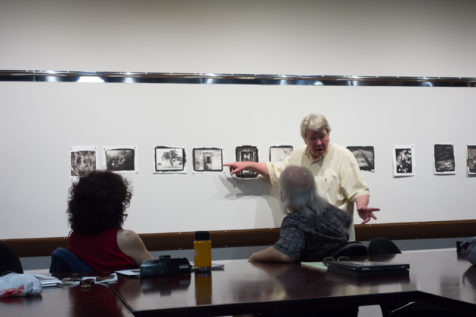
Dennis discusses the participants’ final prints after two days of hard work
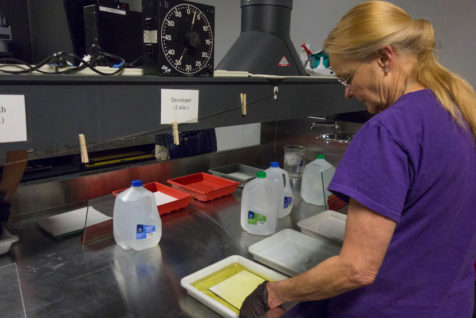
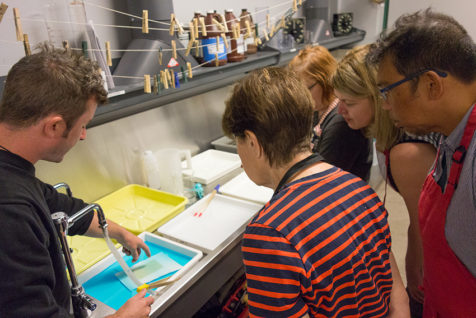
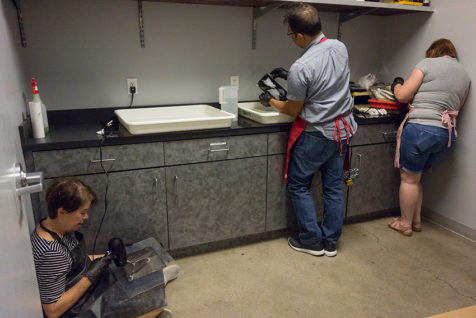
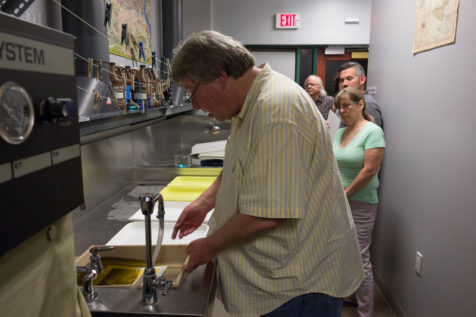
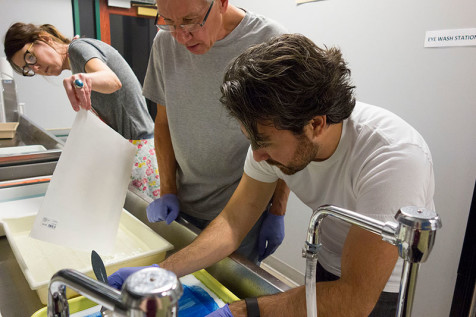
We got experimental in the lab this weekend during our Mordançage workshop with Jace Becker! This free-form, intuitive process process physically lifts the darkest parts of a silver gelatin emulsion, forming delicate veils. The veils can be manipulated or removed, allowing for endless creative opportunities. Our participants played around with a variety of techniques, achieving one-of-a-kind results with each print.
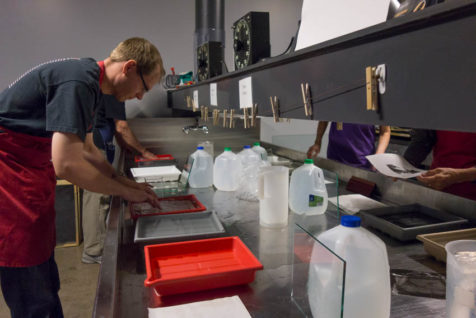
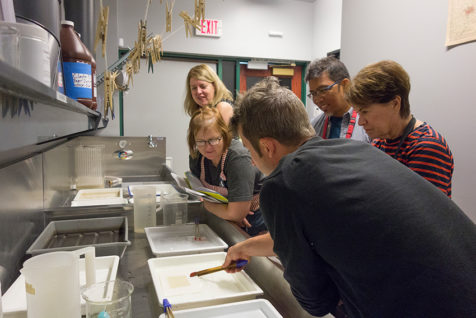
Jace demonstrated processing silver gelatin prints in mordançage solution, water rinsing baths, and developer. The mordançage chemistry bleaches the prints as it’s lifting the emulsion, requiring the print to be re-developed to bring back the image.
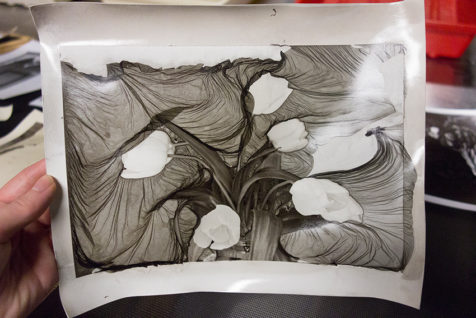
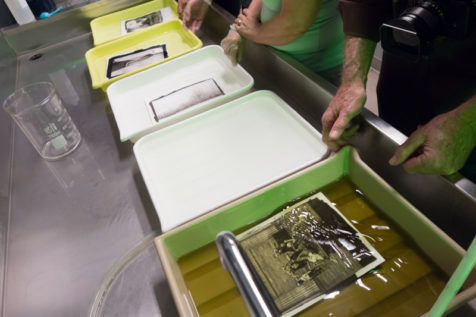
After the print has been washed, the lifted gelatin emulsion can be manipulated to add visual interest, motion, or abstract shapes to the image. We used cotton balls, hypodermic needles filled with water, compressed air, and hairdryers to place the veils exactly where we wanted them to go.
This print is slowly being re-developed – the tan parts of the print were originally black!
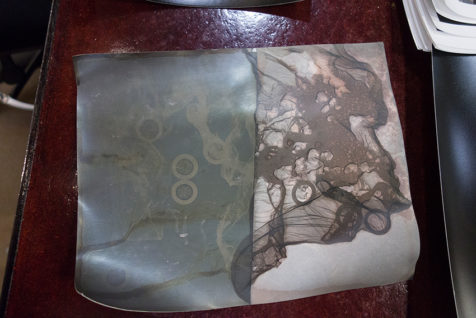
Cesar Laure had some interesting results with this half-mordançaged photogram – the altered portion of the print is on the right.
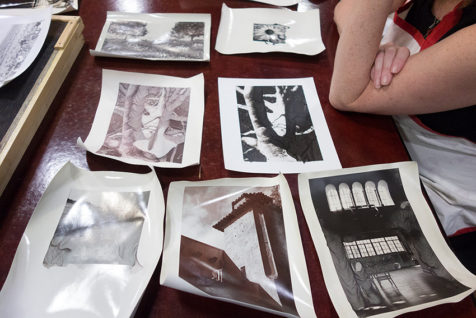
Beautiful print by Susan Berger
Prints by Suzanne Fallender displaying a range of different colors achieved by placing developing prints out in the sunlight.
We can’t wait to see what our students make with this process!
Join us for a hands-on introduction to the rare carbon transfer process! In this alternative photographic process, finely ground pigment creates a unique image quality and tonal range. The prints beg to be held in your hands to appreciate their texture and reflection of light.
Though carbon printing is notoriously difficult, with this class you can learn from a contemporary practitioner who has ironed out all the kinks. Dennis Collins has spent years perfecting his process, and now would like to share his knowledge with you!
The skills acquired in this class will provide you with the knowledge necessary to explore the possibilities of your artwork in this medium. This class is open to photographers of all levels, though some darkroom practice is beneficial.
Prior to the workshop students will need to provide a digital image containing highlight, mid-tone and shadow detail from which a digital image will be made for contact printing the size of a 4×5 print. More details will be provided upon registration.
Students will take home a glass and squeegee set at the end of the workshop to continue their exploration of carbon printing at home.
About Dennis
With over 30 years of experience as a Corporate Photographer, Dennis Collins’ interests now lie in the timeless beauty of carbon printing. While earning a Bachelor of Fine Arts Degree from the Center for Creative Studies in Detroit, Michigan he focused on alternative processes.
Dennis has painstakingly embraced carbon printing, a particularly difficult and rare process, and he passionately wants to share this knowledge with others in the hope this art form will continue. When not in the darkroom, Dennis enjoys spending time with his family, volunteering at Art Intersection and Infinity Hospice, and car racing.
Join us Friday, September 29 for an Artist Lecture with Phoenix-based artist Jace Becker! Jace will speak about his growth as an artist and how his artistic journey led him to the process of Mordançage, as well as the history of the process and others who have contributed to its evolution. This lecture is free and open to the public.
To try Mordançage for yourself, sign up for our Mordançage Workshop with Jace Becker on Saturday, October 7 and Sunday, October 8! Click here for more details and to register.
About Jace
Jace earned degrees in photography and anthropology from Montana State University, and is currently a 3rd year MFA candidate in Photography at Arizona State. His work focuses on the cultural landscape, specifically social and self-exploration, issues of identity, vulnerability, and the darker sides of introspection. His area of emphasis is in alternative processes. When he is not hiding from the Arizona sun in his darkroom, he is an avid rock climber, surfer, and lover of sailing.
This course provides a hands-on introduction to the fascinating 19th century bleach/etch process of Mordançage. Each student will be instructed concerning the history, process, and various techniques in which to produce engaging imagery within the medium. Mordançage produces wonderfully evocative imagery, and the possibilities for experimentation are nearly endless. The knowledge and skills acquired in this class will equip you in the development of self-expression and provide an opportunity for intuitive applications in your own artistic practice. All students must be prepared to experiment, be creative, but most importantly to have fun!
The course is intended for intermediate to advanced photographers only, as each student must possess a foundation in the fundamentals of gelatin silver darkroom printing techniques prior to enrollment. If you are new to darkroom printing or would like a refresher course, check out our 1-on-1 Tutorials.
Though there will be time to make new prints during the workshop, students will benefit from bringing at least 20 finished gelatin silver prints and a large range of negatives to experiment with this process. More details will be provided upon registration.
About Mordançage
Mordançage is a mystifyingly beautiful method of altering gelatin silver prints or negatives with endless opportunities for experimentation and creative application. Mordançage chemistry physically lifts the darkest parts of the photographic emulsion from the rest of the image, allowing it to be manipulated into veils or removed completely. This rare 19th century process was largely forgotten, but fortunately was revived by 20th and 21st century practitioners Jean-Pierre Sudre and Elizabeth Opalenik. Try it yourself and prepare to be amazed at the possibilities this process will introduce to your artistic practice!
Jace Becker
About Jace
Jace Becker earned degrees in photography and anthropology from Montana State University, and is currently a 3rd year MFA candidate in Photography at Arizona State. His work focuses on the cultural landscape, specifically social and self-exploration, issues of identity, vulnerability, and the darker sides of introspection. His area of emphasis is in alternative processes. When he is not hiding from the Arizona sun in his darkroom, he is an avid rock climber, surfer, and lover of sailing.
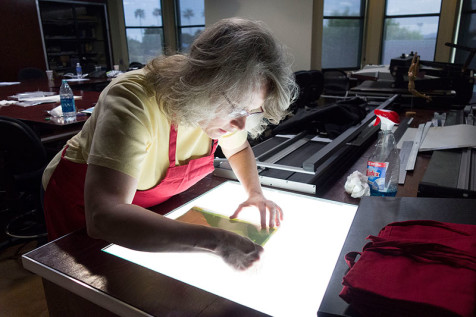
Printing out Paper expert Siegfried Rempel will give a lecture on this fascinating process on Friday, March 24. Join us for this special opportunity to learn more about this historic method – the lecture is free and open to the public. If you’re feeling inspired, join us for our Printing out Paper Workshop the following day! Learn more and register here.
About PoP
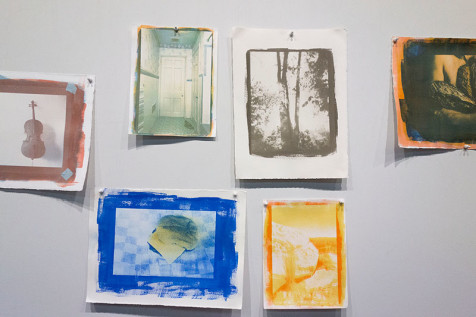
Printing out Paper, or PoP, makes an image by exposing a negative and paper to light without any chemical development. With a printing-out process, you can watch your image come to life during your exposure, rather than having to wait until it is processed! Used originally as a simplified field process without the need of a darkroom, today we use this handmade emulsion to create artful images with subtle and warm tonality.
The use of Collodion in photography for the production of photographic prints an be found as early as the 1850s, and is most commonly used in the Wet Plate Collodion process to produce tintypes and ambrotypes. The concept of an “emulsion” of silver salts in a collodion binder was introduced by Gaudin in 1853 and by 1861 he was actively producing the “Photogene” collodion emulsion.
The collodio-chloride print has a similar physical appearance to its gelatin counterparts and it can be difficult to tell them apart. In fact, modern gelatin silver darkroom papers evolved from this early printing method! Today, we still practice the collodio-chloride process because of the rich and beautiful tonality it imparts on our images.
Printing out Paper, or PoP, makes an image by exposing a negative and paper to light without any chemical development. With a printing-out process, you can watch your image come to life during your exposure, rather than having to wait until it is processed! Used originally as a simplified field process without the need of a darkroom, today we use this handmade emulsion to create artful images with subtle and warm tonality.
This workshop begins on Friday night with a lecture and demo, where instructor Siegfried Rempel will discuss the history of collodio-chloride printing and demonstrate two different printing-out methods. Following on Saturday is a day of coating and printing your own hand fabricated, collodio-chloride printing out paper.
The day after the workshop, return to the lab to further refine your mastery of this process! We are hosting a PoP Open Studio on Sunday, March 26 from 9am – 3pm. More information here.
About Collodio-Chloride
The use of Collodion in photography for the production of photographic prints an be found as early as the 1850s, and is most commonly used in the Wet Plate Collodion process to produce tintypes and ambrotypes. The concept of an “emulsion” of silver salts in a collodion binder was introduced by Gaudin in 1853 and by 1861 he was actively producing the “Photogene” collodion emulsion.
The collodio-chloride print has a similar physical appearance to its gelatin counterparts and it can be difficult to tell them apart. In fact, modern gelatin silver darkroom papers evolved from this early printing method! Today, we still practice the collodio-chloride process because of the rich and beautiful tonality it imparts on our images.
Late last month we had the pleasure of hosting a Platinum/Palladium workshop in our Photographic Arts Lab led by San Francisco-based artist Michael T. Puff! A master of this luminous, tonally-rich process, Michael led our eleven participants in making gorgeous prints of their own images.
Platinum/Palladium printing, a photographic process invented in the 19th century, has long been a favorite of alternative process photographers for its highly archival nature and infinite variations of gray tones as highlights shift to shadows. In the process Michael uses, ferric oxalate, palladium, and sodium chloroplatinate are mixed together, hand-brushed onto 100% cotton rag paper, exposed to UV light through a digital negative, and then processed with potassium oxalate and sodium thiosulfate. The end result is a handcrafted print that is estimated to retain its appearance for a thousand years!
Thank you to all of our wonderful participants, and of course to Michael for traveling to us to share his expertise!
Michael instructs the class on mixing the chemicals and coating their paper
The participants mark where the image portion of their digital negatives will be centered on their paper
After exposing a coated piece of paper to UV light, Michael demonstrates developing the print
Participants process their exposed prints
Cyd looks at the class’s finished work at the end of the day
Gorgeous work produced by the students pinned up on the critique board
Michael talks about successes and things to work on with the students
Beautiful work by Lloyd Matthews
Luminous prints by Deb Alberty
A delicate, icy print by our very own Business Manager, Debra Wilson!
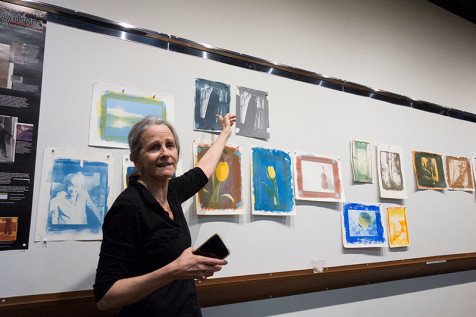
Our first Tri-Color Gum Bichromate workshop with Diana Bloomfield last September was such a hit, we decided to do it all again! This past Saturday and Sunday Diana led nine students through this labor-intensive and difficult process. The workshop included many first-time gum printers, and despite the tricky nature of the process, all produced fantastic prints! As we gathered around to look at everyone’s completed work at the end of the two days, one thing was apparent: there is nothing like the magic of gum printing, and no one better to teach it than Diana Bloomfield!
We are grateful for all of our students, but we especially would like to extend a big THANK YOU to our four class participants who travelled from far, far away to take this workshop with us – Cary from Alaska, Timothy from Michigan, and Scott and Kelly from Pennsylvania. We’re so glad you could join us!
Diana discusses digital negatives during her demonstration at the beginning of the workshop
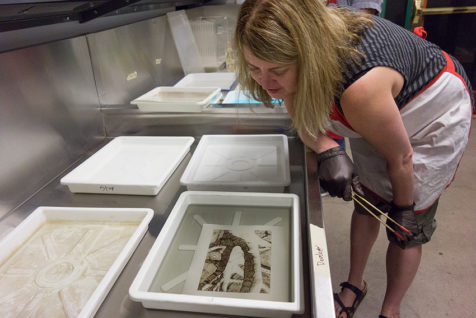
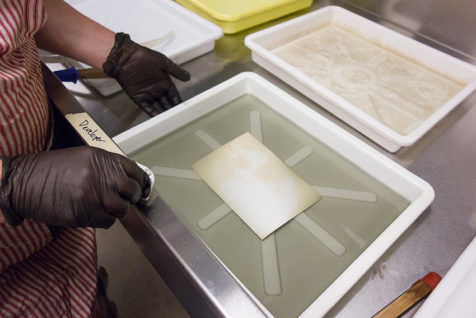
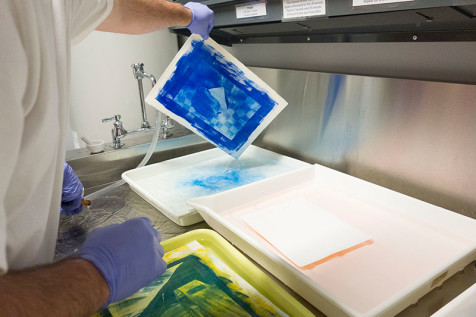
Diana “develops” an exposed print in water
Diana discusses the cyan-layer exposure she demonstrated as it hangs to dry – Terry, the student who provided the negative for this print, will later add yellow and magenta layers
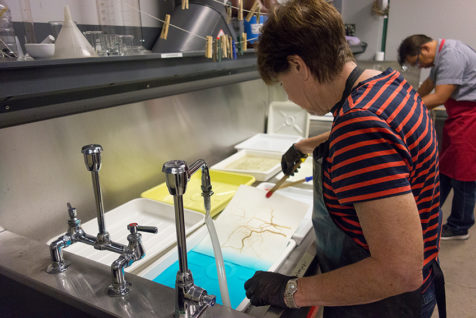
Janet washes out her print after exposing the yellow layer
Karen coats her paper with a mixture of watercolor pigment suspended in potassium dichromate and gum arabic. The potassium dichromate hardens the gum arabic upon exposure to UV light; the parts of the coating blocked by the negative remain soft and wash away in water.
Tim washes out his print
Kelly very carefully registers the negative for her next layer
Janet, Tom, and Matthew attend to their prints
Each layer of pigment make a big impact when gum printing. The print on the left includes cyan, yellow, and magenta layers; the print on the right includes cyan and yellow. Both prints by Karen Hymer
Diana discusses the finished prints one by one with the class
Karen, Diana, and Tom mask off the brush-marked border of Cary King’s image in order to look at the print without visual distractions
Scott Wrage shares his tri-color print, not yet dry enough to pin up, with the rest of the class
Prints clockwise from left by Matthew Covarrubius, Kelly Wrage, Karen Hymer, and Timothy Wells