Our first Tri-Color Gum Bichromate workshop with Diana Bloomfield last September was such a hit, we decided to do it all again! This past Saturday and Sunday Diana led nine students through this labor-intensive and difficult process. The workshop included many first-time gum printers, and despite the tricky nature of the process, all produced fantastic prints! As we gathered around to look at everyone’s completed work at the end of the two days, one thing was apparent: there is nothing like the magic of gum printing, and no one better to teach it than Diana Bloomfield!
We are grateful for all of our students, but we especially would like to extend a big THANK YOU to our four class participants who travelled from far, far away to take this workshop with us – Cary from Alaska, Timothy from Michigan, and Scott and Kelly from Pennsylvania. We’re so glad you could join us!
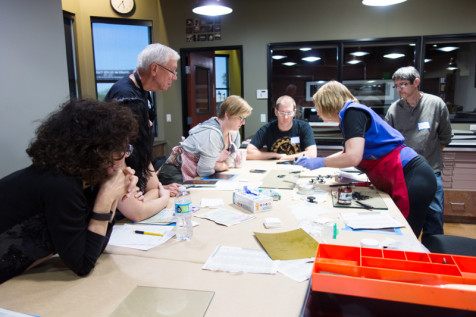
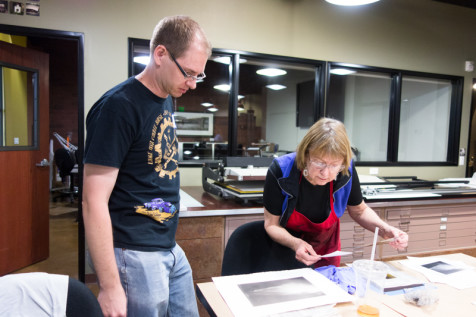
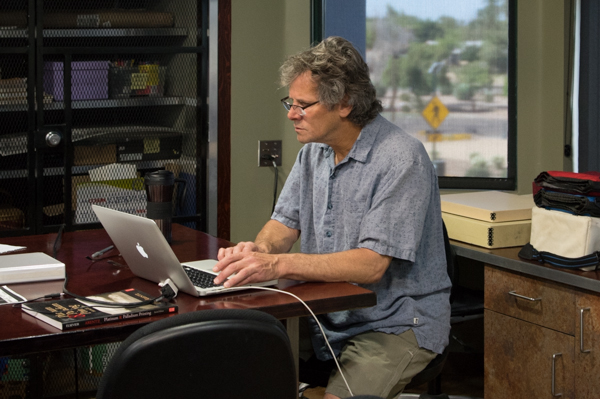
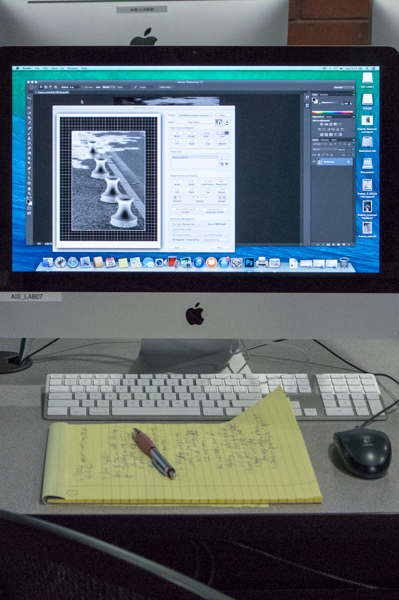
Diana discusses digital negatives during her demonstration at the beginning of the workshop
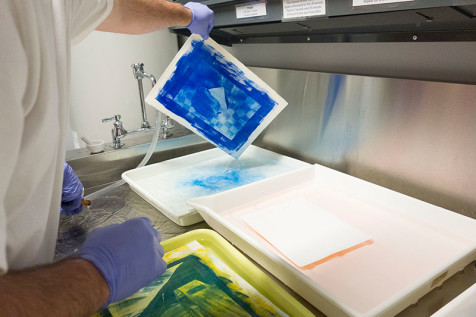
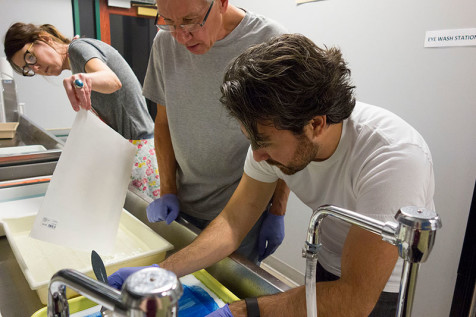
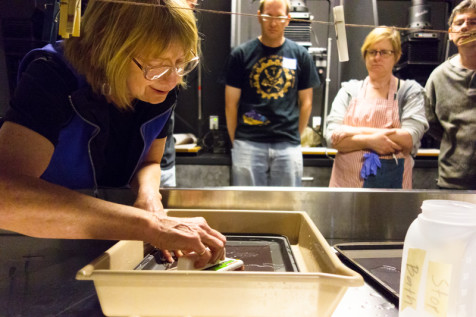
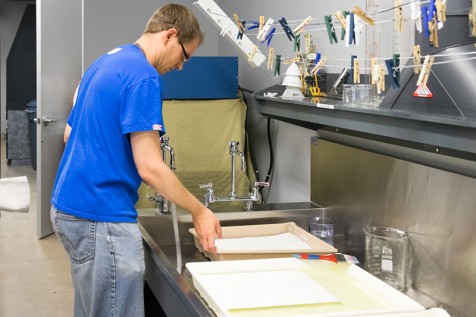
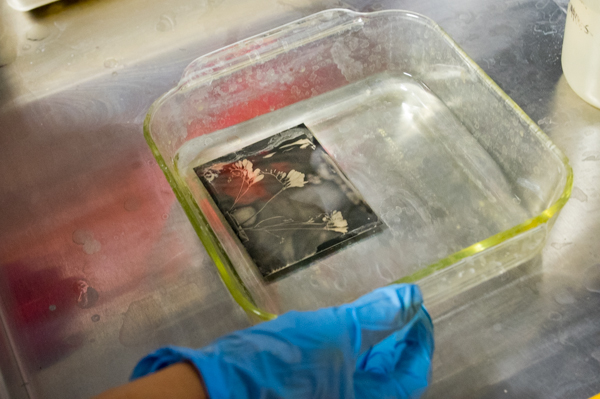
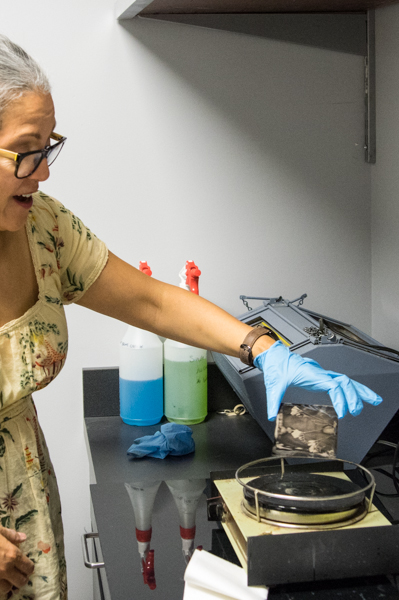
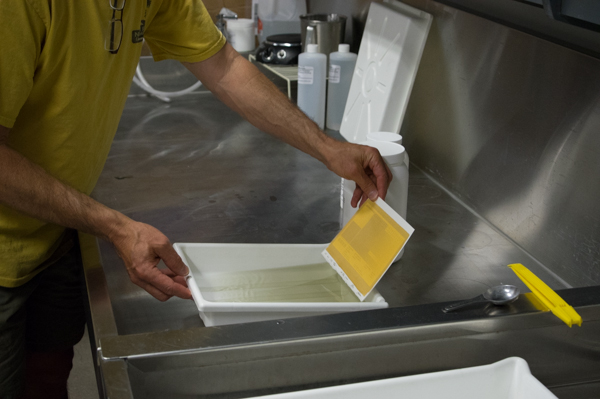
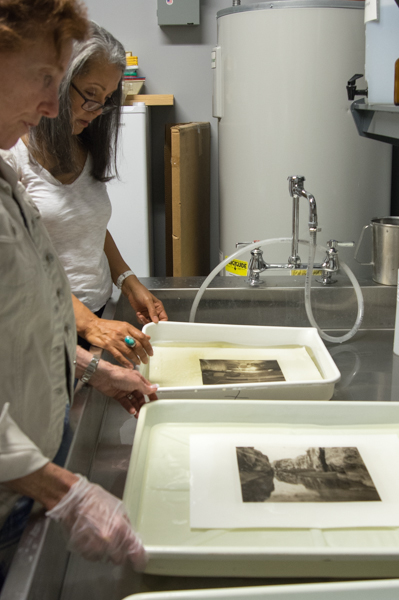
Diana “develops” an exposed print in water
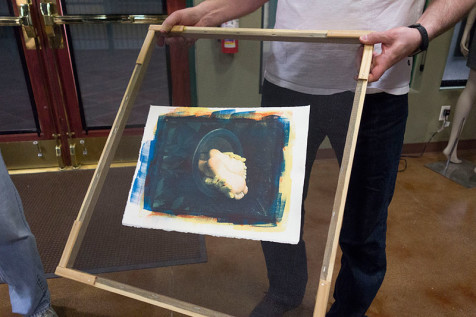
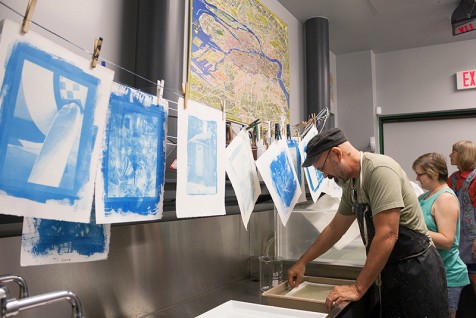
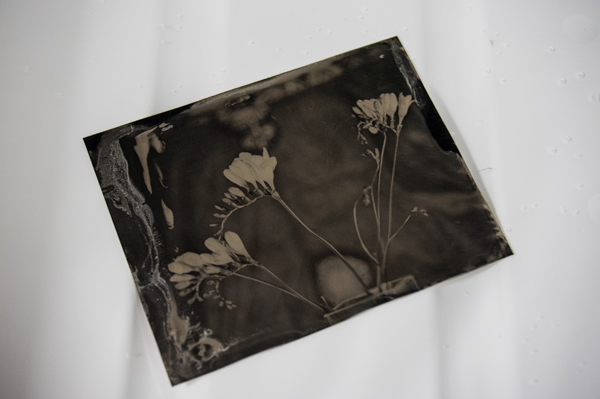
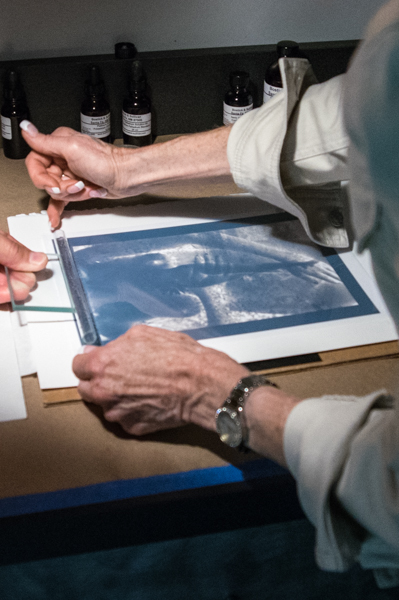
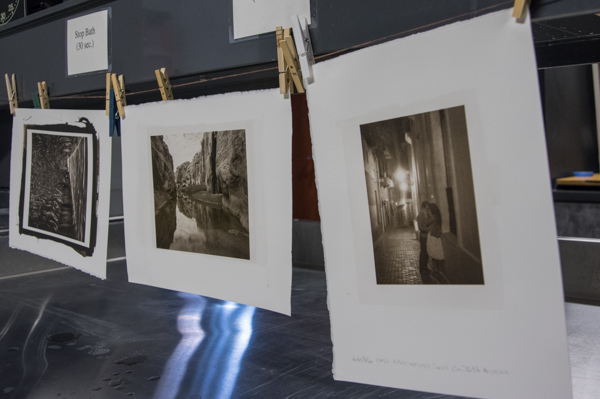
Diana discusses the cyan-layer exposure she demonstrated as it hangs to dry – Terry, the student who provided the negative for this print, will later add yellow and magenta layers
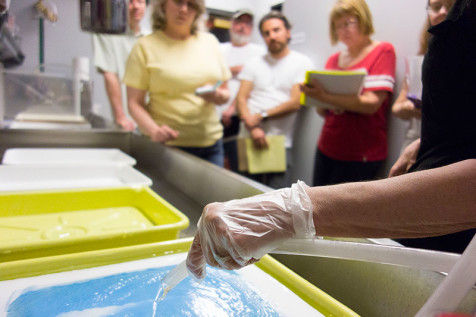
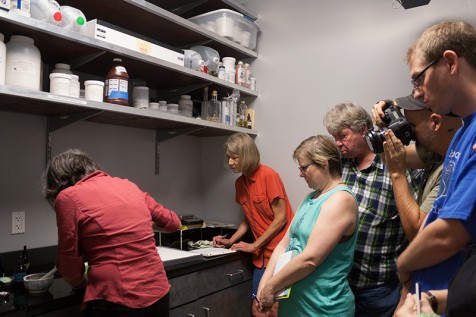
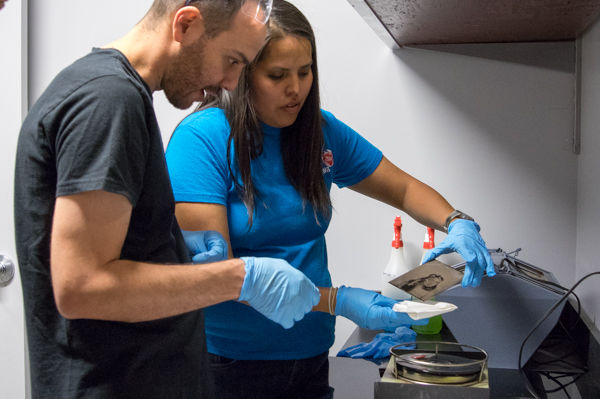
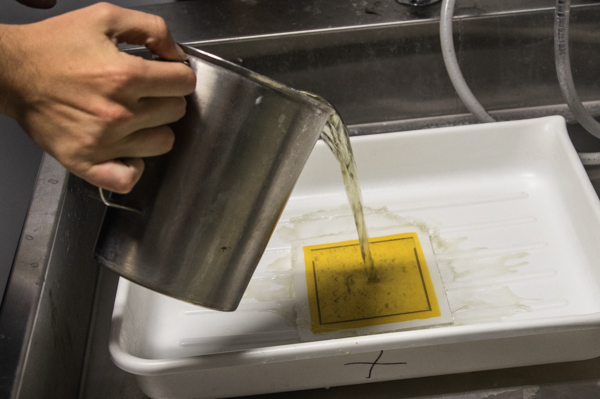
Janet washes out her print after exposing the yellow layer
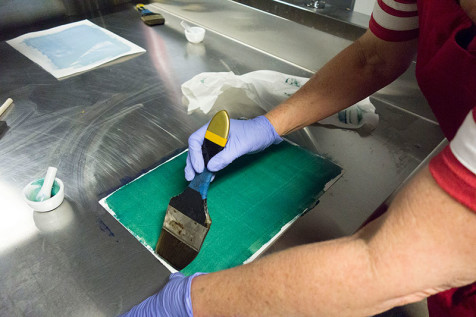
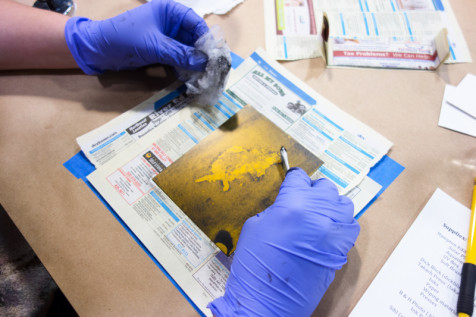
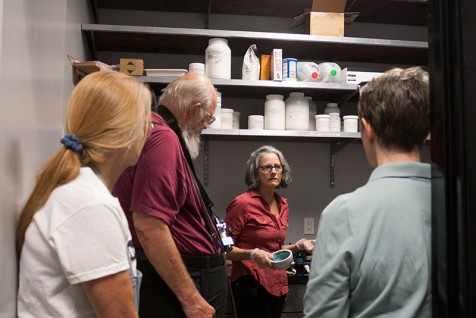
Karen coats her paper with a mixture of watercolor pigment suspended in potassium dichromate and gum arabic. The potassium dichromate hardens the gum arabic upon exposure to UV light; the parts of the coating blocked by the negative remain soft and wash away in water.
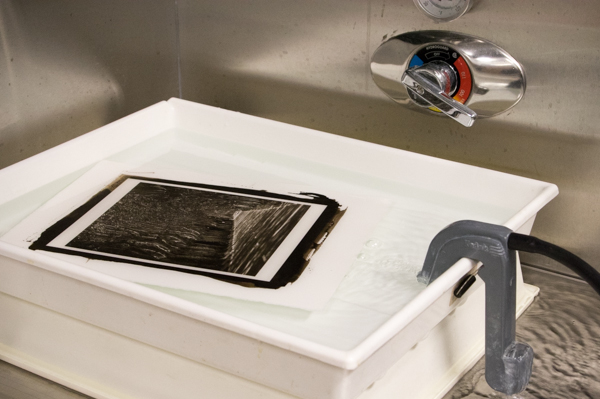
Tim washes out his print
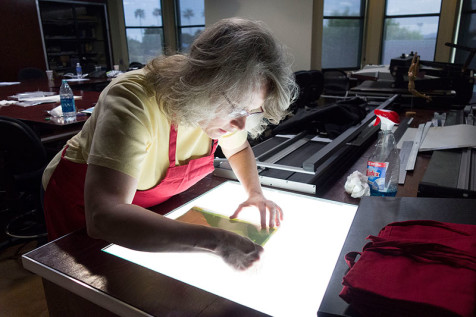
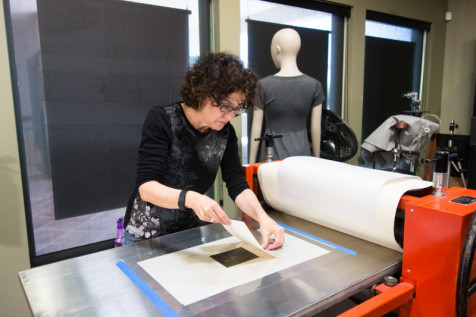
Kelly very carefully registers the negative for her next layer
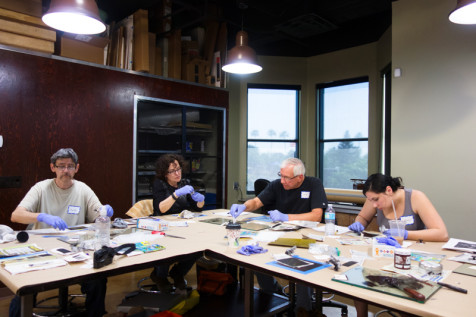
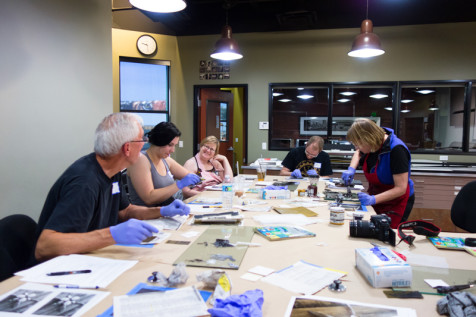
Janet, Tom, and Matthew attend to their prints
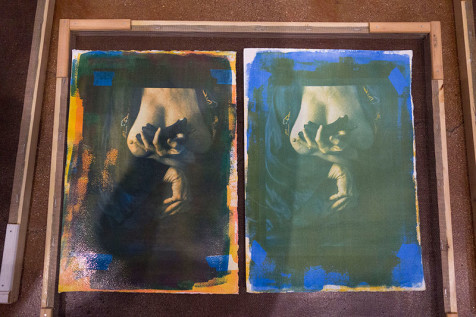
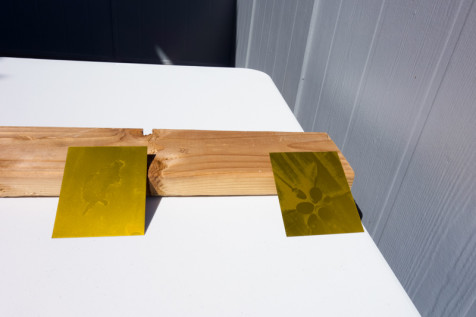
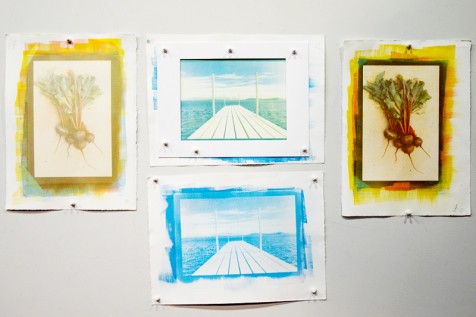
Each layer of pigment make a big impact when gum printing. The print on the left includes cyan, yellow, and magenta layers; the print on the right includes cyan and yellow. Both prints by Karen Hymer
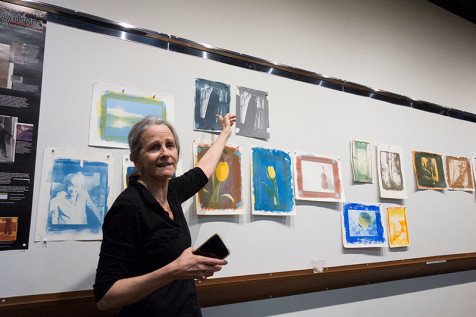
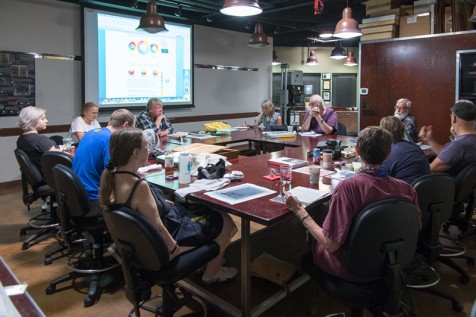
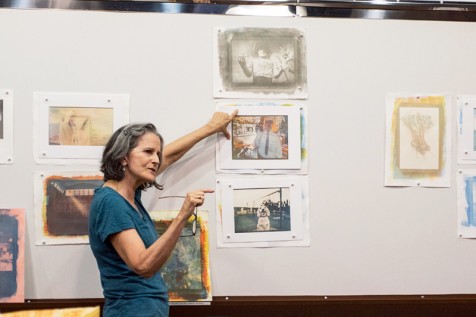
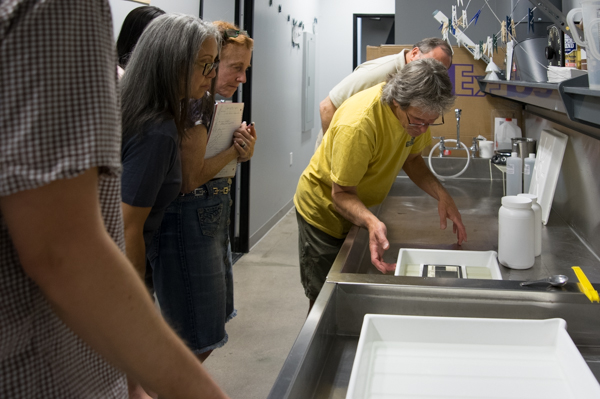
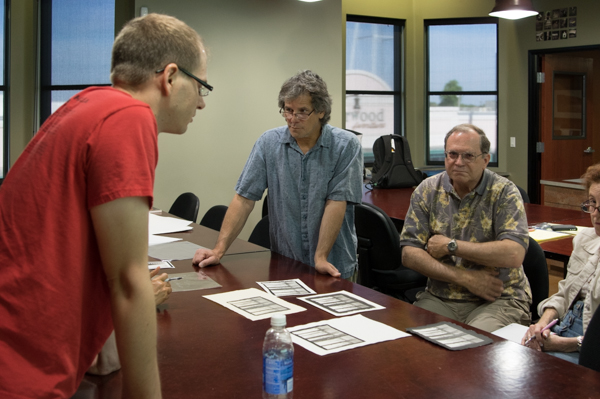
Diana discusses the finished prints one by one with the class
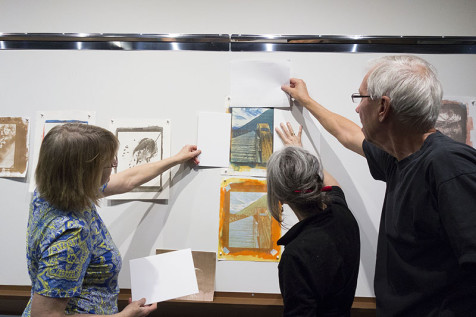
Karen, Diana, and Tom mask off the brush-marked border of Cary King’s image in order to look at the print without visual distractions
Scott Wrage shares his tri-color print, not yet dry enough to pin up, with the rest of the class
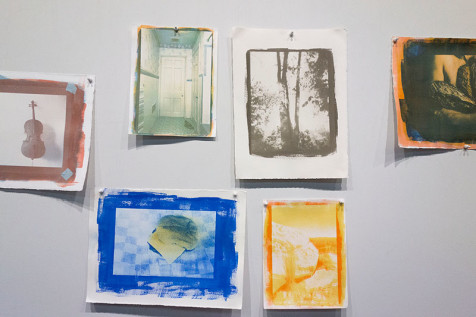
Prints clockwise from left by Matthew Covarrubius, Kelly Wrage, Karen Hymer, and Timothy Wells
This past Saturday, March 26 we had the pleasure of hosting a Photogravure workshop taught by Tucson artist Karen Hymer! The weekend began with a lecture by Karen on Friday night – she talked about the history of photogravure and the evolution of her artwork as she continues to use the process.
Seven students joined us for the workshop and got hands-on experience making photopolymer plates from their images, then pulling prints from the plates. Karen taught the process using Solarplates, which are steel plates coated with a light-sensitive polymer emulsion. When exposed, the polymer hardens; the unexposed polymer washes away in water, leaving an “etched” plate ready for inking after the plate has dried in the sun. Ink is then applied to the plate and wiped from the highlight areas. Finally, paper is laid on top of the plate and both are run through an etching press.
We are forever grateful to our friends at Cattletrack Arts Compound and Santo Press for lending us their etching press – we could not have done this workshop without their help!
Karen demonstrates the “development” of the Solarplate in water
Exposed and developed plates harden in the sun
Karen demonstrates inking the plate
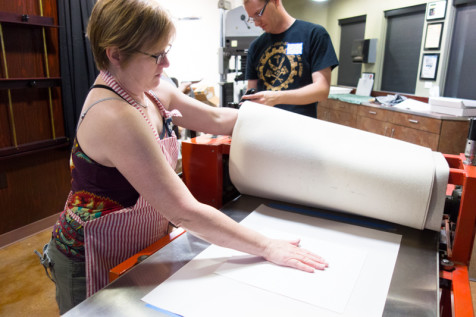
Participant Shari Trennert prepares to run her plate through the press
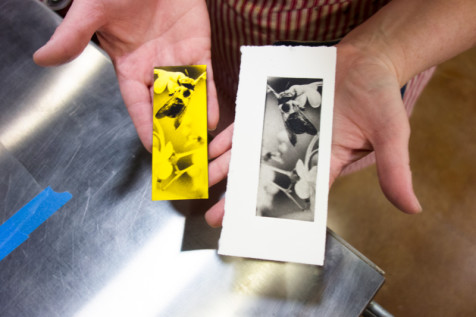
Shari has made a print from a “test strip” plate to check her exposure before committing to a full plate
Jean-Charles Chapuis, Cyd Peroni, Tom Moore, and Gina DeGideo hard at work inking their plates
Chris Palmer and Karen compare a test print with another print of the same image to check for contrast and density
Gina uses a cotton swab to fine-tune her ink application
Cyd lays a sheet of fine-art water color paper over her inked plate before running it through the press
Participants enjoy letting their creativity run free and working in a community environment
Participants let their finished prints dry before taking them home
Art Intersection presents Light Sensitive, an annual juried exhibition of images created using traditional and alternative photographic processes. Past work has included analog c-prints, platinum, cyanotype, gelatin silver, gum bichromate, wet plate collodion tintypes, chemigrams, and other printing processes. We are honored this year to have Susan Burnstine as the juror for Light Sensitive.
The Art Intersection curatorial staff will select three artists from Light Sensitive to show additional work during the (re)View exhibition in December 2016.
Click here: Light Sensitive 2016 to view the PDF document Light Sensitive 2016 Submission Guidelines
Important 2016 Dates
January 11: Application and JPEG submissions due
January 23: Notification of selected work
February 20: Selected work due at Art Intersection
March 5: Opening reception from 6 – 8pm
April 16: Exhibition closes at 6pm
About the Juror
Susan Burnstine is an award winning fine art and commercial photographer originally from Chicago now based in Los Angeles. Susan is represented in galleries across the world, widely published throughout the globe, teaches workshops internationally and has also written for several photography magazines, including a monthly column for Black and White Photography Magazine (UK).
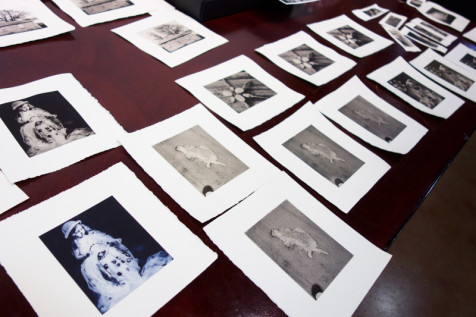
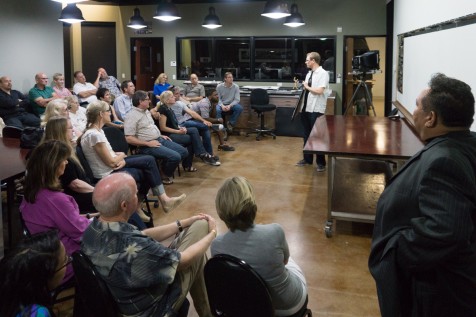
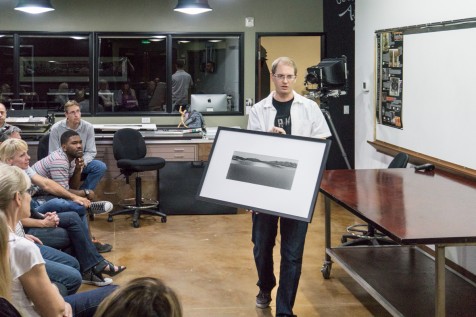
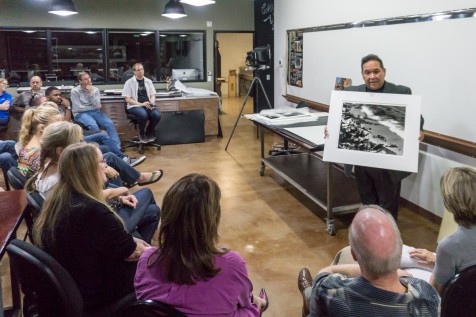
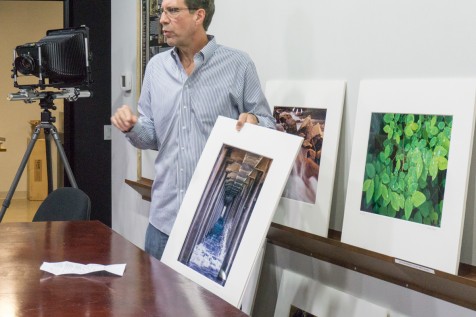
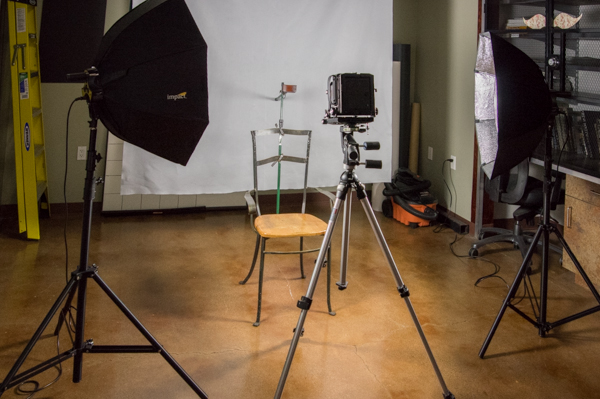
Last night, three ImageWorks photographers and about thirty guests joined us in the Photo Arts Lab to hear about their prints and the experiences of making these prints. All of the presented prints were originally captured on film using large format cameras.
Juan, Chris, and Brian of ImageWorks answered questions and explained their process of seeing, capturing, and then printing their beautiful images.
This is the first of a series of print sharing evenings. Join us in November for the next installment of Print Sharing at Art Intersection.
This past weekend of September 12 and 13 Art Intersection was bursting with color! Tri-color gum bichromate, that is. We had the great pleasure of hosting a two-day, immersive workshop in the process taught by Diana Bloomfield, a master gum printer especially known for her tri-color technique. Ten participants learned about this fascinating 19th-century process that includes mixing together gum arabic, potassium dichromate, and watercolor pigments, then hand-coating that mixture on paper, exposing their paper under a digital negative in UV light, and washing out the print in water to “develop” it.
Diana Bloomfield explains her technique for mixing the gum emulsion on Day 1.
Workshop participants look on as Diana coats a sheet of paper with the light-sensitive gum mixture she’s made.
Any color watercolor pigment can be used, but this tri-color process involves making three separate coating and exposure runs with cyan, magenta, and yellow pigments individually to get a full-color final print.
Armed with coffee, the participants listen as Diana explains the basics of color balancing for a natural-looking print at the start of Day 2. If a print does not initially look correct, more passes with various colors can be made to balance it.
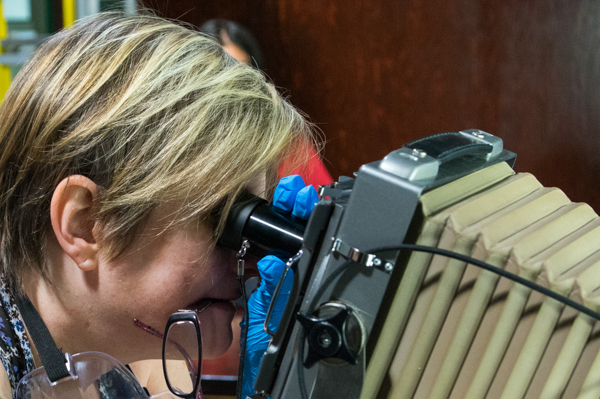
In order for the image to remain sharp, the negative being used must be placed in exactly the same spot for every layer. Michael Puff carefully registers his negative to exactly match the previous layers he’s created.
Chris Palmer rinses out his print after exposing it to UV light. During the exposure, the areas of the gum emulsion blocked by the dark areas of the negative wash away in the water, creating highlights. Those underneath the light areas of the negative solidify and adhere to the paper, creating shadows.
BK Skaggs, Shari Trennert, and Maylee Noah rinse their prints while others hang to dry. These prints show the first pass with the cyan layer.
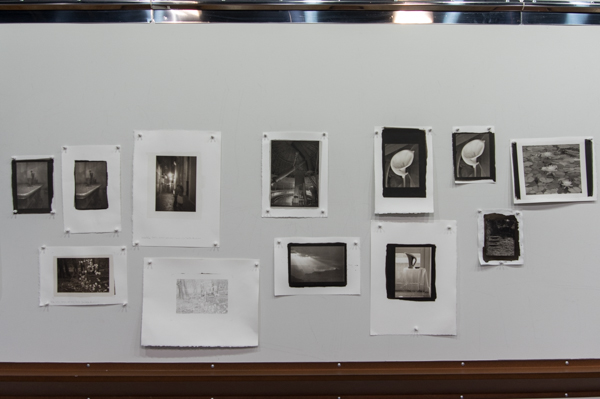
At the end of the workshop, all the participants show the results of their hard work by putting their favorite prints up on the critique board. Diana gives the class constructive feedback on their printing.
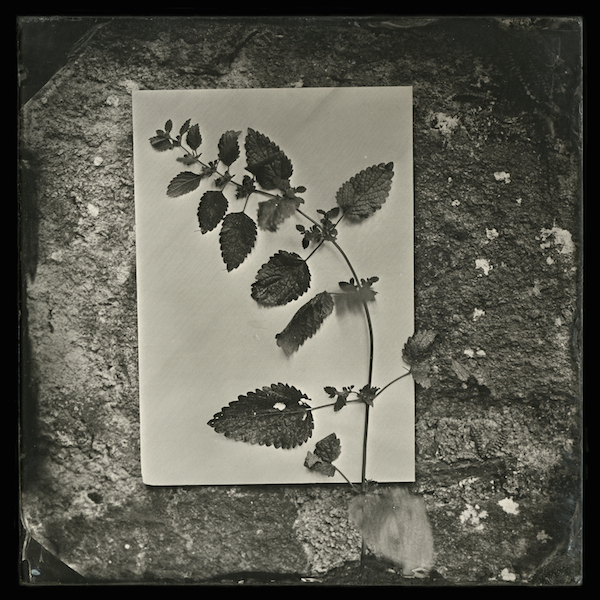
Finished prints by Maylee Noah showing one-color, two-color, and tri-color prints.
Learn the basics of the wet plate collodion process using glass as the substrate, and create two direct positives images!
Students in this workshop, led by Claire Warden, will go through the process of cleaning glass plates, coating the plates with collodion, sensitizing, exposing, processing and varnishing the final image.
Images will be captured on 4″ x 5″ plates using a large format camera in the lab, and all materials are included to create two ambrotypes.
Recently, Claire spent a summer creating ambrotypes in Lehon, France, and she brings her wet glass plate collodion experience to this workshop.
The Friday preceding the workshop, Claire will give a free to the public lecture about ambrotypes and her experience in Lehon.
On Sunday, following the Saturday workshop, Claire will be on-hand in the lab to assist with the anyone wishing to make additional glass plate images.
Learn to make your own silkscreens in this workshop as we explore how to prepare a screen, expose an image, print on your choice of paper and cloth, and manipulate your image for a variety of results.
Saturday morning will be an overview of the process and discussion of the kinds of imagery to prepare for the screen. In the afternoon, we’ll devote the day to exposing the screen and the printing. We will have inks, screens and paper on hand, and participants can also bring their own ink, screens, and printing substrates if they wish.
Materials included, however you can bring your own, additional substrates.
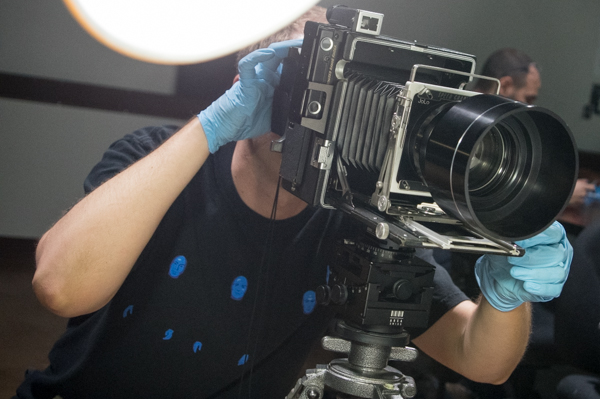
Mid-ninteenth century tintype photography is experiencing a resurgence as photographers look for a unique aesthetic for portraiture and still life images.
David Emitt Adams led the weekend of tintype creativity starting with a free lecture on Friday evening, the all-day workshop on Saturday, and an open studio on Sunday.
Two stations with 4×5 cameras were setup, one for still life props and the other for portraits.
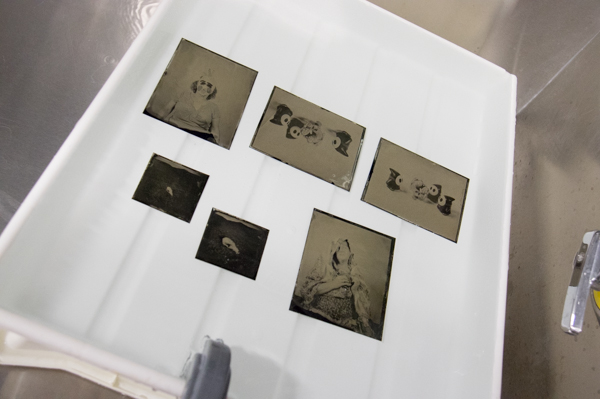
After the developer.
In the final wash before varnishing.
Warming up the plate before applying the varnish.
Exposures of 15 to 20 seconds require sitting very still – the head brace helps!
Pouring off the excess varnish of a portrait tintype.
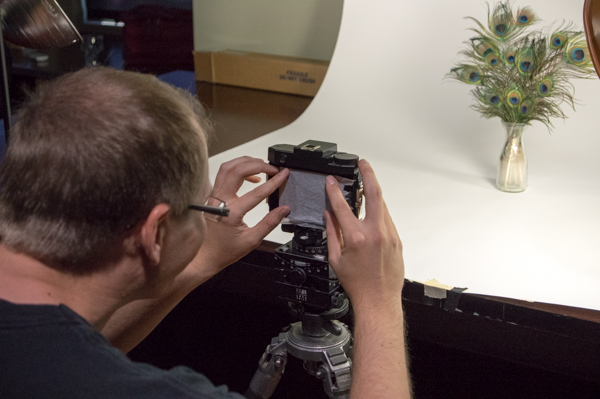
Making sure everything is properly focused.
Here is a Graflex 4×5 with an aerial lens.
The next setup was a modified Holga and the tissue paper was used like a ground glass plate to check focus.
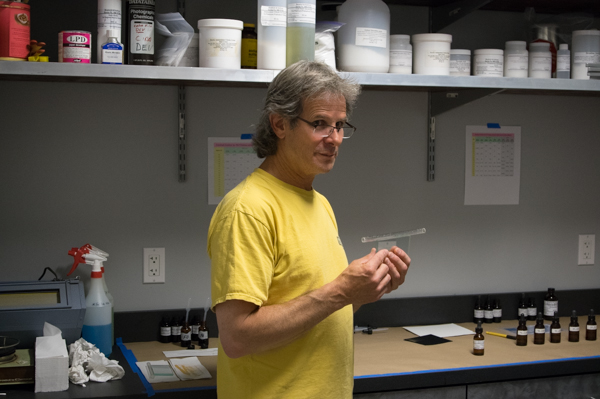
Starting Friday evening and working through Sunday, the workshop students learned about creating digital negatives for platinum/palladium, chemistry, and then made prints in the alt process lab.
Keith shared his expertise with the class and showed the process he uses to make palladium and platinum prints. You may remember Keith’s work on exhibit in the North Gallery along with Dick Arentz this past January and February during the Art Intersection Platinum/Palladium exhibition.
Checking the first digital negatives for densities and checking exposure times.
Keith concentrating on building and explaining digital negatives and Quad Tone RIP.
Discussing paper choices.
Ready to print.
Coating Arches Platine with a glass rod.
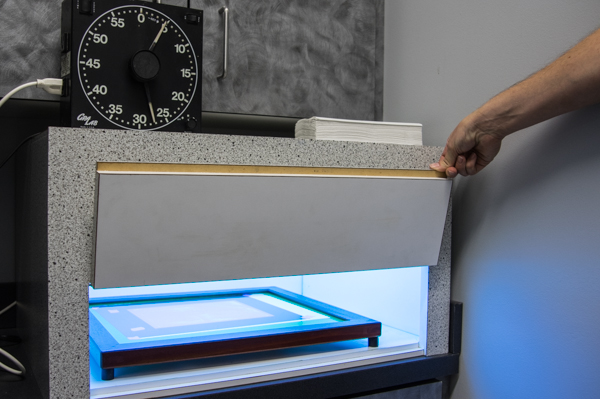
Time to expose.
High tech or low tech, it’s all about UV light.
Pouring on the developer.
Trying the cold tone developer.
Clearing.
In the final wash.
Final prints drying before going to the critique wall.
Some of the dry prints on the critique wall. Others were still too wet to show by the end of the workshop.