Printing out Paper, or PoP, makes an image by exposing a negative and paper to light without any chemical development. With a printing-out process, you can watch your image come to life during your exposure, rather than having to wait until it is processed! Used originally as a simplified field process without the need of a darkroom, today we use this handmade emulsion to create artful images with subtle and warm tonality.
This workshop begins on Friday night with a lecture and demo, where instructor Siegfried Rempel will discuss the history of collodio-chloride printing and demonstrate two different printing-out methods. Following on Saturday is a day of coating and printing your own hand fabricated, collodio-chloride printing out paper.
The day after the workshop, return to the lab to further refine your mastery of this process! We are hosting a PoP Open Studio on Sunday, March 26 from 9am – 3pm. More information here.
About Collodio-Chloride
The use of Collodion in photography for the production of photographic prints an be found as early as the 1850s, and is most commonly used in the Wet Plate Collodion process to produce tintypes and ambrotypes. The concept of an “emulsion” of silver salts in a collodion binder was introduced by Gaudin in 1853 and by 1861 he was actively producing the “Photogene” collodion emulsion.
The collodio-chloride print has a similar physical appearance to its gelatin counterparts and it can be difficult to tell them apart. In fact, modern gelatin silver darkroom papers evolved from this early printing method! Today, we still practice the collodio-chloride process because of the rich and beautiful tonality it imparts on our images.
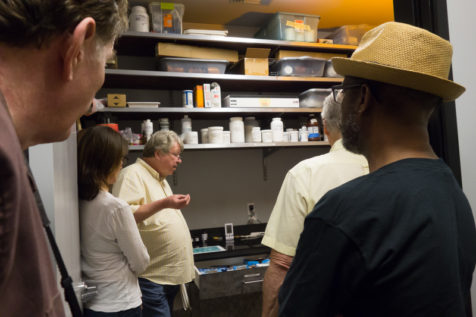
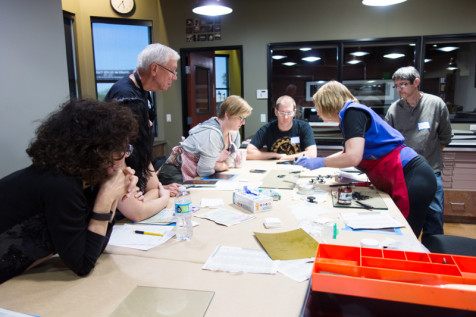
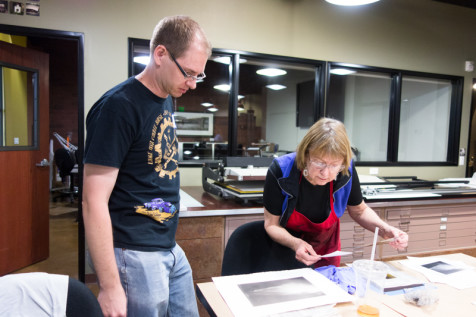
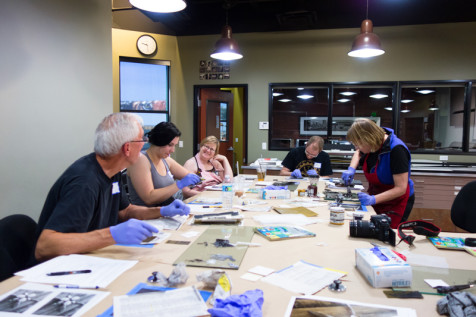
Late last month we had the pleasure of hosting a Platinum/Palladium workshop in our Photographic Arts Lab led by San Francisco-based artist Michael T. Puff! A master of this luminous, tonally-rich process, Michael led our eleven participants in making gorgeous prints of their own images.
Platinum/Palladium printing, a photographic process invented in the 19th century, has long been a favorite of alternative process photographers for its highly archival nature and infinite variations of gray tones as highlights shift to shadows. In the process Michael uses, ferric oxalate, palladium, and sodium chloroplatinate are mixed together, hand-brushed onto 100% cotton rag paper, exposed to UV light through a digital negative, and then processed with potassium oxalate and sodium thiosulfate. The end result is a handcrafted print that is estimated to retain its appearance for a thousand years!
Thank you to all of our wonderful participants, and of course to Michael for traveling to us to share his expertise!
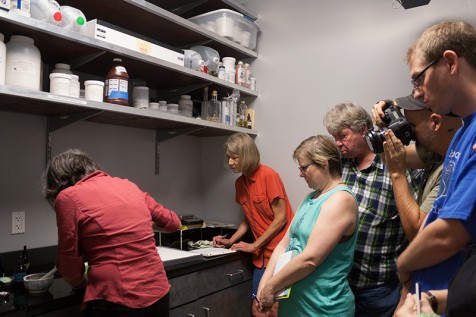
Michael instructs the class on mixing the chemicals and coating their paper
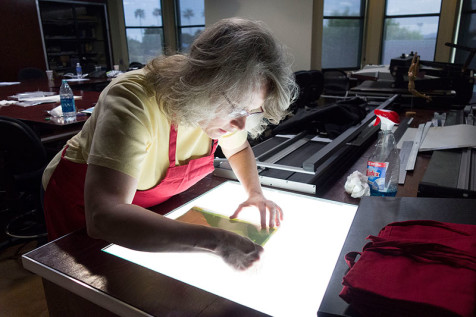
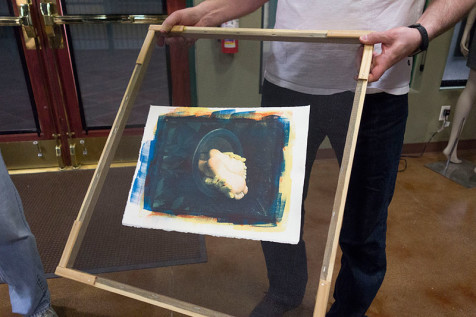
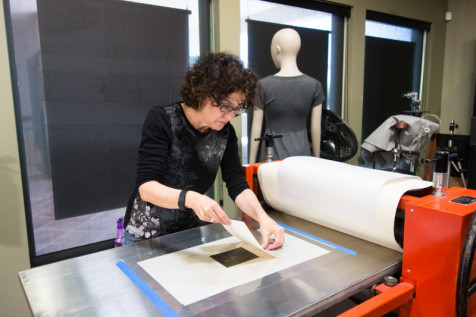
The participants mark where the image portion of their digital negatives will be centered on their paper
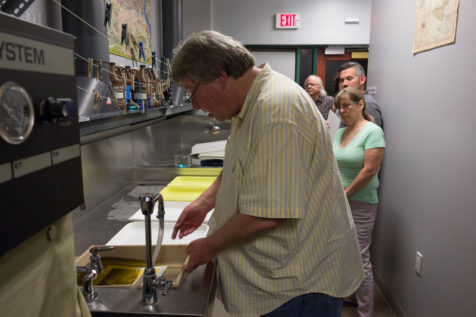
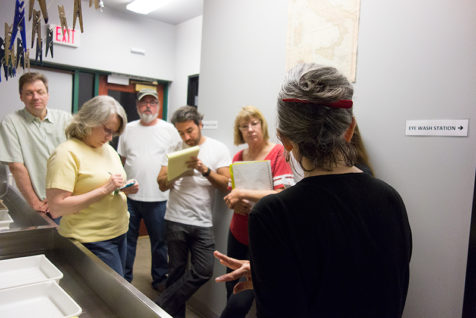
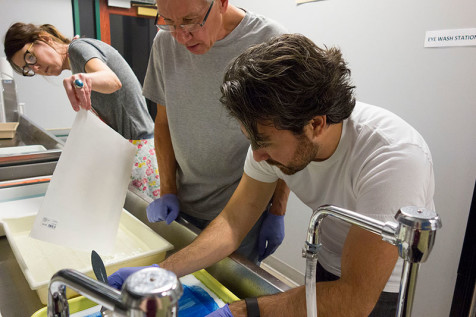
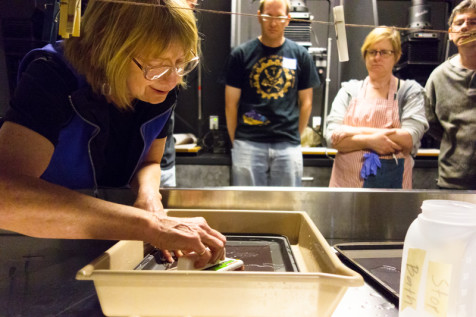
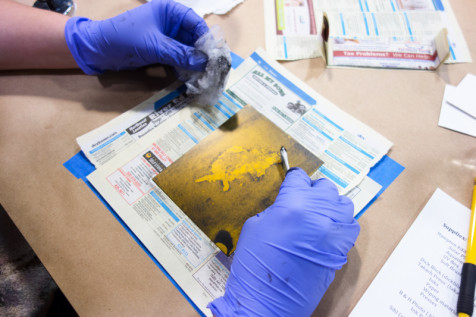
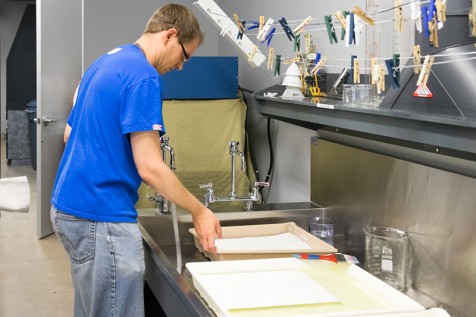
After exposing a coated piece of paper to UV light, Michael demonstrates developing the print
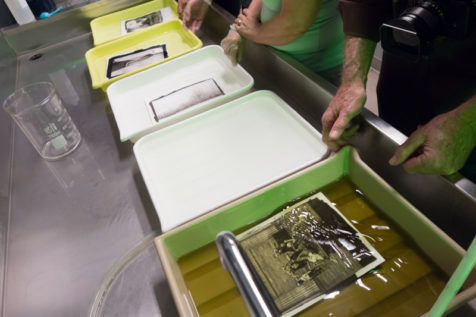
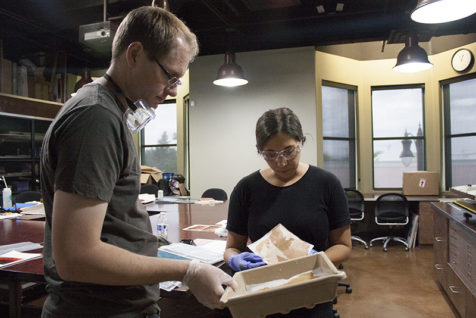
Participants process their exposed prints
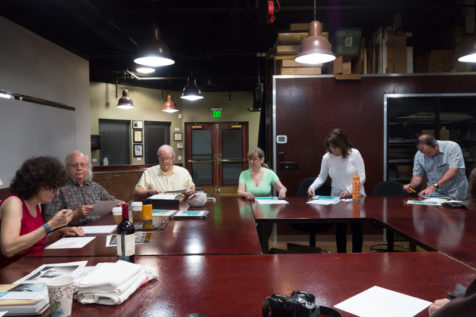
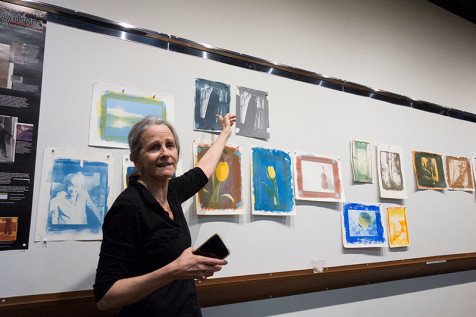
Cyd looks at the class’s finished work at the end of the day
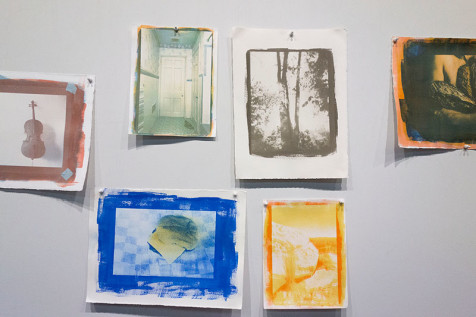
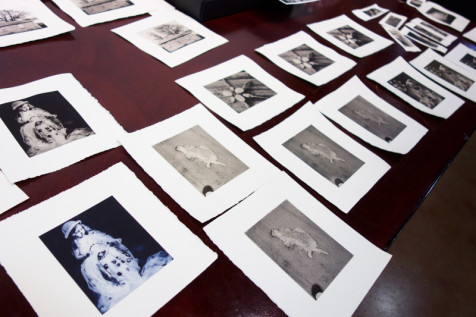
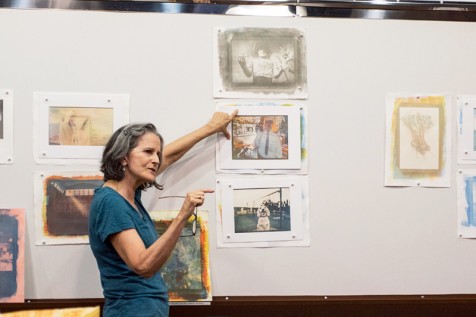
Gorgeous work produced by the students pinned up on the critique board
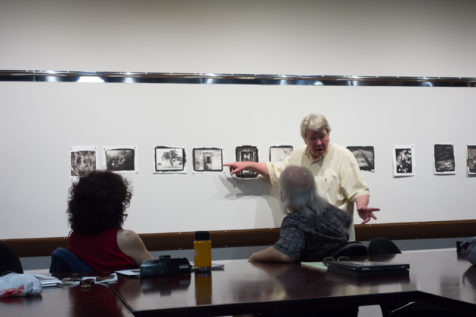
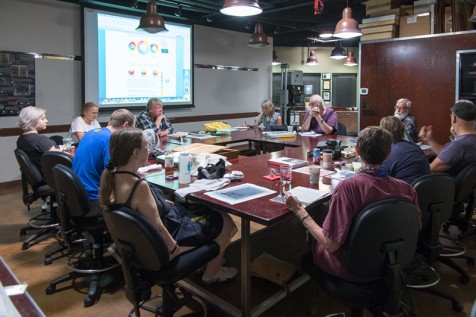
Michael talks about successes and things to work on with the students
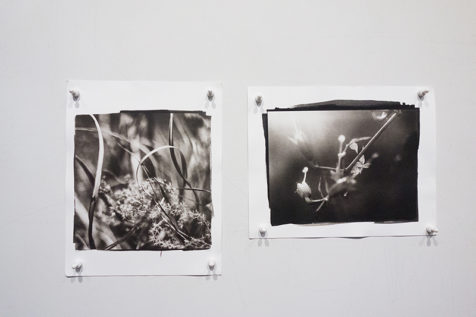
Beautiful work by Lloyd Matthews
Luminous prints by Deb Alberty
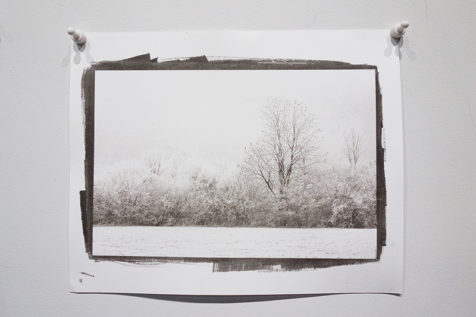
A delicate, icy print by our very own Business Manager, Debra Wilson!
Sometimes it can be hard to see past all the obstacles involved in learning something new. However, taking a leap and trying something different can open doors that lead to fantastic possibilities. As Photographic Arts Lab Manager at Art Intersection, providing the tools that make it possible for creative people of all skill levels to bring their vision to life makes my job worthwhile.
Our learning opportunities can provide the missing link that makes the creation of your artwork possible. With our 1-on-1 tutorials, students get the hands-on training they need to perform a process on their own, from black and white film development to making exhibition-worthy prints. Frequently, with a little instruction and enough practice, they find that the technique they’re learning isn’t nearly as complicated as they thought.
In our workshops, participants get to spend valuable time with an instructor who has mastered their craft, frequently forming relationships that lead to continued mentorship. Our Open Studio and Working Group programs provide artists with the opportunity to continue their study of a process with peers, all exploring together.
Seeing visitors walk away from their time here excited and empowered is the best part of my job. I watch people do things they didn’t know they could do. I witness appreciation for artistry and technique. I see improvement and perseverance and dedication just about every day.
This space is for you. Join us by attending one of our events, making time to learn a new skill, or using our resources to create your artwork.
Everyone is welcome here. Anyone can create.
– Caroline Hudson-Naef, Photographic Arts Lab Manager
The platinum/palladium process is one of the most beautiful and archival processes, and in this workshop, you will create platinum/palladium prints from your images. Michael will teach a one-day, introductory workshop about this luminous 19th century process in the Art Intersection Photographic Arts Lab and the participants will take home two to three prints of their images.
As a participant, you will send digital files to us and Michael will create a digital negative adjusted for his process. You will hand-coat fine art paper with the light-sensitive solution and expose the sensitized paper through your digital negative using one of our UV light sources. After processing the exposed paper, you will have your photograph as a platinum/palladium print.
Art Intersection will supply all materials for this workshop. The making of a digital negative will be discussed, but for the workshop itself, please send two color or black and white image files (300 dpi at 10” on the long side), at least one week prior to the workshop. An email with details will be provided once you are registered.
Before the workshop, learn more about your instructor and get a preview of the platinum/palladium process! Michael will give a free lecture on his artistic practice on Friday, October 28 from 6:30 – 8pm.
Michael T. Puff
Michael T. Puff lives and works in the San Francisco Bay Area. He’s been a visual artist since early childhood, working as a painter and sculptor. During his years in higher education studying Theater Arts and Egyptian Archaeology, Puff worked as a theater set designer and received many awards for his work from San Francisco Bay Theater Critics. Today he works as a systems computer programmer at Stanford University and builds miniatures, while also pursuing his passion of fine art photography.
Puff began photographing in 2004 and later, under the guidance of master printer Mark I. Nelson, learned the platinum/palladium printing method he uses in his current work. Puff uses modern digital image capture with the extremely permanent and hand-crafted platinum and palladium printing process, merging the contemporary with the historical to produce unique and captivating images. The time-staking printing process he uses, which incorporates platinum and palladium metals into the chemistry, allows for a unique image with a beautiful color and tonal range.
Puff’s love for the theater is evident in much of his work, as he photographs on stage-like sets, often using dancers and actors as models, with images that could function as small moments from a larger narrative. A surreal theme runs through much of his work, as he uses his strong digital editing skills to manipulate scale and mood creating complex otherworldly images.
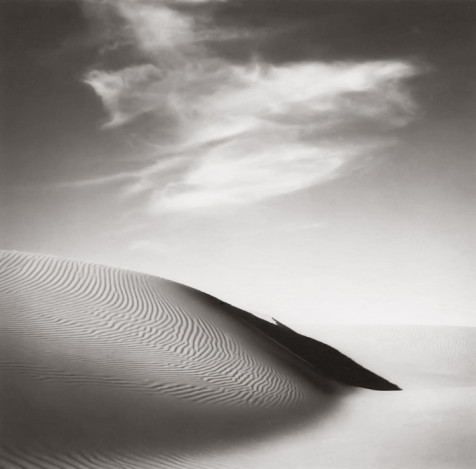
An image that will be featured in Michael T. Puff’s solo exhibition in Ryan Gallery
Phoenix Rising by Michael T. Puff – featured in the Off the Wall exhibition and silent auction
Our first Tri-Color Gum Bichromate workshop with Diana Bloomfield last September was such a hit, we decided to do it all again! This past Saturday and Sunday Diana led nine students through this labor-intensive and difficult process. The workshop included many first-time gum printers, and despite the tricky nature of the process, all produced fantastic prints! As we gathered around to look at everyone’s completed work at the end of the two days, one thing was apparent: there is nothing like the magic of gum printing, and no one better to teach it than Diana Bloomfield!
We are grateful for all of our students, but we especially would like to extend a big THANK YOU to our four class participants who travelled from far, far away to take this workshop with us – Cary from Alaska, Timothy from Michigan, and Scott and Kelly from Pennsylvania. We’re so glad you could join us!
Diana discusses digital negatives during her demonstration at the beginning of the workshop
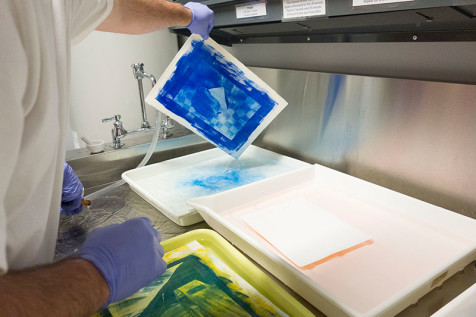
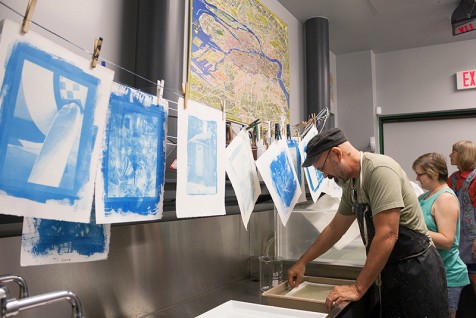
Diana “develops” an exposed print in water
Diana discusses the cyan-layer exposure she demonstrated as it hangs to dry – Terry, the student who provided the negative for this print, will later add yellow and magenta layers
Janet washes out her print after exposing the yellow layer
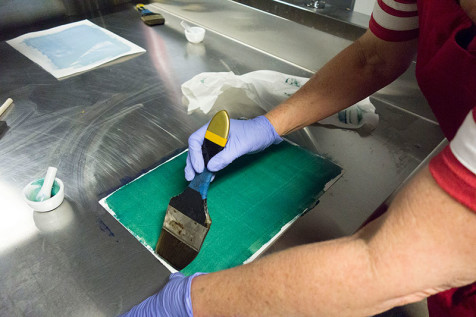
Karen coats her paper with a mixture of watercolor pigment suspended in potassium dichromate and gum arabic. The potassium dichromate hardens the gum arabic upon exposure to UV light; the parts of the coating blocked by the negative remain soft and wash away in water.
Tim washes out his print
Kelly very carefully registers the negative for her next layer
Janet, Tom, and Matthew attend to their prints
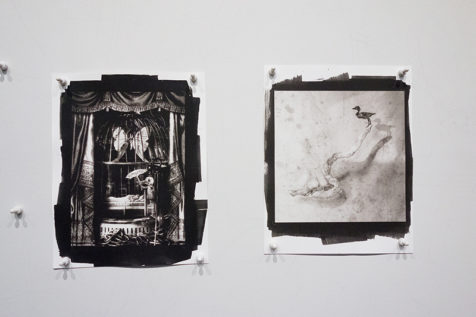
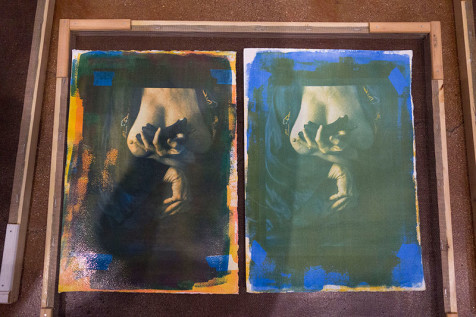
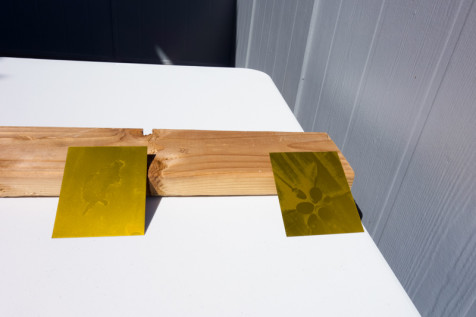
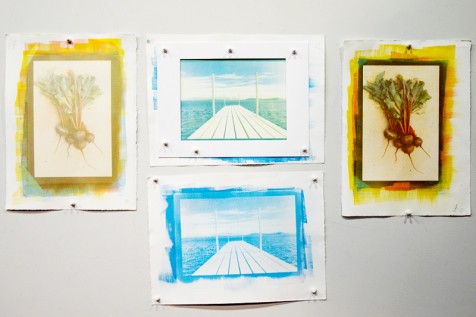
Each layer of pigment make a big impact when gum printing. The print on the left includes cyan, yellow, and magenta layers; the print on the right includes cyan and yellow. Both prints by Karen Hymer
Diana discusses the finished prints one by one with the class
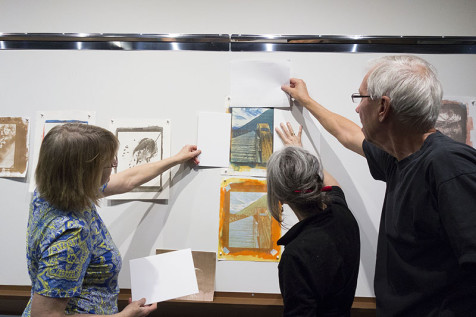
Karen, Diana, and Tom mask off the brush-marked border of Cary King’s image in order to look at the print without visual distractions
Scott Wrage shares his tri-color print, not yet dry enough to pin up, with the rest of the class
Prints clockwise from left by Matthew Covarrubius, Kelly Wrage, Karen Hymer, and Timothy Wells
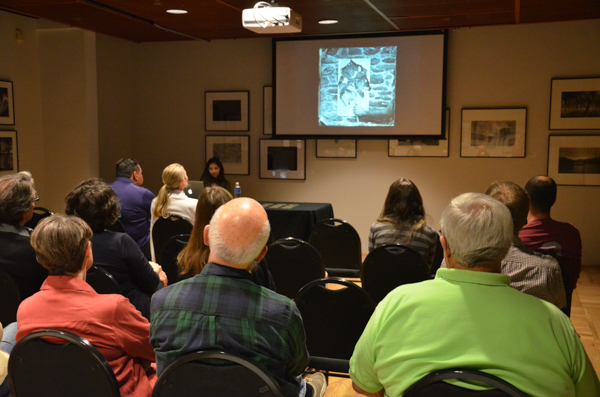
This past Saturday, March 26 we had the pleasure of hosting a Photogravure workshop taught by Tucson artist Karen Hymer! The weekend began with a lecture by Karen on Friday night – she talked about the history of photogravure and the evolution of her artwork as she continues to use the process.
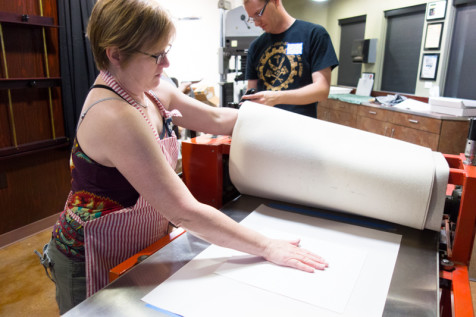
Seven students joined us for the workshop and got hands-on experience making photopolymer plates from their images, then pulling prints from the plates. Karen taught the process using Solarplates, which are steel plates coated with a light-sensitive polymer emulsion. When exposed, the polymer hardens; the unexposed polymer washes away in water, leaving an “etched” plate ready for inking after the plate has dried in the sun. Ink is then applied to the plate and wiped from the highlight areas. Finally, paper is laid on top of the plate and both are run through an etching press.
We are forever grateful to our friends at Cattletrack Arts Compound and Santo Press for lending us their etching press – we could not have done this workshop without their help!
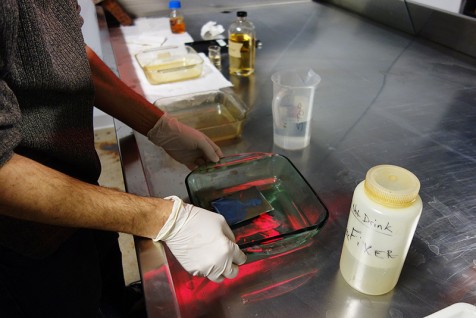
Karen demonstrates the “development” of the Solarplate in water
Exposed and developed plates harden in the sun
Karen demonstrates inking the plate
Participant Shari Trennert prepares to run her plate through the press
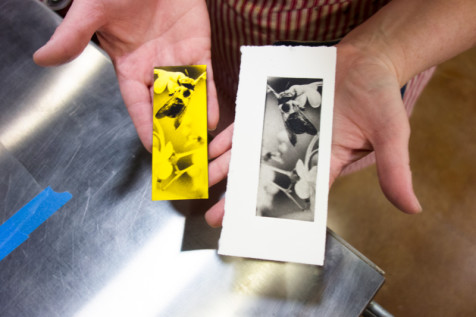
Shari has made a print from a “test strip” plate to check her exposure before committing to a full plate
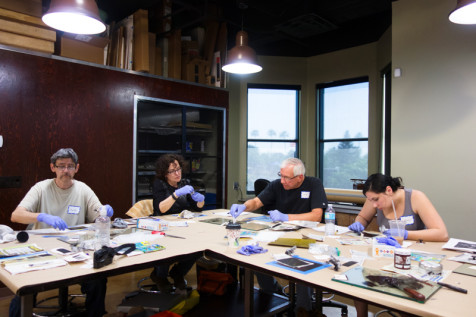
Jean-Charles Chapuis, Cyd Peroni, Tom Moore, and Gina DeGideo hard at work inking their plates
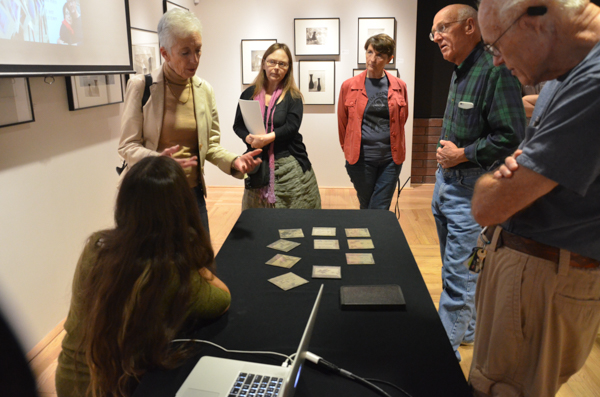
Chris Palmer and Karen compare a test print with another print of the same image to check for contrast and density
Gina uses a cotton swab to fine-tune her ink application
Cyd lays a sheet of fine-art water color paper over her inked plate before running it through the press
Participants enjoy letting their creativity run free and working in a community environment
Participants let their finished prints dry before taking them home
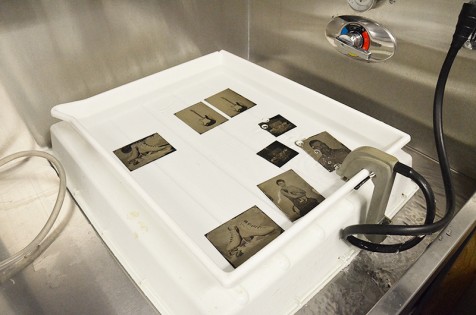
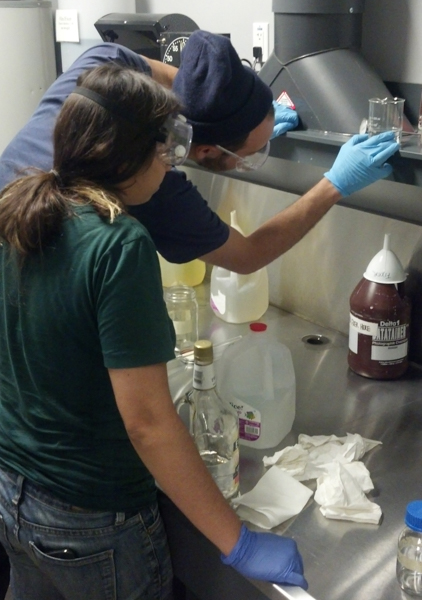
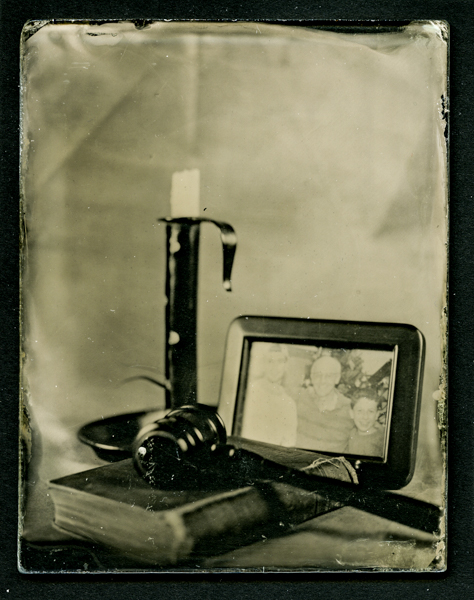
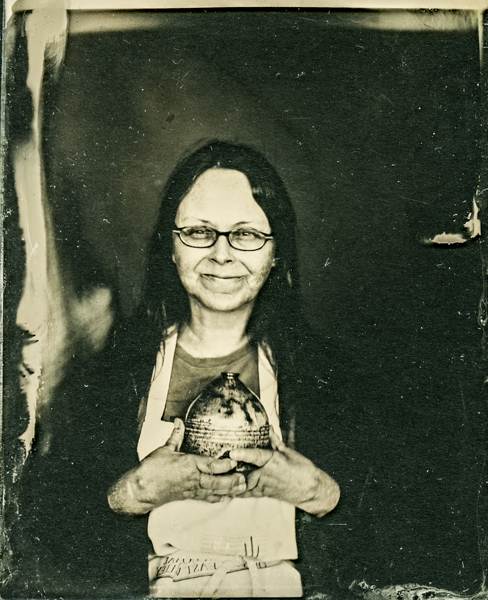
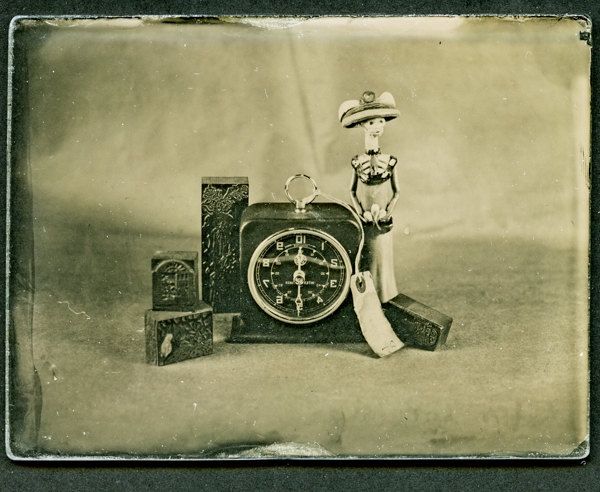
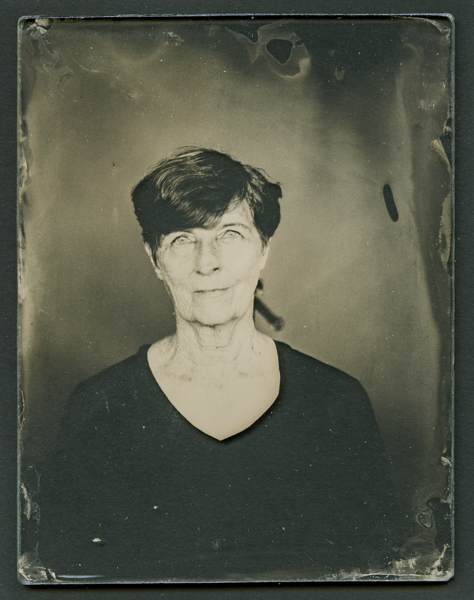
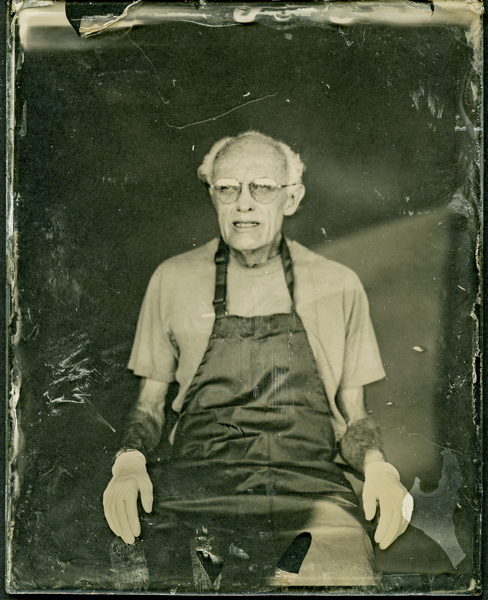
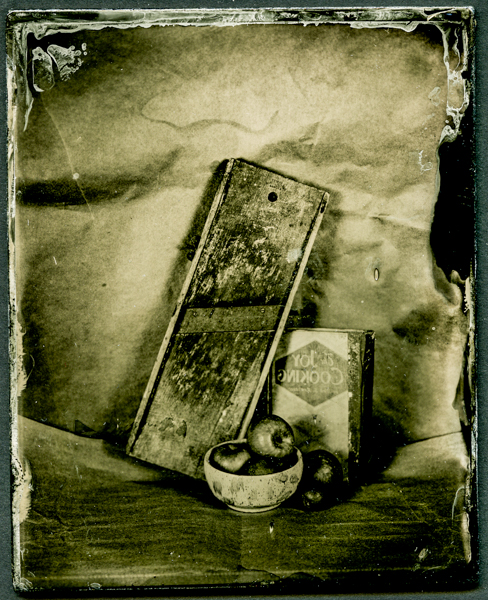
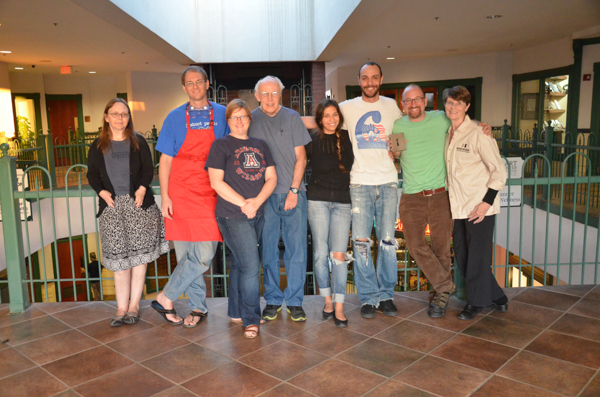
A couple of weeks ago, Art Intersection hosted a Wet Plate Collodion Tintype Workshop and Open Studio! Students were led by David Emitt Adams and assisted by Claire A. Warden, both experts in this captivating 19th century process. Wet plate collodion was among the first widely-used photographic processes, used predominantly during the Civil War era. The nature of the process requires that collodion be hand-poured on a blackened metal plate, sensitized with silver nitrate, and exposed, then back into developing and fixing baths before the coating dries – hence the process’s name. During the workshop, students got individualized help with their coating, exposure, and processing. The following day, artists attended the open studio for a chance to try the process on their own; David and Claire were on hand to help as needed.
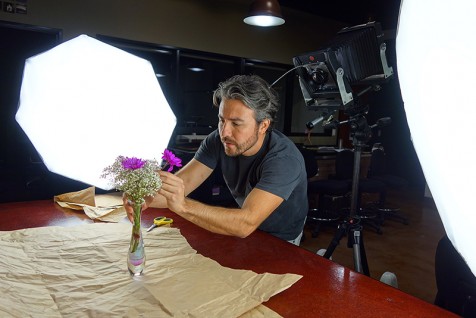
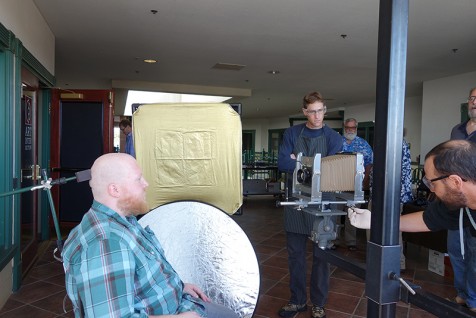
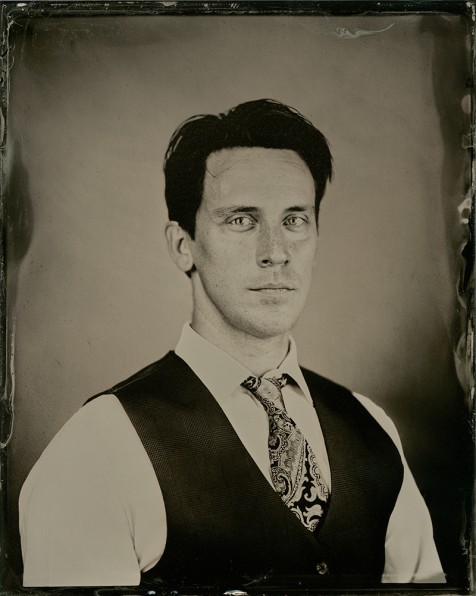
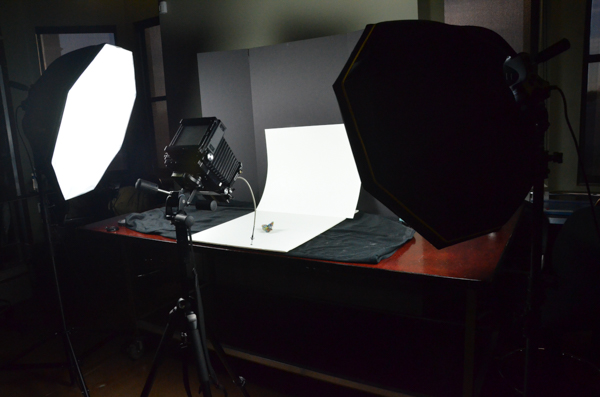
For a proper exposure, wet plate collodion requires either very bright light or a long exposure. David has rigged a special chair designed to help portrait sitters keep very still during the exposure time of 6-8 seconds, much like the chairs and props 19th century photographers used.
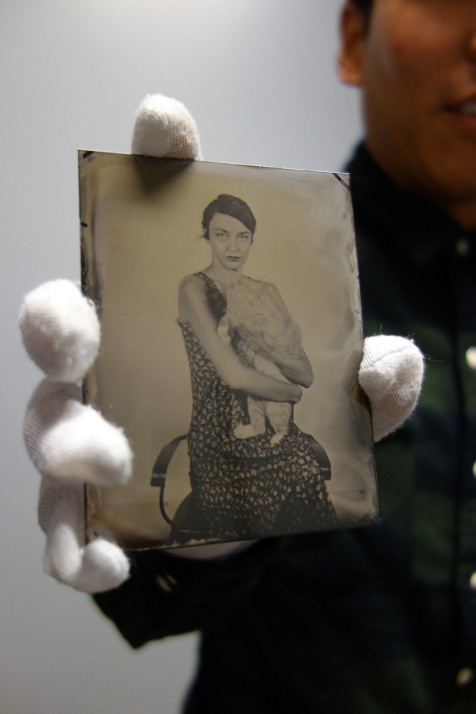
The following weekend, David and Claire returned to take wet plate collodion studio portraits! Couples, families, and individuals made appointments to have their picture taken, 19th-century-style.
This past weekend of September 12 and 13 Art Intersection was bursting with color! Tri-color gum bichromate, that is. We had the great pleasure of hosting a two-day, immersive workshop in the process taught by Diana Bloomfield, a master gum printer especially known for her tri-color technique. Ten participants learned about this fascinating 19th-century process that includes mixing together gum arabic, potassium dichromate, and watercolor pigments, then hand-coating that mixture on paper, exposing their paper under a digital negative in UV light, and washing out the print in water to “develop” it.
Diana Bloomfield explains her technique for mixing the gum emulsion on Day 1.
Workshop participants look on as Diana coats a sheet of paper with the light-sensitive gum mixture she’s made.
Any color watercolor pigment can be used, but this tri-color process involves making three separate coating and exposure runs with cyan, magenta, and yellow pigments individually to get a full-color final print.
Armed with coffee, the participants listen as Diana explains the basics of color balancing for a natural-looking print at the start of Day 2. If a print does not initially look correct, more passes with various colors can be made to balance it.
In order for the image to remain sharp, the negative being used must be placed in exactly the same spot for every layer. Michael Puff carefully registers his negative to exactly match the previous layers he’s created.
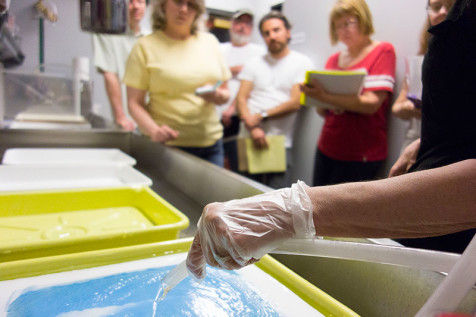
Chris Palmer rinses out his print after exposing it to UV light. During the exposure, the areas of the gum emulsion blocked by the dark areas of the negative wash away in the water, creating highlights. Those underneath the light areas of the negative solidify and adhere to the paper, creating shadows.
BK Skaggs, Shari Trennert, and Maylee Noah rinse their prints while others hang to dry. These prints show the first pass with the cyan layer.
At the end of the workshop, all the participants show the results of their hard work by putting their favorite prints up on the critique board. Diana gives the class constructive feedback on their printing.
Finished prints by Maylee Noah showing one-color, two-color, and tri-color prints.
The platinum/palladium process is one of the most beautiful and archival processes, and in this workshop, you will create platinum/palladium prints from your images. Ryuijie will teach a one day workshop about this luminous 19th century process in the Art Intersection Photographic Arts Lab and the participants will take home two to three prints of their images.
As a participant, you will send digital files of black and white images to us and we will create a digital negative adjusted for Ryuijie’s process. You will hand-coat fine art paper with the light-sensitive solution and expose the sanitized paper through your digital negative using one of our UV light sources. After processing the exposed paper, you will have your photograph on a platinum/palladium print.
Before the workshop, learn more about your instructor and get a preview of the platinum/palladium process! Ryuijie will give a free lecture on his artistic practice on Friday, October 30 from 6:30 – 8pm. Click here to learn more.
Registration for this workshop is now full. To be added to a waiting list in the event that space becomes available, please email info@artintersection.com or call 480-361-1118.
Ambrotype images, a collodion process on glass, have a unique and beautiful aesthetics that makes this a very exciting in-camera, alternative photographic process.
Claire A. Warden led us through the history and technology of this process during a 3-day workshop that began with a lecture and ended with an open studio where the workshop students created their own Ambrotypes.