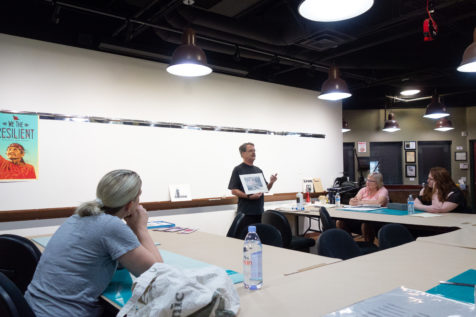
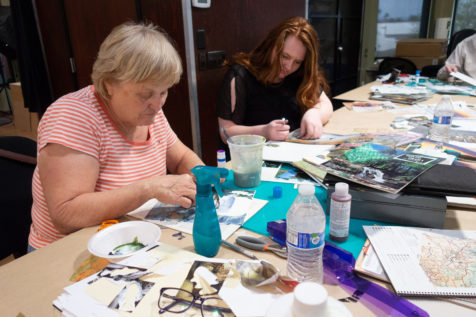
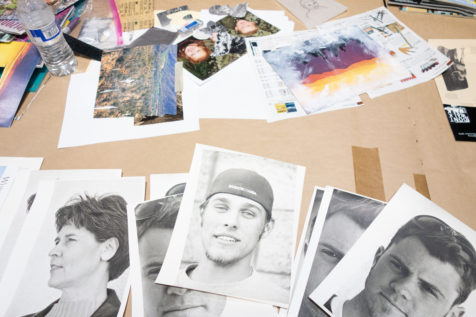
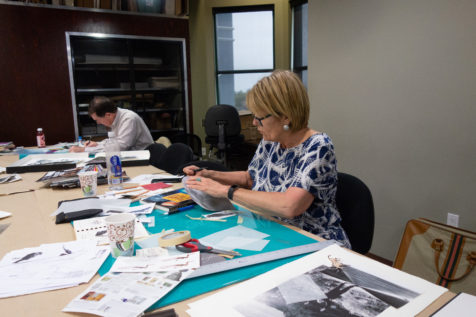
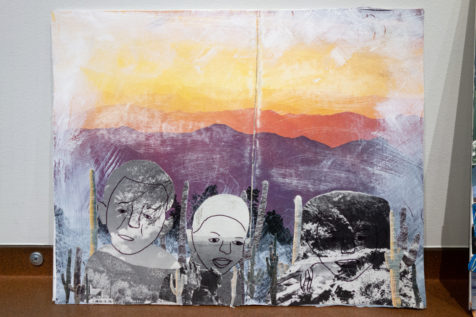
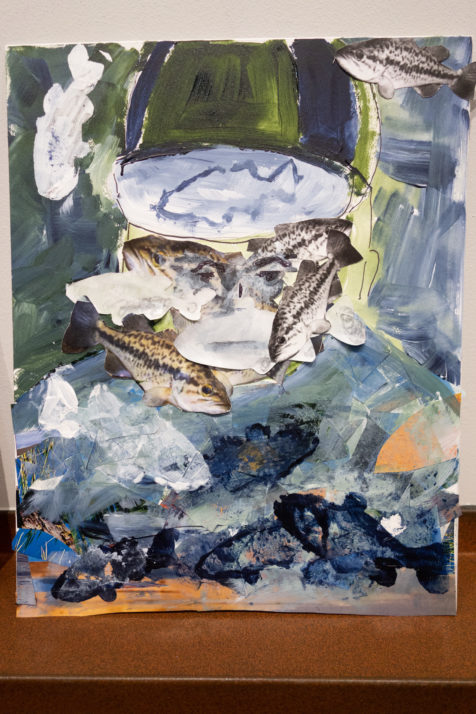
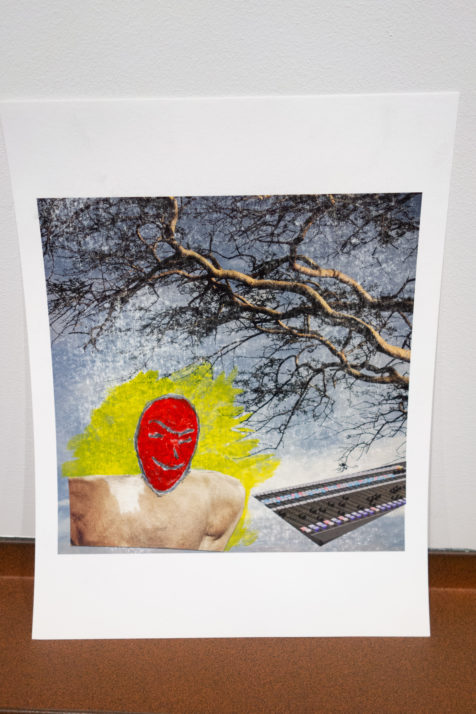
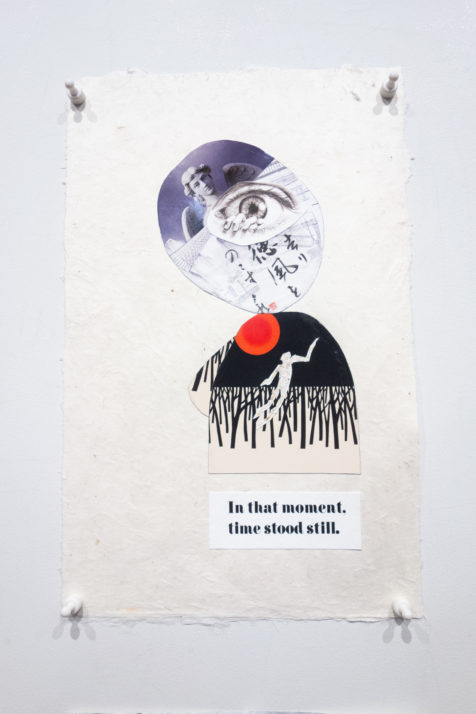
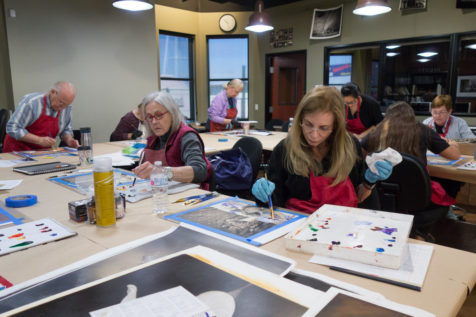
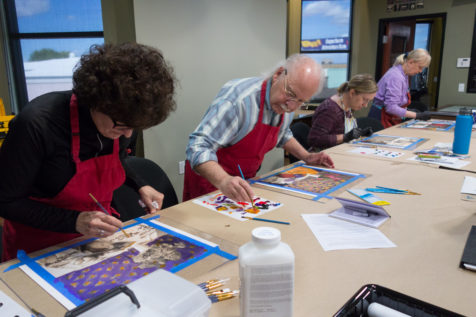
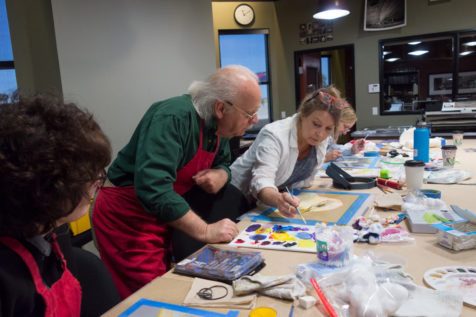
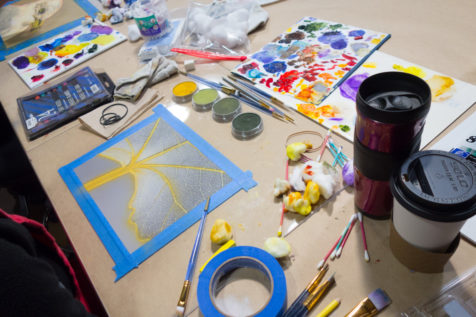
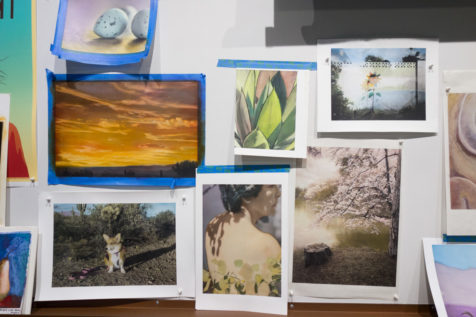
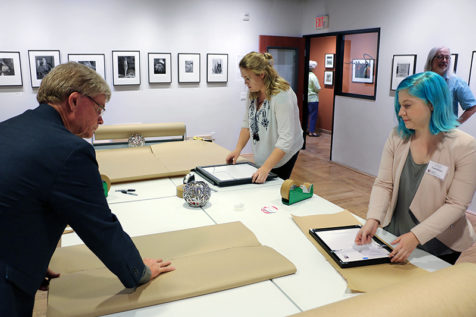
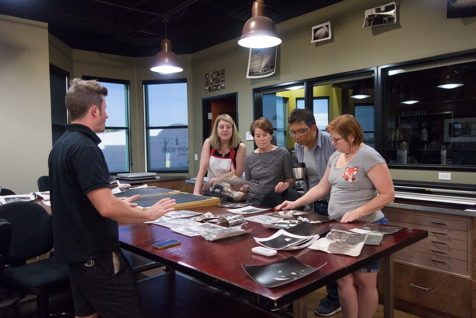
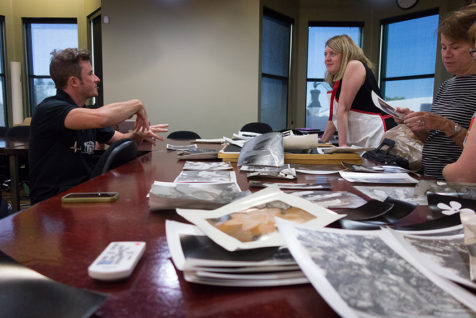
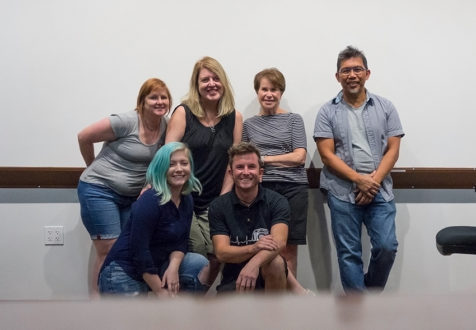
Our students got experimental in The Altered Photo: Photography and Mixed Media with Ron Bimrose! This class explored image-making by combining existing imagery and different subtractive and additive hand-altering effects like sanding, painting, and drawing. The class had fun learning new techniques and letting their imagination run wild as they created their pieces. The mixed-media, collaged results were truly fascinating!
Posted in Event Recaps |
Comments Off on The Altered Photo with Ron Bimrose
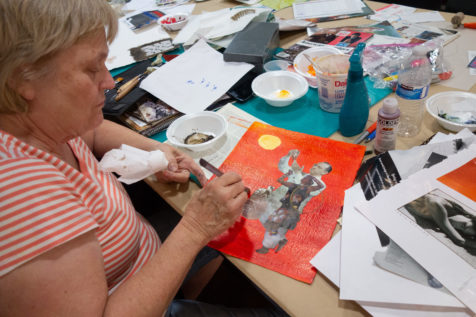
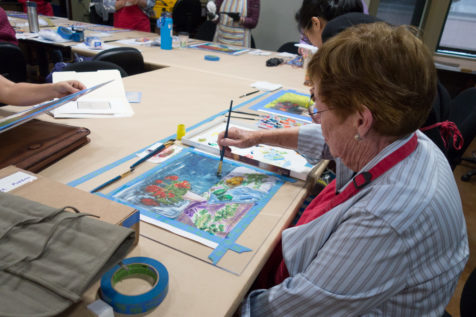
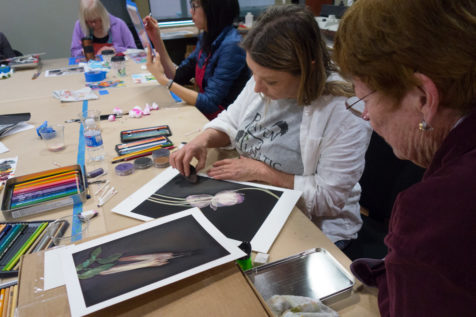
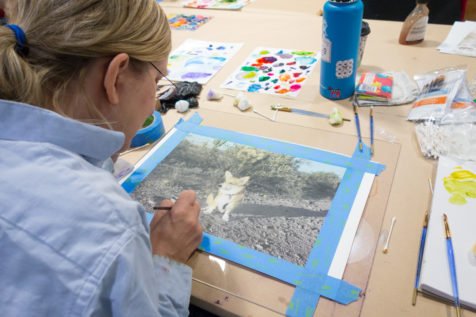
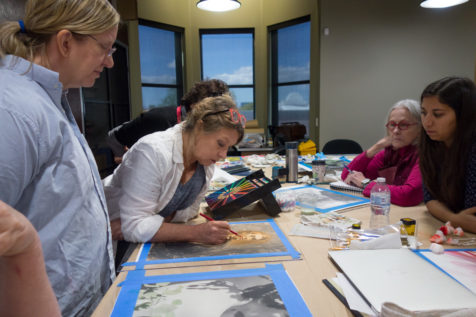
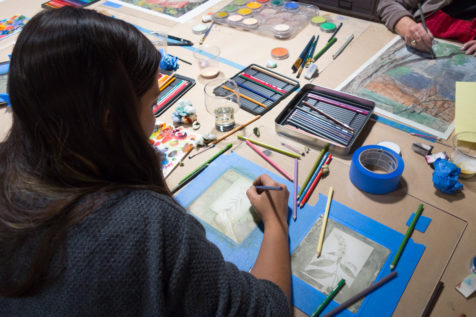
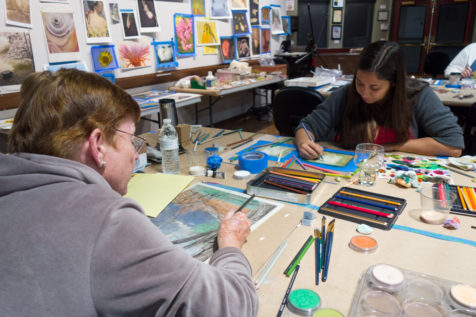
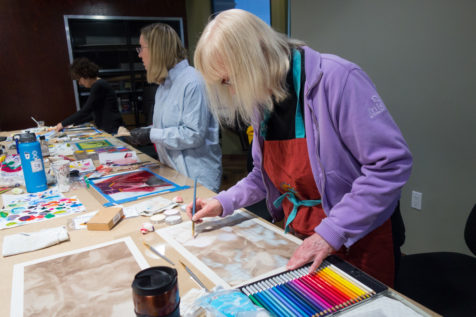
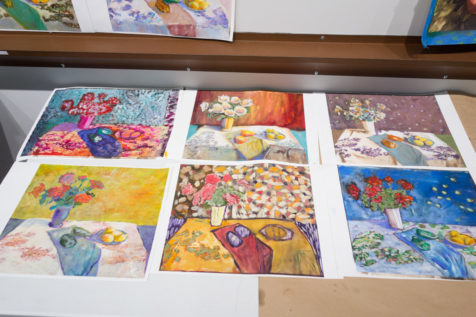
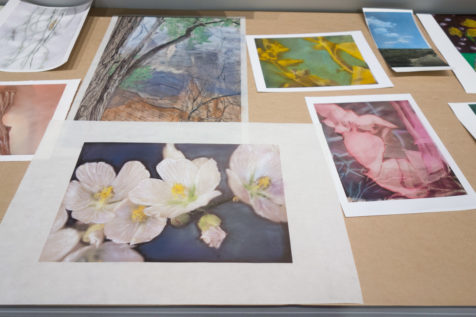
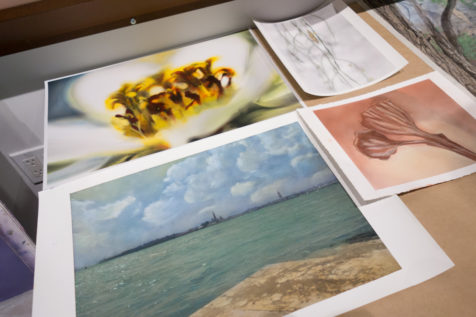
We were wowed by all the beautiful work that was created in our Hand-Coloring Photographs class with Kate Breakey! The participants made digital prints of their images, coated them with a variety of media to prepare the surface, and then applied color in the form of transparent oil paints, colored pencils, and chalk pastels. Over the four-day class our students were able to relax and get in the groove of coloring, and Kate shared many valuable insights on how to achieve certain color tones and textural effects. What a fun class!
Posted in Event Recaps |
Comments Off on Hand-Coloring Workshop with Kate Breakey
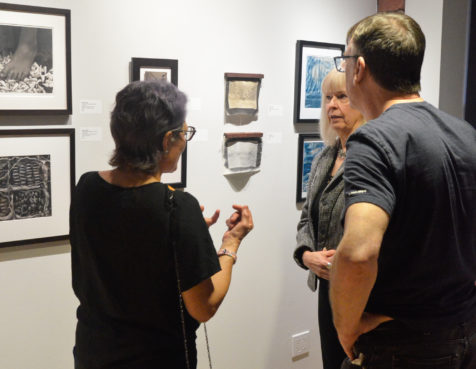
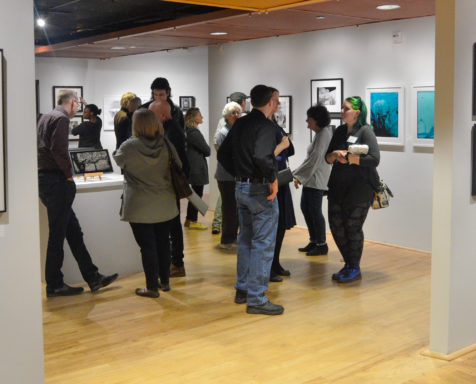
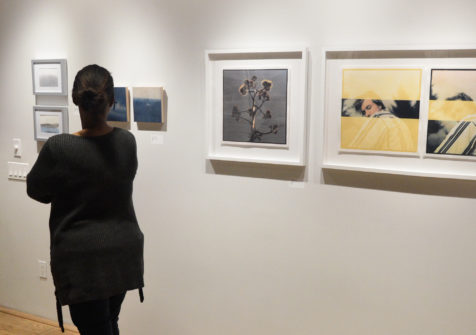
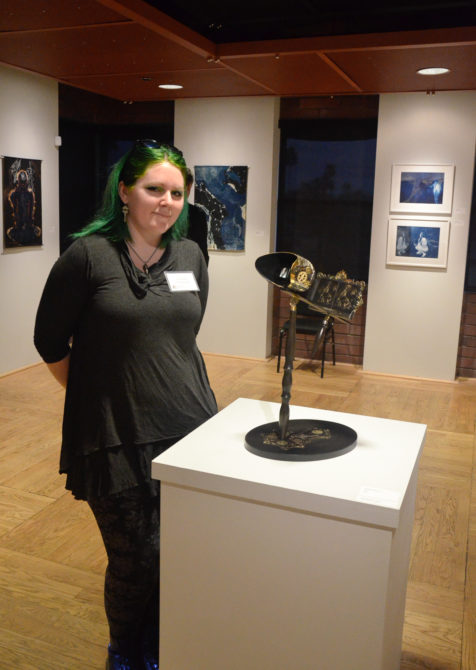
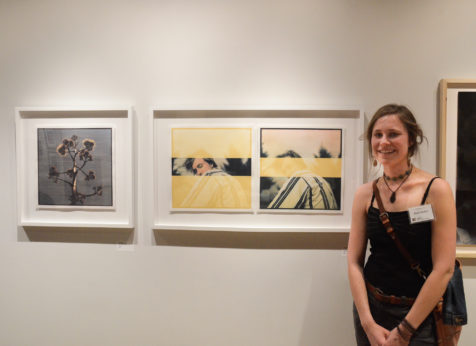
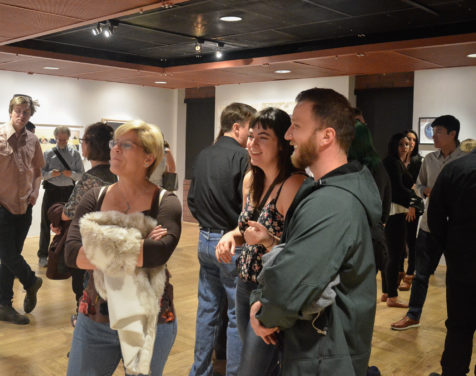
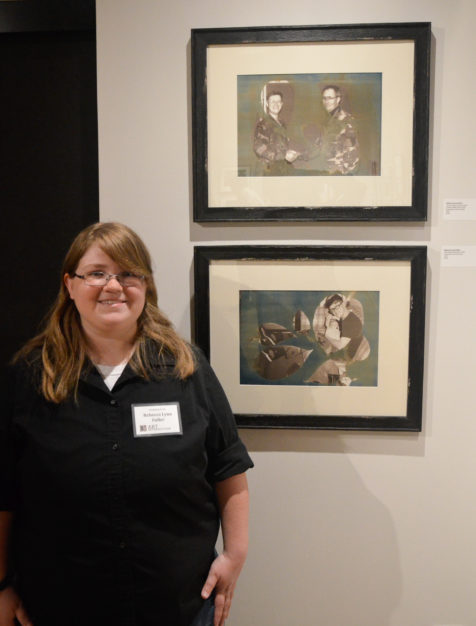
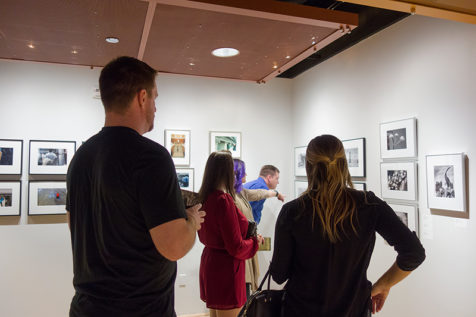
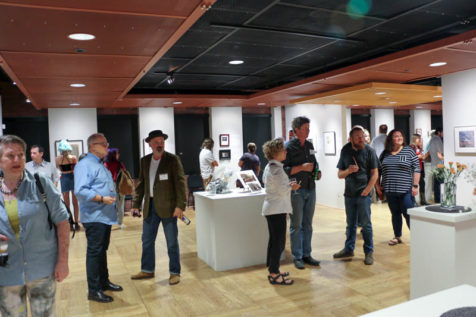
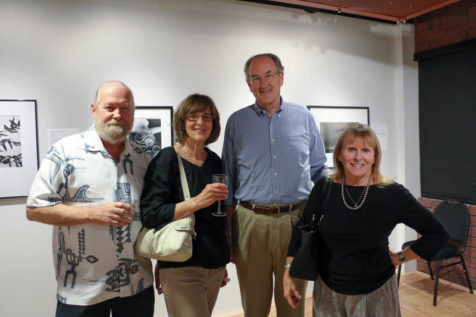
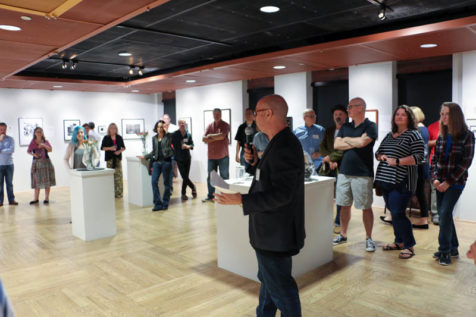
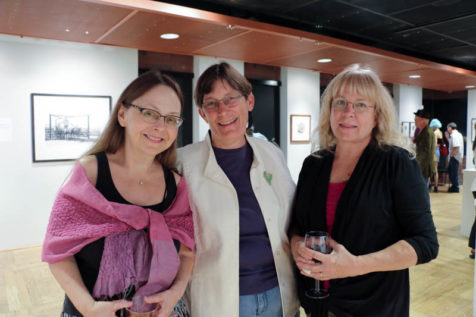
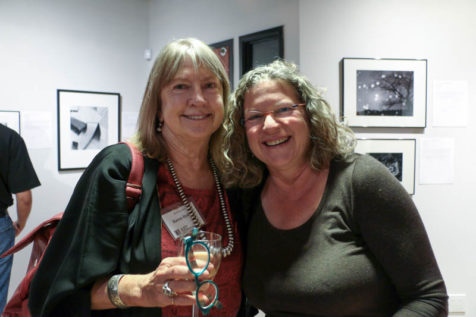
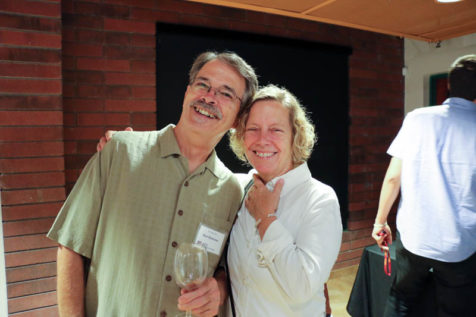
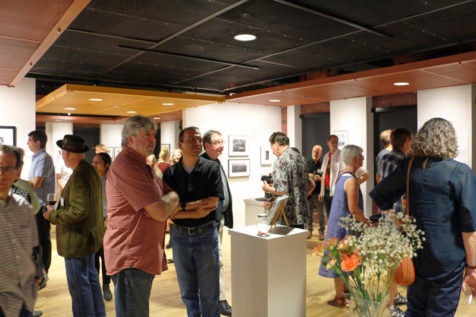
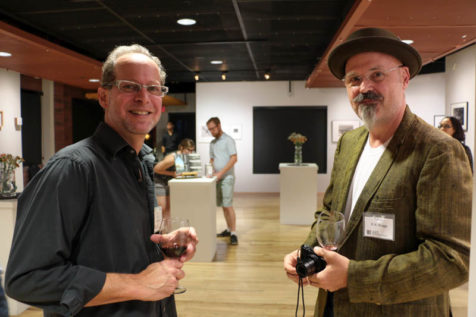
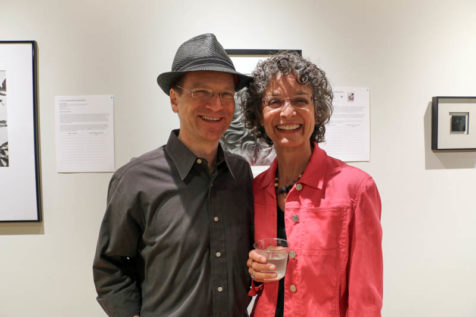
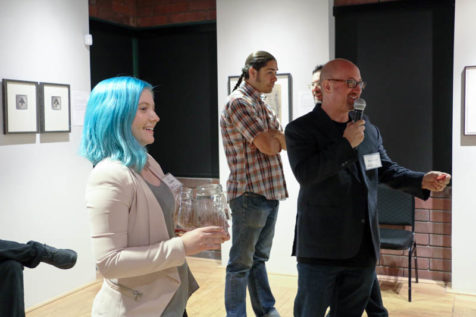
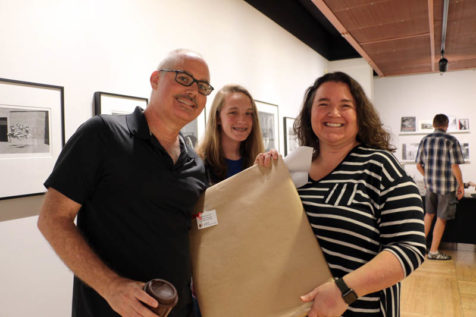
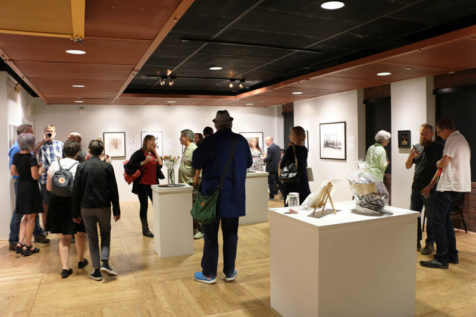
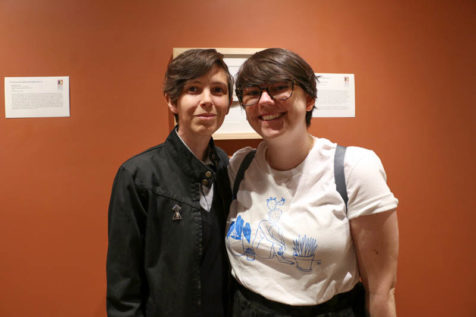
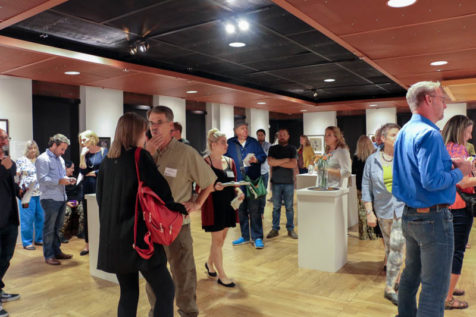
Thanks to everyone who joined us for the Opening Reception of Light Sensitive 2018! We loved seeing so many friendly faces, both familiar and fresh. Thanks for helping us celebrate this beautiful exhibition!
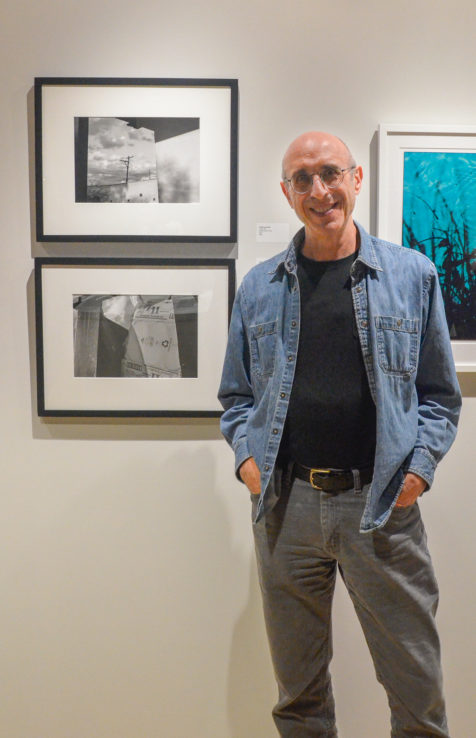
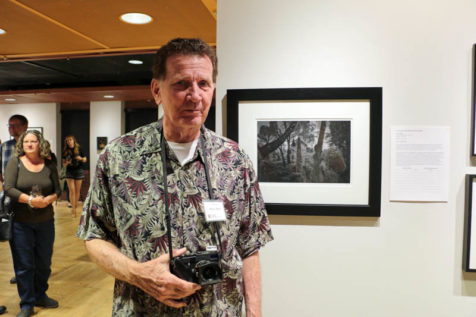
Luigi Luccarelli with his work
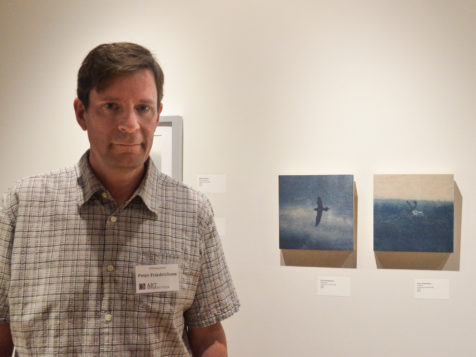
Peter Friedrichsen with his cyanotypes on birch ply
Amanda Scheutzow with one of her sculptural tintype pieces
Kayla Bedey with her gum bichromate over cyanotype prints
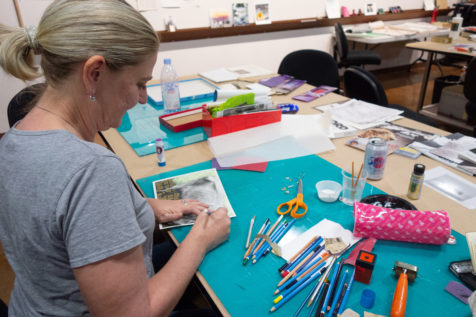
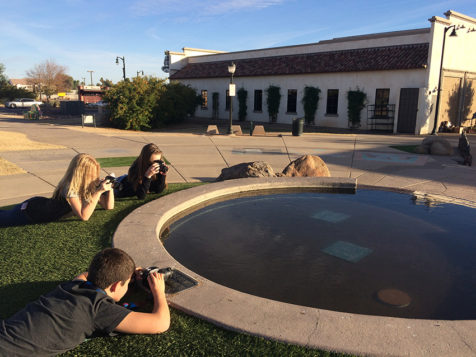
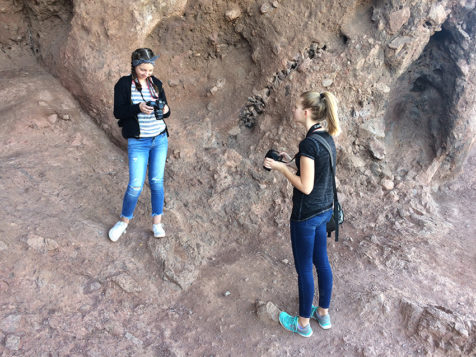
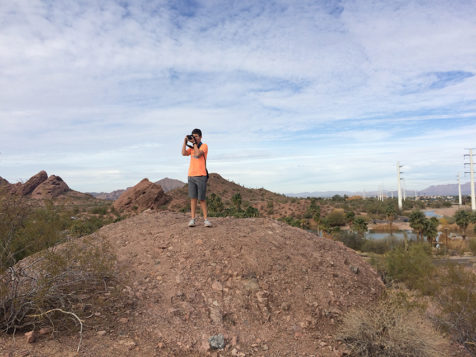
During our Winter Photography Camp for Teens we took our cameras out into the world! Our students learned practical skills including the basics of manual camera controls, composition, and working with a location. They also had lots of fun shooting on the fly!
In this four-day class we took photo walks in Downtown Gilbert, Papago Park, and Downtown Mesa. Back at the ranch, we all reviewed their best images together, and they edited in Photoshop and made finished portfolio prints.
So, you’re taking the leap to get your art out there – congratulations! You’re already a huge step ahead of everyone hoarding their art in their closet. Submitting your work to exhibitions is a gratifying experience, but it can be nerve-wracking or frustrating if you are confused about the steps to take. Don’t quit before you even start – follow the tips below and any instructions given in the call for work, and you’ll be successful!
Select Your Artwork
Put some time into choosing the work you want to submit to the exhibition. If the show has a theme, make sure to stay within the theme guidelines! For most exhibition opportunities, you will be allowed to submit anywhere from three to five artworks. You could submit all works from the same series, or switch it up and submit separate bodies of work. Keep in mind though, for most juried exhibitions the juror will likely only select one or two works from an artist they like – so send in your best.
Also, do your research! You’ll have better luck submitting to shows juried by art professionals that are interested in the style of work you make. Checking out a show’s juror beforehand can save you the heartache of rejection from a bad match.
Prepare Your Submission Files
These days, nearly all exhibition applications are done online, either through a form or by email. This means that you will not be able to present your physical artwork to the juror, so you need excellent photos of your work to submit. If you are submitting photographic work, you’ve got a leg up – chances are, you can just send in your image file that you would print. If you are submitting other 2-D or 3-D artwork, you’ll need to take some good pictures of your work. If you’re not confident in your photo skills, consider having it professionally done! The images should be evenly-lit, with neutral color balance, and should clearly represent your art as it will be displayed.
Make sure to follow the gallery’s instructions for image size and resolution; ignoring these details can end in your file being too small to view, too large to send electronically, or worse – automatically eliminated!
Follow Instructions for Submission
All calls for work will have instructions on how to make your submission. At Art Intersection, we will have you fill out an online form that includes your contact information, artist info like your bio or statement, and then details about each piece you’re submitting (typically title, edition, medium, and year, as well as a photo of your art). Be sure to follow all formatting instructions very carefully! If you are missing information or don’t present it in the way the gallery has asked, this could lead to trouble with your submission or even disqualification.
Many artists find it helpful to keep a professional dossier on file – a digital folder that includes commonly requested information about you and your work that you can copy and paste into your submission form. This way, the hard work is done! You won’t have to spend the time constructing an artist bio for every show you apply to.
Double-Check Your Submission for Mistakes
Before clicking “Submit”, take the time to read over your submission in full and correct any errors. You’ll be glad you did!
Pay the Submission Fee
Many calls for work are accompanied by a submission fee, usually ranging between $15 and $50. Paying the fee in no way guarantees that your work will be accepted – these fees are used by the gallery to pay for the exhibition! Facility rental, promotional materials, and qualified staff all cost money, and if your work gets accepted, you want the gallery to put effort into making your art look nice. Your submission fees help us keep the lights on and get your art on the walls.
Once you finish your submission, most galleries will notify you that your work was received. At Art Intersection, if your form has been submitted correctly you will automatically receive a copy of what you submitted sent to the email address you provided. If you haven’t received a notification from the gallery you’re submitting to within one business day, it may be a good idea to contact them and double-check that you made it through.
And then you’re done! As with anything, it’s best not to wait until the very last minute to complete a submission – hiccups like an incorrect file size or an artist statement that you haven’t written yet can cause unnecessary stress if you don’t work on your submission well before the deadline.
Now that you’re prepared, get that artwork out there! Check out our Calls for Work page for a place to start.
Posted in Staff Editorials |
Comments Off on How to Submit to Gallery Shows
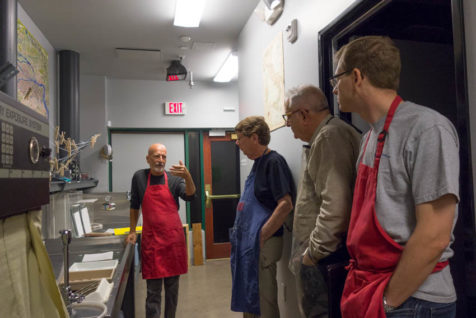
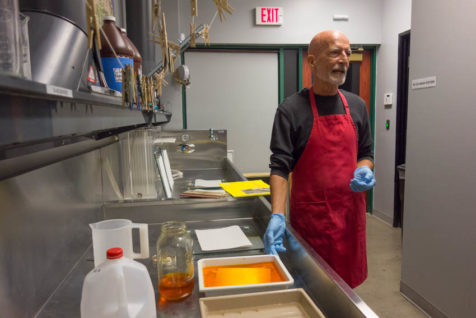
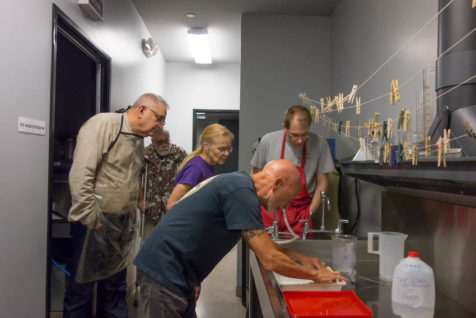
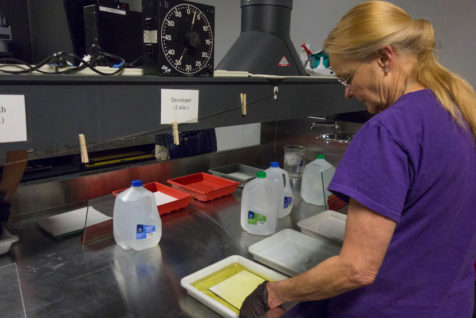
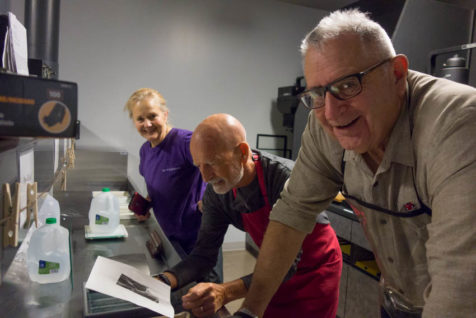
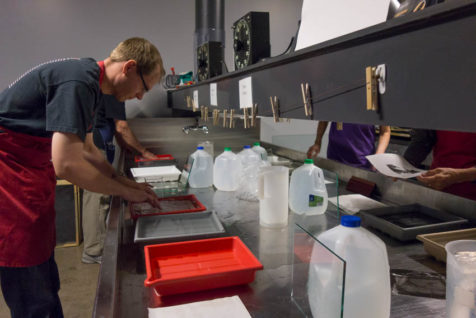
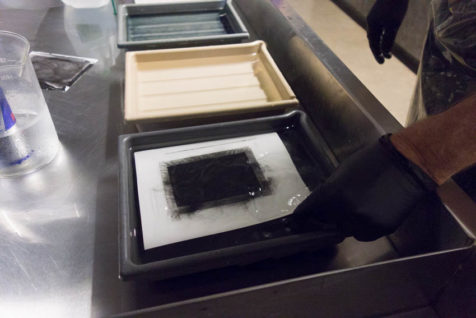
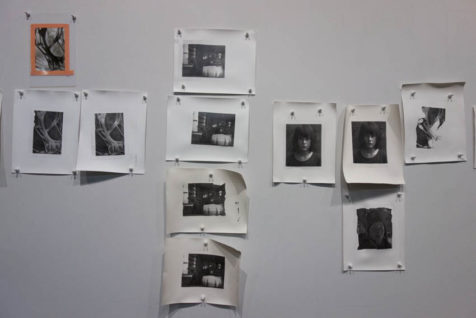
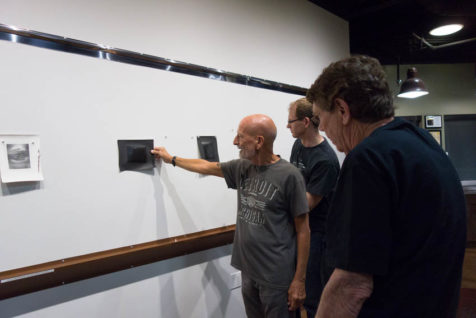
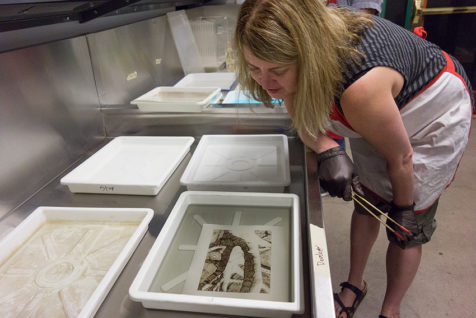
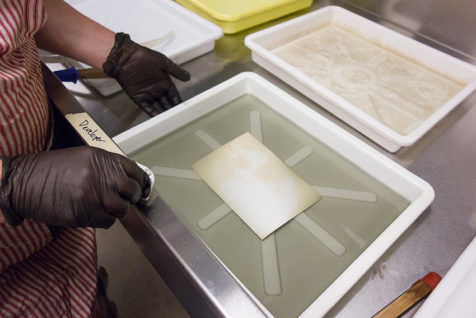
In October we hosted a Carbon Printing workshop led by Dennis L. Collins. Dennis was able to lead our participants through this tricky process from start to finish – sensitizing carbon tissues with potassium dichromate, exposing the tissue with a negative, transferring the exposed tissue to the support sheet, and developing the print. Our students got hands-on experience making prints, as well as lots of practice trouble-shooting, which will better prepare them for continuing this process on their own. Each student made beautiful prints, and all learned to find the beauty in mistakes!
Dennis demonstrates the process of sensitizing carbon tissues to light using potassium dichromate
As the carbon print “develops,” un-hardened carbon pigment floats away – leaving the image remaining!
Several participants experimented with salvaging the used carbon tissue, to interesting effects
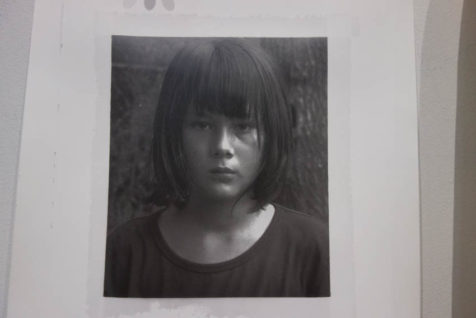
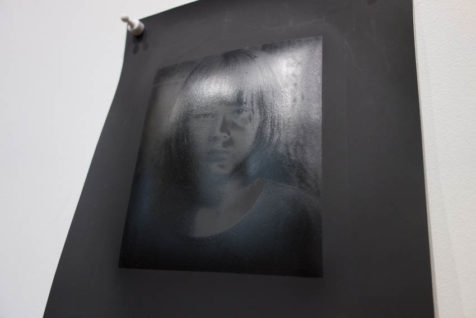
The same print is shown here printed on white and black paper, creating a cool contrast. The image on the black paper is viewable only when held against light
Dennis discusses the participants’ final prints after two days of hard work
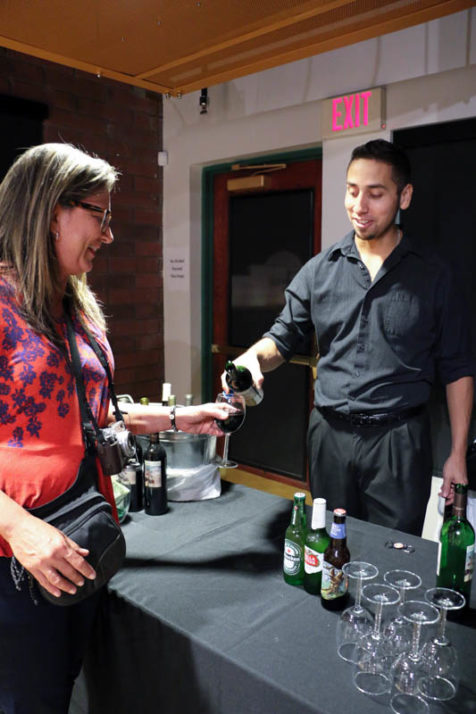
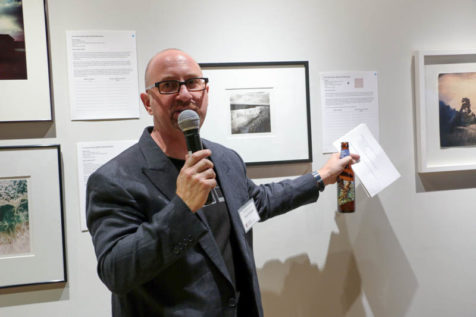
Thank you to all of our incredible guests, artists, and patrons who helped us celebrate Off the Wall 2017 this past Saturday! Your support for what we do is invaluable, and we are full with gratitude. Here’s to another year of bringing art to life!
Posted in Event Recaps |
Comments Off on Off the Wall 2017
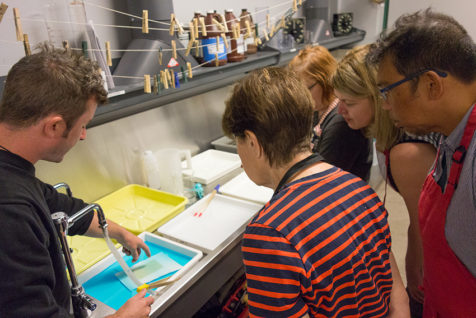
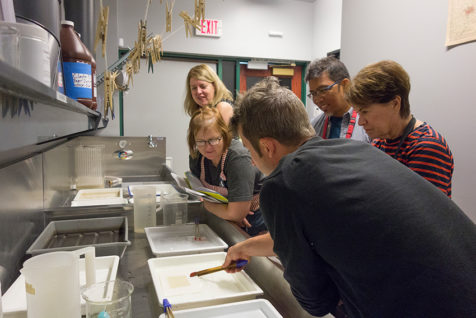
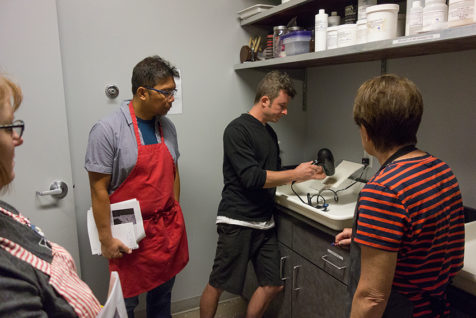
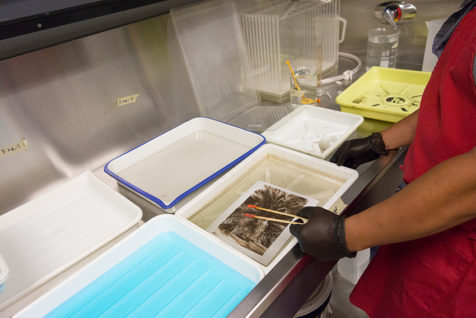
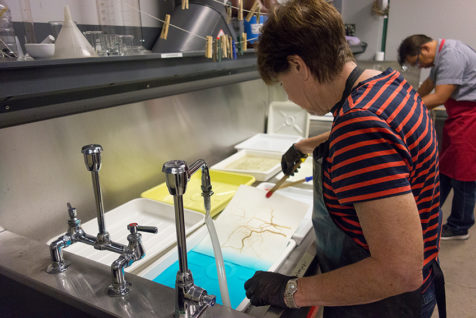
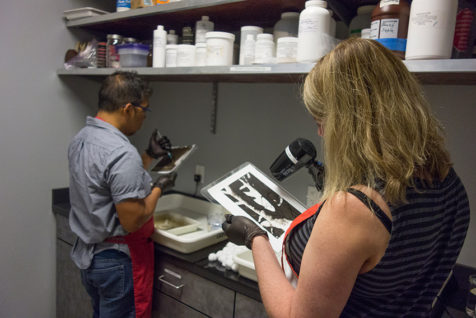
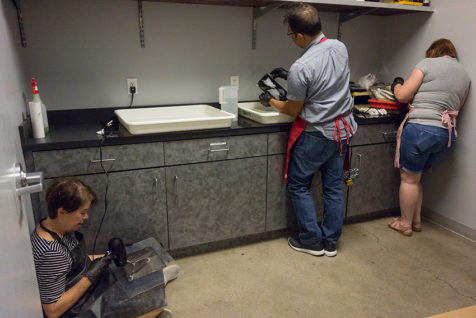
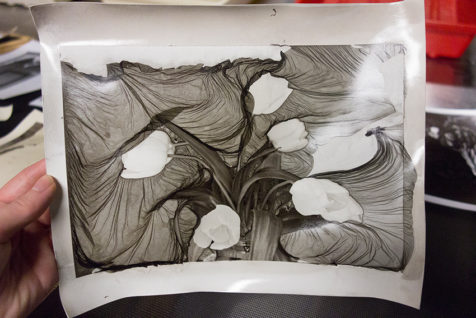
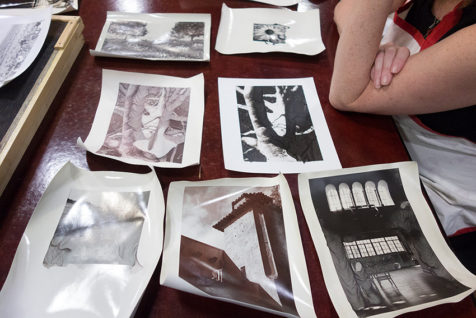
We got experimental in the lab this weekend during our Mordançage workshop with Jace Becker! This free-form, intuitive process process physically lifts the darkest parts of a silver gelatin emulsion, forming delicate veils. The veils can be manipulated or removed, allowing for endless creative opportunities. Our participants played around with a variety of techniques, achieving one-of-a-kind results with each print.
Jace demonstrated processing silver gelatin prints in mordançage solution, water rinsing baths, and developer. The mordançage chemistry bleaches the prints as it’s lifting the emulsion, requiring the print to be re-developed to bring back the image.
After the print has been washed, the lifted gelatin emulsion can be manipulated to add visual interest, motion, or abstract shapes to the image. We used cotton balls, hypodermic needles filled with water, compressed air, and hairdryers to place the veils exactly where we wanted them to go.
This print is slowly being re-developed – the tan parts of the print were originally black!
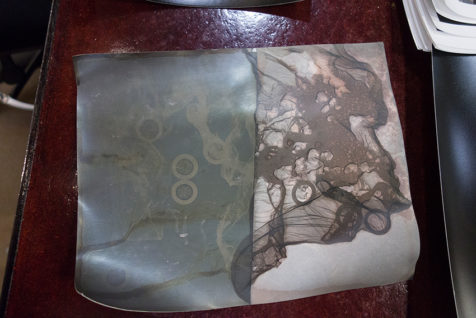
Cesar Laure had some interesting results with this half-mordançaged photogram – the altered portion of the print is on the right.
Beautiful print by Susan Berger
Prints by Suzanne Fallender displaying a range of different colors achieved by placing developing prints out in the sunlight.
We can’t wait to see what our students make with this process!