


We were so grateful to have Santa Fe-based artist Jennifer Schlesinger here with us two weeks ago to share her beautiful artwork and knowledge of the albumen process!
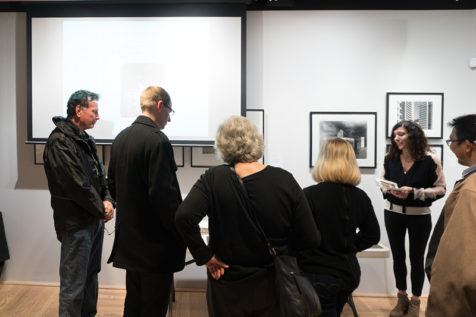
Jennifer gave a lecture on Friday evening, during which she discussed both her personal history with albumen as well as a brief history of the medium. She also shared unframed prints of hers, allowed each audience member to view first-hand the magic of albumen prints.
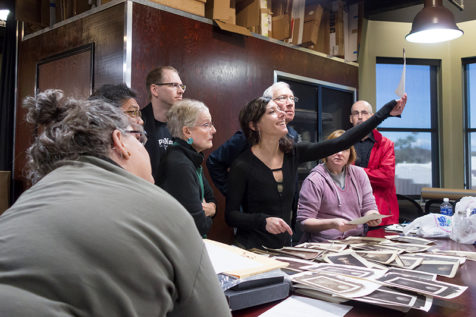
By Saturday morning, our Albumen Workshop was in full swing! After a more detailed print-viewing, including the standards for good print quality and common errors, the class got to work making their own batch of albumen.

This simple concoction of egg whites, acetic acid, distilled water and ammonium chloride forms a protein-packed binder that prevents the light-sensitive silver nitrate from soaking into the base paper, as well as providing a unique pearl sheen to the surface of the print. The egg whites must be separated from the yolks and strained several times through cheesecloth, which breaks down the stringy protein structures.
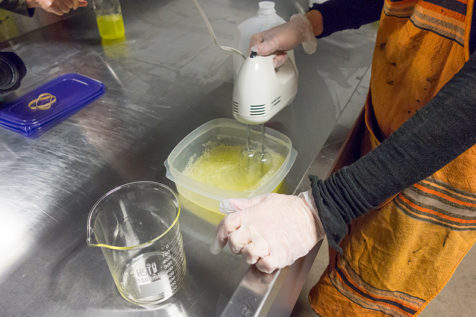
Once combined with the other necessary ingredients, the albumen must be beaten well to further denature the egg whites and ensure that everything is thoroughly mixed. The new albumen mixture must sit for at least two weeks to cure before use and never expires, although the rotten-egg smell that increases as it ages may render it unusable.
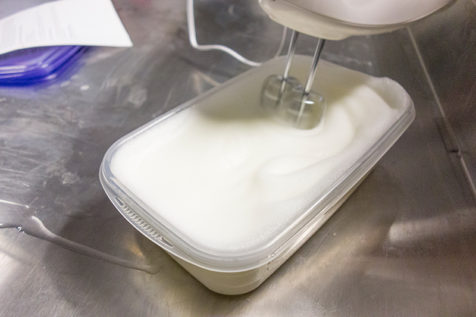
The albumen mixture is beaten to “soft peaks”
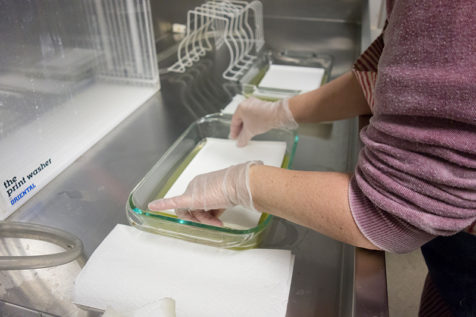
When the albumen has cured (in our workshop we used a pre-made batch), a flotation method is used to coat it onto paper for printing. Although this coating method requires great delicacy and skill, all of our participants did a wonderful job coating their papers!
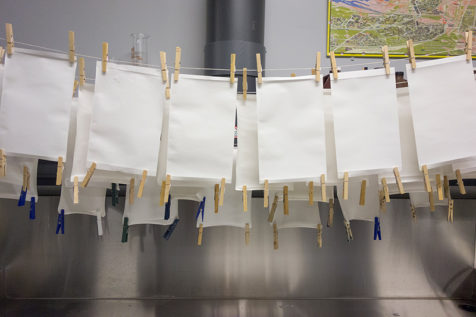
Coated sheets left to dry overnight
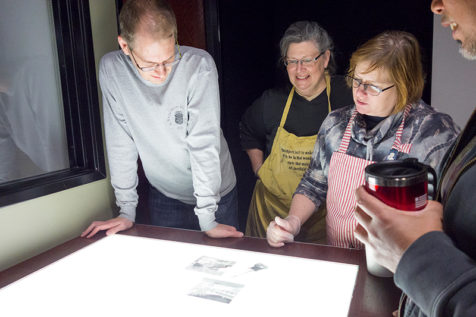
Class participants Barbara, Shari, and Cesar gather ’round the light table to help Chris select a negative to use
On Sunday, the participants coated their albumen sheets with silver nitrate, again using the floatation method. Once coated with silver nitrate the paper is light-sensitive, so this step and all processing were executed under red safelights. The coated papers dried, and the participants printed in our three UV exposure units through digital negatives of their images that had been produced by Art Intersection prior to the workshop. The exposed sheets were run through a series of processing trays, washed, toned with selenium, and washed again.
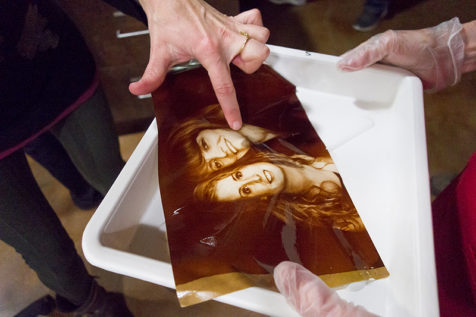
Jennifer helps her students assess their exposure times while printing
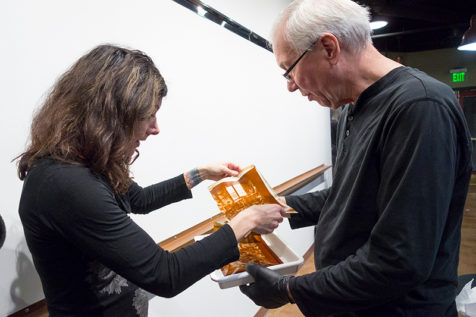
Jennifer and Tom compare two prints made at different exposures
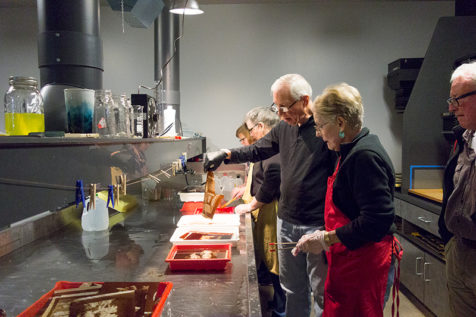
Participants tone and wash their finished prints
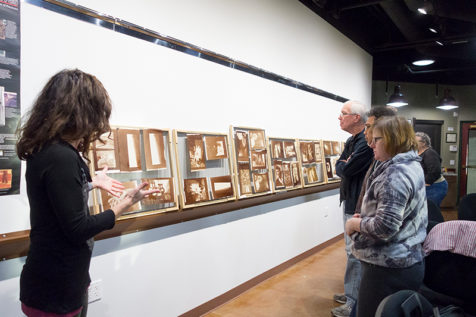
Led by the expert help of Jennifer Schlesinger, our participants made fantastic, handmade prints!


